12
GB CY
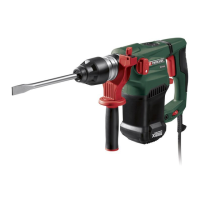
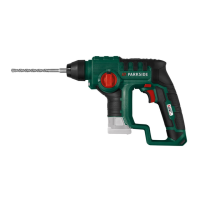
Inserting an SDS Plus tool
1. Unlock the SDS Plus receptor (1) by
pulling the locking sleeve (3) back-
wards.
2. Rotate the tool into the tool holder.
3. Release the locking sleeve (3)
4. Check that the tool is secure by pulling
play for technical reasons.
Removing an SDS Plus tool
1 Pull the locking sleeve (3) backwards
and remove the attachment tool.
Inserting tools with hexagonal
and cylindrical shafts
1. Unlock the SDS Plus receptor (1)
by pulling the locking sleeve (3)
backwards.
2. Rotate the keyless chuck with SDS
Plus adapter (17) into the tool hol-
der (1).
3. Check that the keyless chuck (17)
is securely locked by pulling on it.
adapter exhibits some radial play
for technical reasons.
4. Rotate the keyless chuck (17)
counter-clockwise, until the drill
chuck aperture is large enough to
accommodate the tool.
5. Push the tool as far as possible
into the keyless chuck (17).
6. Rotate the chuck clockwise to
Removing tools with hexa-
gonal and cylindrical shafts
-
less chuck (1) and pull out the tool.
Removing the keyless
chuck
1
Pull the locking sleeve (3) backwards
and remove the keyless chuck.
Operation
Selecting the operating mode
switch (
4) allows you to select the elec-
trical tool operating mode.
Only change the operating mode
when the electrical tool is switched
-
maged otherwise.
The “impact drilling” opera-
ting mode may only be used
if the keyless chuck is not at-
tached!
Unlock the changeover switch ( 4) by
pushing the retaining knob (
5).
-
ver switch (
4) into the desired position.
5) will audibly lock
reached.
Impact drilling =
striking mechanism ON
Drilling/screwing =
striking mechanism OFF
Set the direction of rotation
You can select the direction of rotation
with the direction switch (
7) (clockwise
and anticlockwise direction) and secure
the device against accidental start up.
 Loading...