CK3100 Advanced Car Kit
48
HANDLEIDING
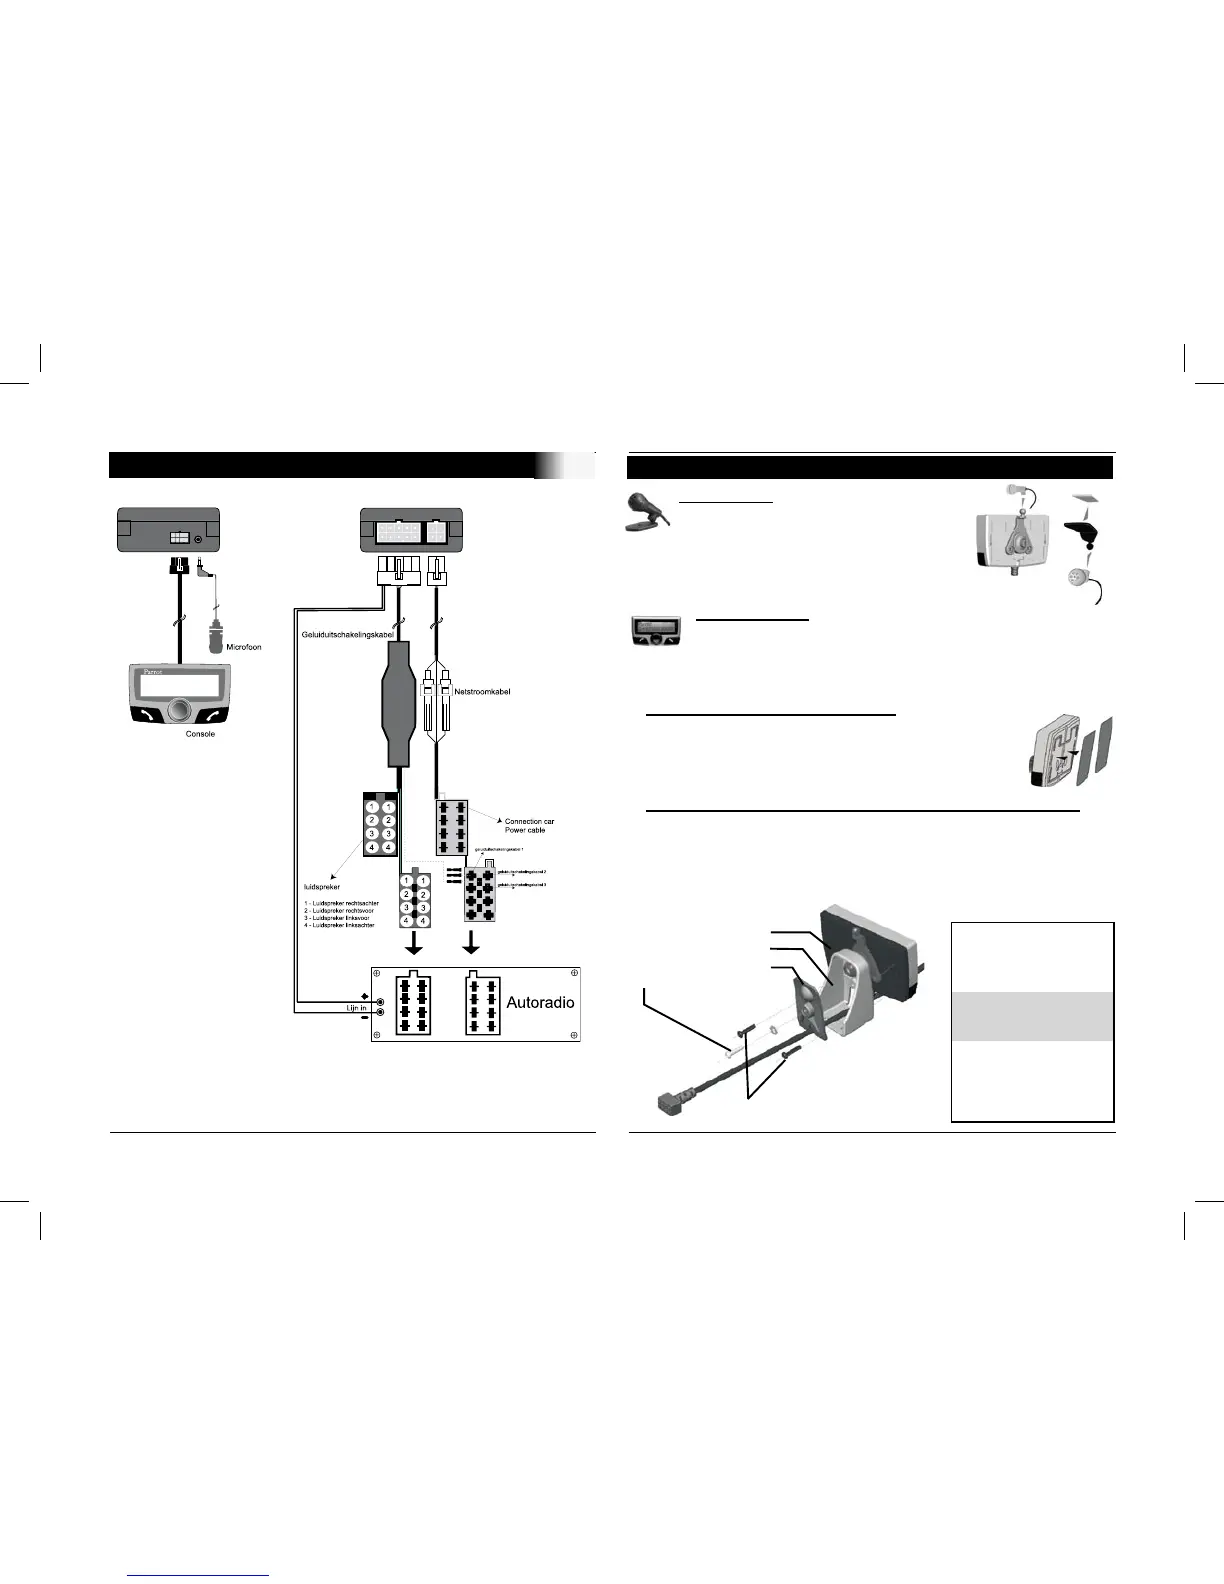
KABELDIAGRAM VERBINDING
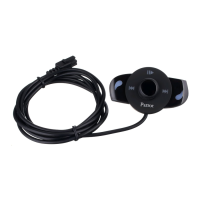
Microfoon :
De microfoon moet op de chauffeur
gericht zijn en kan worden bevestigd:
tussen de zonneklep en de
achteruitkijkspiegel op het LCD-scherm.
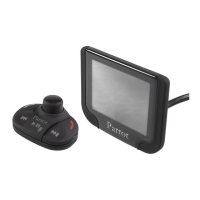
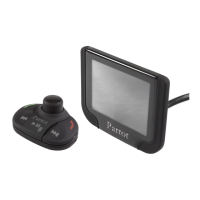
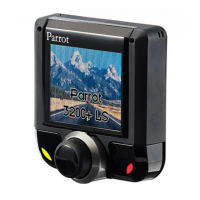
LCD scherm :
Dankzij verschillende accessoires is het mogelijk om
het scherm op verschillende locaties in de auto te
bevestigen.
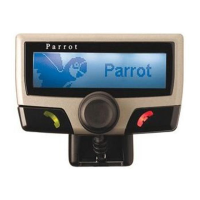
Bevestiging op het dashboard
Gebruik de meegeleverde dubbelzijdige tape.
Deze moet waar dan ook in de auto op een schoon,
glad oppervlak worden aangebracht.
Met een voetje op het dashboard of op de fitting van
het plafondlicht Zet het metalen vierkant vast op de onder
-
grond. Breng vervolgens het kleine stukje tweezijdige tape
op het voetje aan om dit op de wand te plakken
Montage instruties
- Shroef “B” op “A”
Gebruik enkel de schro
-
even “D”
- Bevestig de uitgaande
kabel van “A” in de voet
“B”
- Shroef “C” op “B”.
Gebruik enkel de shro
-
even “E”. Vergeet niet de
klemrondel te plaastsen.
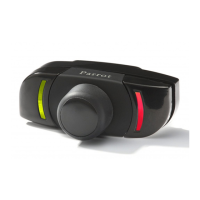
Bevestiging van de microfoon en de console
A : LCD Sherm
B : Voet
C : Achterzijde houder
E : Metalen Shroef (10 mm)
D : Plastieke Shroef ( 10 mm )
 Loading...