CK3100 Advanced Car Kit
8
User’s guide
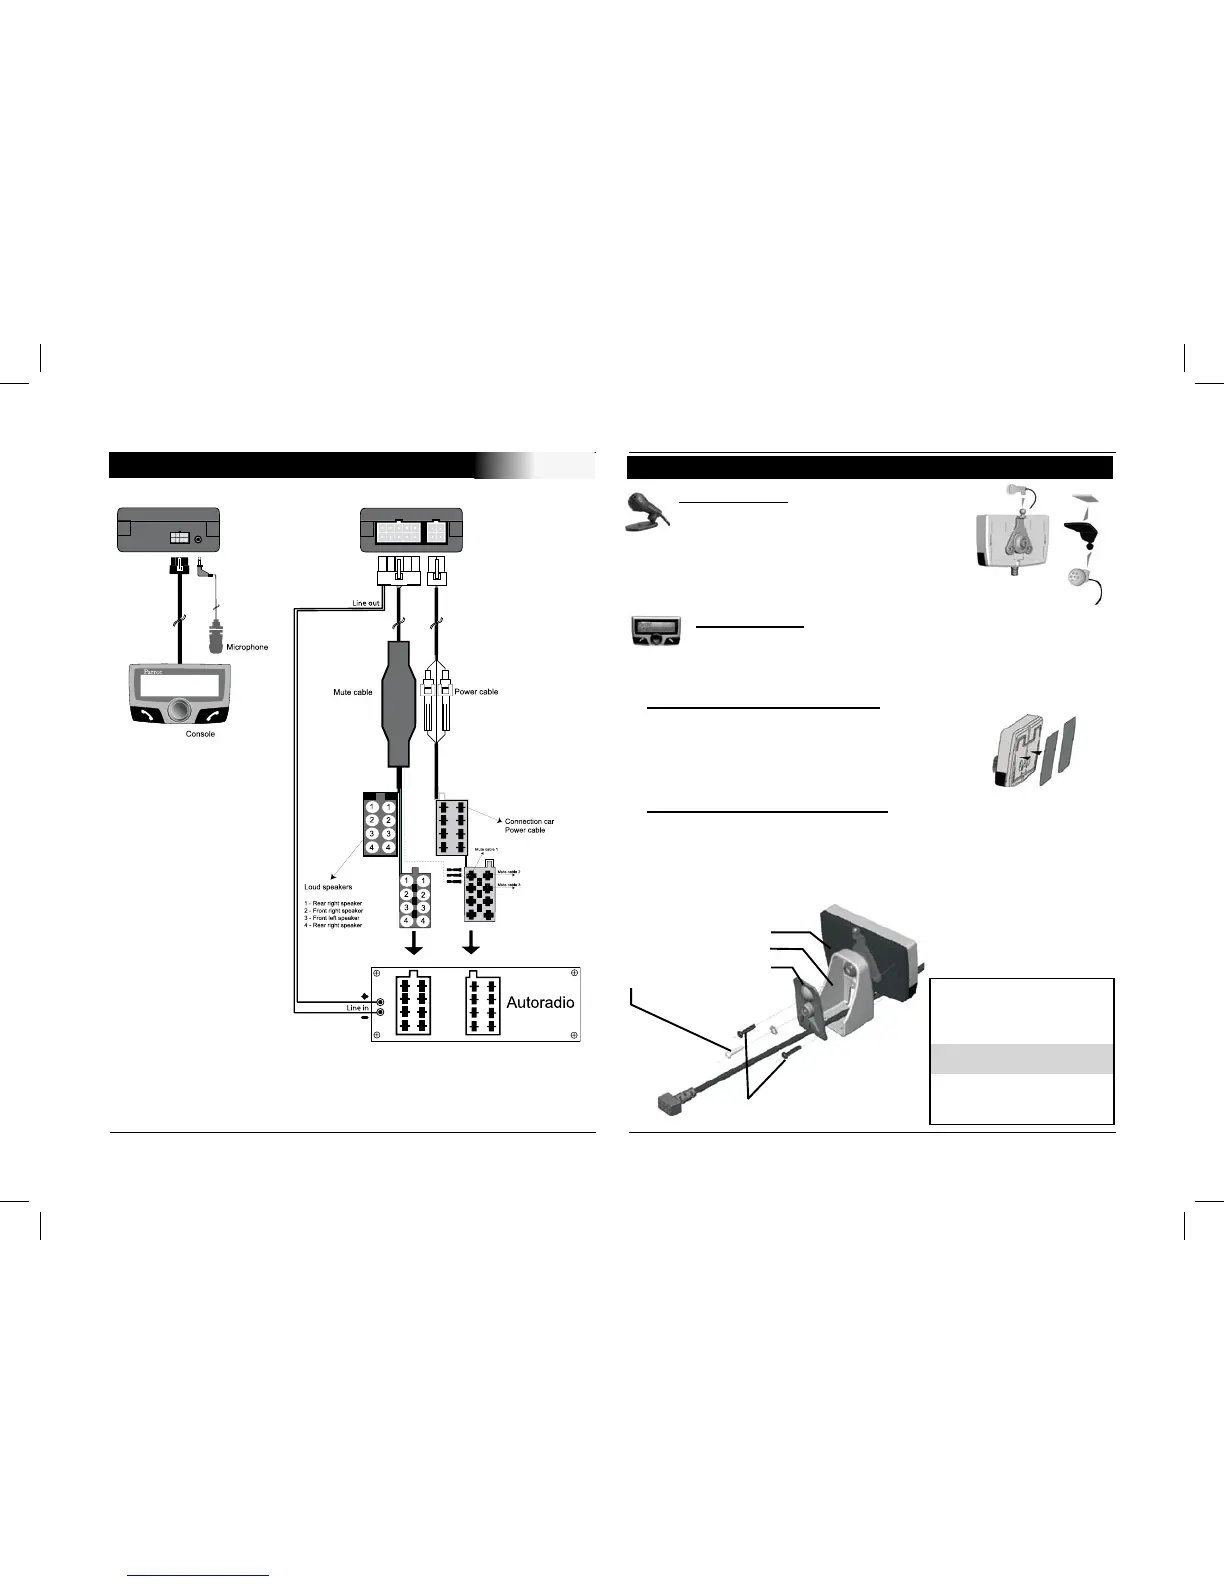
CABLE DIAGRAM CONNECTION
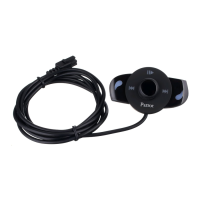
Microphone :
The microphone must be aimed
at the driverand can be installed:
Anywhere on the vehicle /
On the LCD screen.
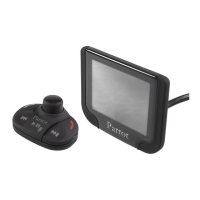
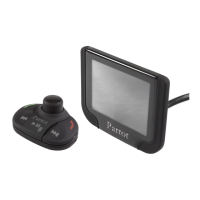
LCD screen :
Several accessories allow the screen to be installed in
multiples sites in the body of the vehicle.
Fastening on the dashboard
Using the scoth tape double-face provided.
Just stick the display on a plane and
clean spot on the dashboard .
With a foot on the dashboard
Once the display has been mounted on the foot provided in
the packaging, stick this foot using the scotch tape double-face
on the dasboard.
From then on, the screen becomes directional.
Mounting Instructions
- Rotate “B” from the left
to the right to screw “B” on “A”
Only use the screws “D”.
- Insert the cable from the “A”
through the hole on “B”
- Then, screw “C” on “B”.
Only use the screw “E”
Don’t forget to insert the disc
Installation of the microphone and the console
A : LCD screen
B :
Foot
C : Back support
E : Iron screw ( 10mm )
D : Plastic screws (10mm )
 Loading...