Do you have a question about the Pavlok 3 and is the answer not in the manual?
Describes functions for pressing and holding Button 1, including vibrating and candle mode.
Details functions for pressing and holding Button 2, covering stimulus, alarms, and snooze.
Explains functions for pressing and holding Button 3, including playing a chime or melody.
Indicates low battery level with red light flashing three times. Recharge soon.
Shows clock not set with red light flashes. Reconnect to app to restore clock and alarms.
Resolves iOS pairing issues by forgetting the device in Bluetooth settings and re-pairing.
Explains LED signals for charging and delivery of snaps, and checks for skin contact issues.
Battery life is estimated at 6-10 days depending on actual usage.
Details on how to turn off an alarm by holding button 2 or snooze it with a quick press.
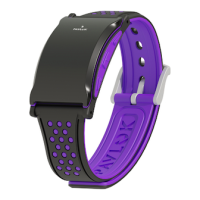
Pavlok 3 is IP67 rated for temporary submersion; safe when wet, clean with mild soap.
Adjust snap intensity for skin conductivity; lower levels may not be felt. Adjust as needed.
Device complies with Part 15 of FCC Rules; may not cause harmful interference.
Device meets general RF exposure requirements and can be used in portable conditions.
Device complies with ISED Canada license-exempt RSS standards.
| Connectivity | Bluetooth |
|---|---|
| Water Resistance | IP67 |
| Compatibility | iOS and Android |
| Haptic Feedback | Yes |
| Beep | Yes |
| App Support | Pavlok App |
| Shock | Yes |
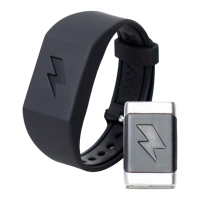
| Charging | Magnetic charging |
| Activity Tracking | Steps, sleep |
| Battery Life | Up to 5 days |