33
[13] Before the Eos is in place, the connection cable pre-installed.
A: Pull the lever sideways to unlock the front panel
B: Remove the front panel to release it.
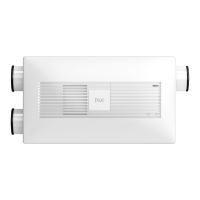
C: Remove the two screws holding the terminal box cover.
[13]
[15] When the unit is lifted into place:
Press the assembly against the ceiling mounting plate
while as the unit moved against the isolated
SA / EA air ducts.
The mounting plate has a hook arrangement (A) matches
in a corresponding part of the unit.
The hook is an aid that unit temporary can hang out in
while the screws pulled, see Figure [16].
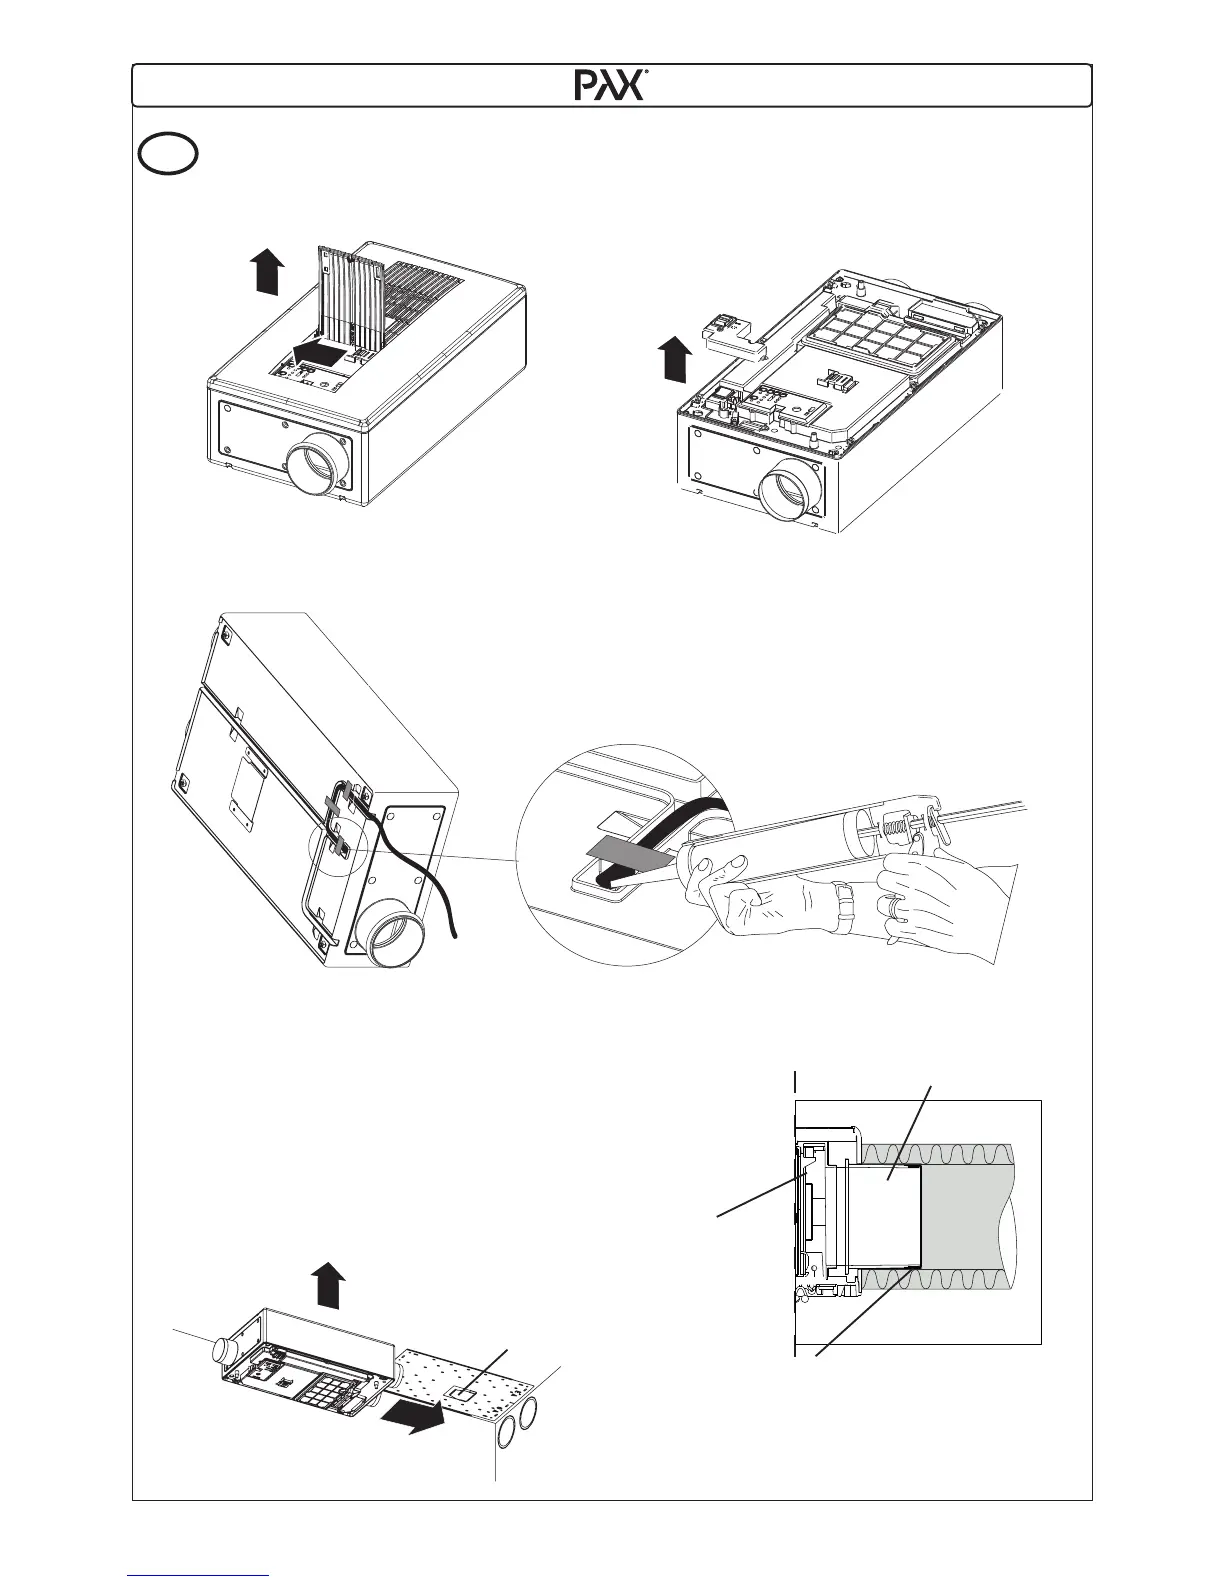
[14] The back of the unit is prepared with cable channels for cable.
There are three possible ways to assemble the connecting cable.
Place the unit on the side and through a sucient length of cable,
then fix the cable with tape pieces so it stays in place
in the channel when the unit is mounted.
Seal the entrance with sealant.
[14]
[15]
Sealing rings are pre-in-
stalled around the adap-
ter to seal the between
adapter and duct.
Installation.
UK
(C)(B)
(A)
Duct.
Adapter
Unit
(A)
 Loading...