6
1. Set control unit
5. Panel settings
from Panel settings menu - Press key 1
from the Engineer menu - Press key 5
This sets the control unit that the Net2 Entry panel is associated with.
Enter the Serial Number of the control unit and then press Bell.
2. Factory reset
5. Video Lighting
Press 1. Yes
Press 2. No
Press 1. On
Press 2. Off
Press 3. Auto
This returns the Entry panel to Factory settings
This allows you to adjust the video lighting for low light conditions.
3. Backlighting
6. Set Reader
This sets when the Entry panel LCD backlight will be on.
This allows you to set which reader port on the controller is used by the panel.
Press 1. Always on
Press 2. Never on
Press 3. Only on in low light
Press 1. Reader 1
Press 2. Reader 2
from Panel settings menu - Press key 2
from Panel settings menu - Press key 5
from Panel settings menu - Press key 3
from Panel settings menu - Press key 6
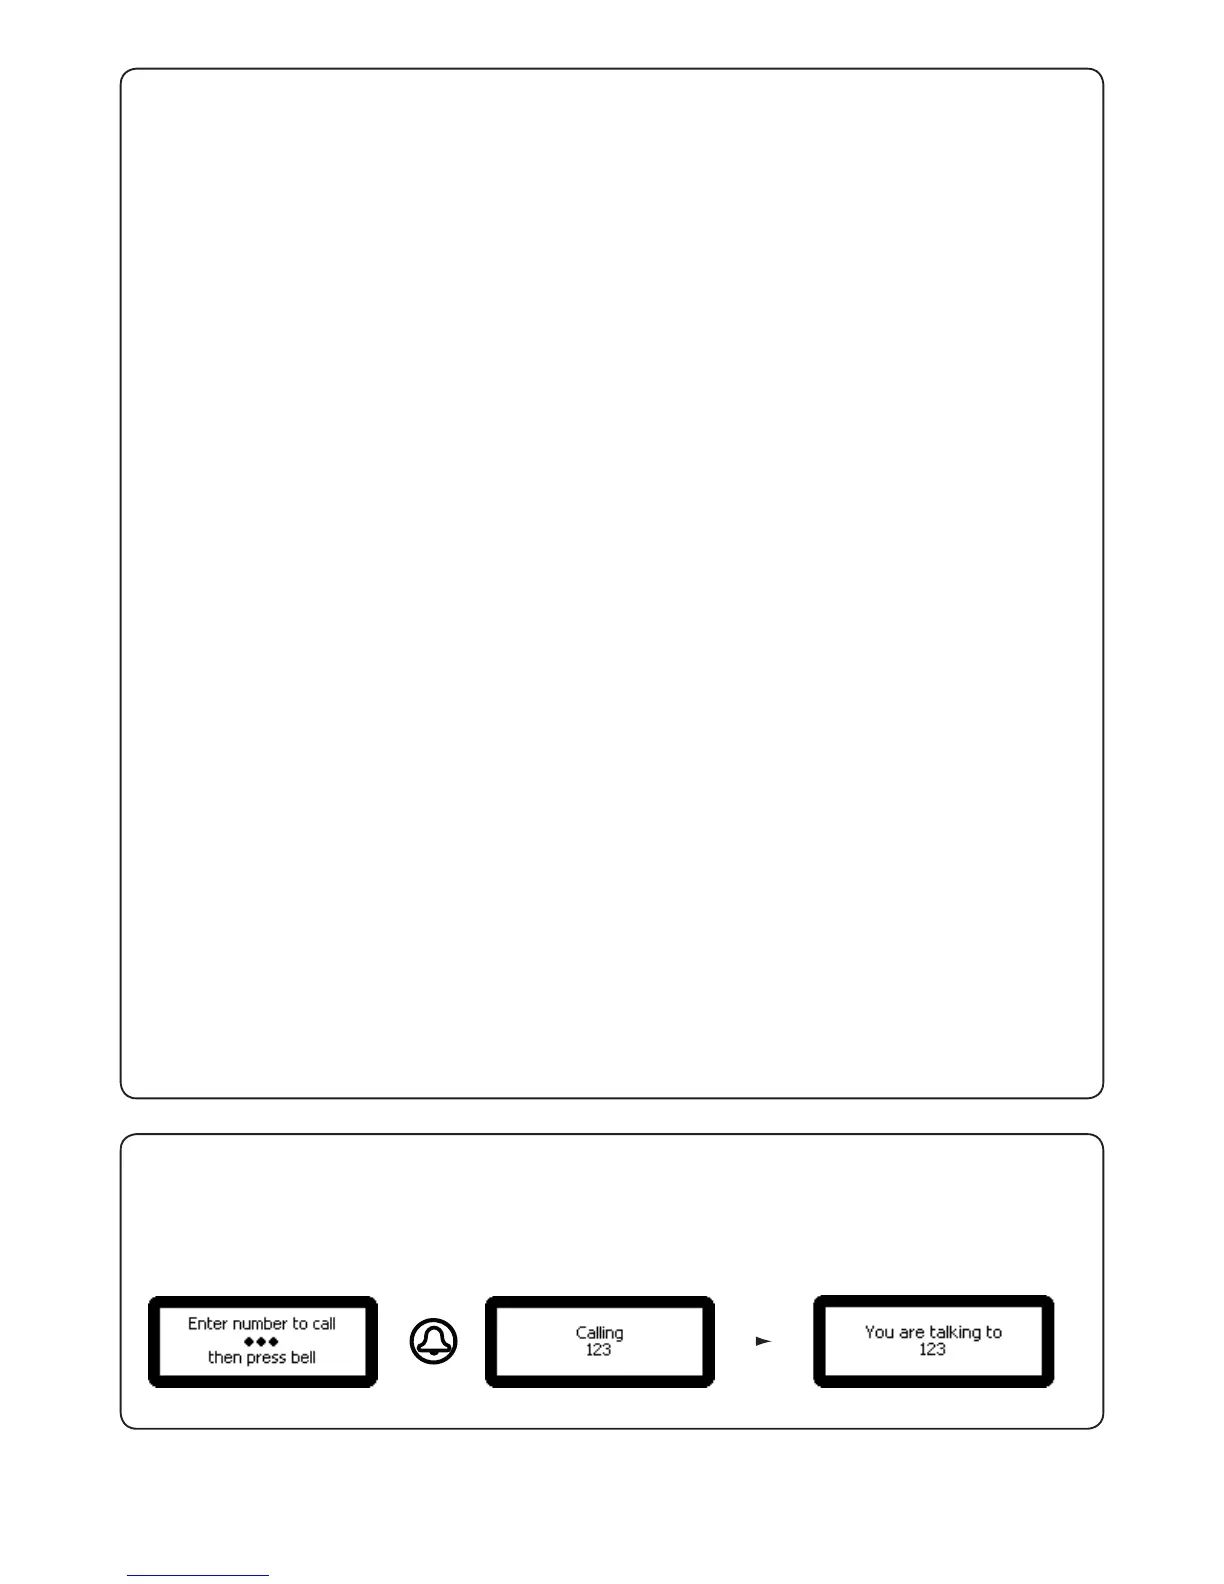
1. Number only
6. Operating Mode
from Set Operating mode menu - Press key 1
from the Engineer menu - Press key 6
This requires the visitor to enter the number without the assistance of a list.
4. Video quality
7. Demo mode
from Panel settings menu - Press key 4
from Panel settings menu - Press key 7
This option slows the video rate to reduce the load on busy networks.
This allows you to put the panel into demonstration mode so it no longer needs to be connected to a controller.
Press 1. Low - busy networks
Press 2. Med - small networks
Press 3. High - private wiring
Press 1. Yes
Press 2. No