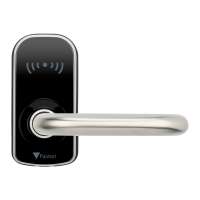
Paxton
Ø 8mm
Ø 5mm
Ø 20mm
5
5
1515 2525
3535 45
55 654555
65
7060504030100 20102030406070 50
5
5
1515 2525
3535 45
55 654555
6575
7060504030100 20102030406070 50
85
80
8575
80
7585
80
8575
80
≤45º≤45º
Exterior
Außenseite
Extérieur
Beveiligde zijde
Exteriör
Külső
!
!
!
A
B
A A
B
B
B
B
4
m4 x 8mm
3
2
1
=
=
Ø8mm
Ø20mm
38mm
Ø5mm
Exterior
7mm
8
7
Scandinavian
6
5
2
1
Insert the spindle into the lockset
follower and place the template over
the top.
Ensure the measurements are equal
to the door edge at the top and
bottom and mark out the applicable
holes.
Using a 5mm drill bit, drill a hole
7mm deep where indicated.
Hammer the tee nut into the drilled
hole, ensuring it sits ush with the
door.
Screw the m4 x 8mm screw into the
tee nut and tighten up fully.
Pass the supplied straws over the
wires and along bolts.
For Scandinavian prole locksets:
Re-thread the wires through the unit
in alignment with the lockset holes,
then feed the bolts over the wires
and tighten by hand.
For DIN18251-1 locksets:
Feed the through door bolts over
the wires and tighten by hand.
Insert the spindle into the square
slot with the pin facing down.
Using the follower bar as leverage
separate the chassis from the
main body of the unit.
2 3