Mainboard User’s Manual
Install the Mainboard
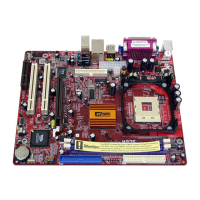
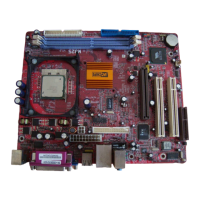
Install the mainboard in a system chassis (case). The board is a
Micro ATX size mainboard with a twin-tier of I/O ports. You can
install this mainboard in any ATX case. Ensure that your case has
an I/O cover plate that matches the ports on this mainboard.
Install the mainboard in a case. Follow the instructions provided by
the case manufacturer using the hardware and internal mounting
points on the chassis.
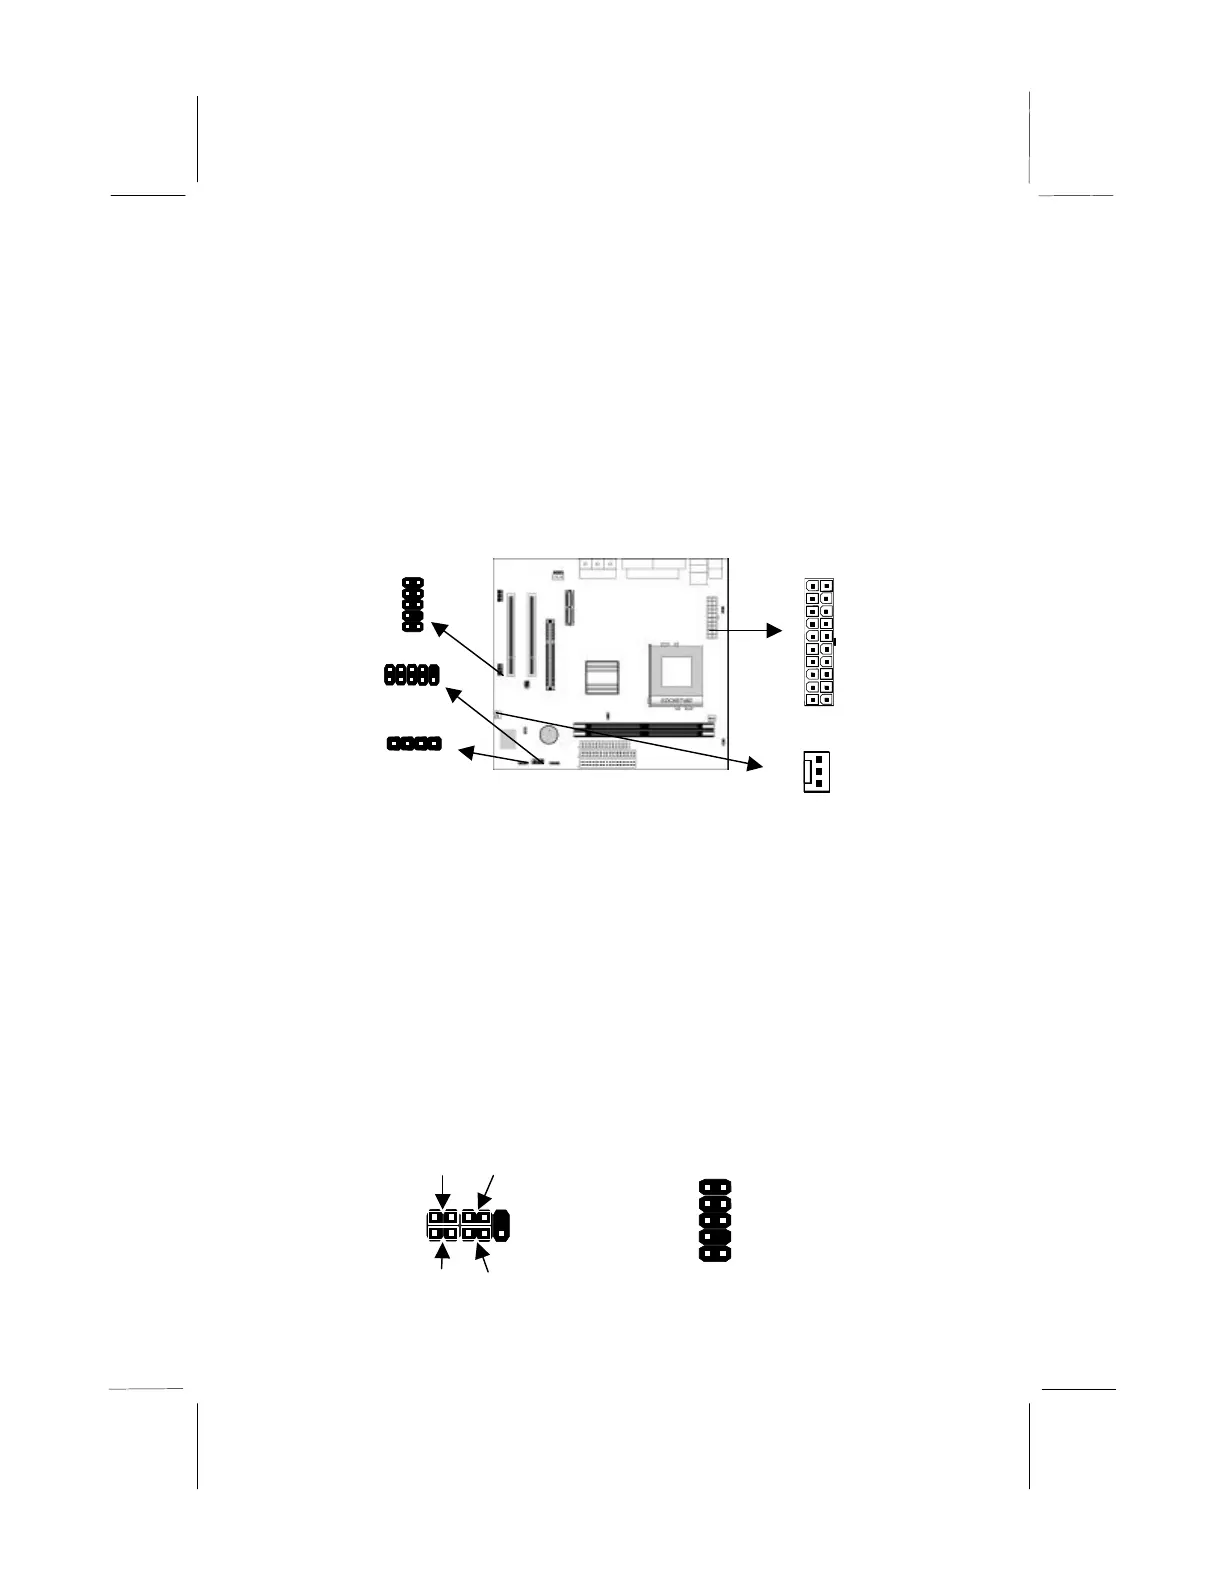
Connect the power connector from the power supply to the ATX1
connector on the mainboard.
If there is a cooling fan installed in the system chassis, connect the
cable from the cooling fan to the CHSFAN fan power connector
on the mainboard.
Connect the cable from the PC speaker to the SPK1 header on the
mainboard.
Connect the case switches and indicator LEDs to the SW1 header.
If there are a headphone jack or/and a microphone jack on the front
panel, connect the cables to the AUDIO1 header on the mainboard.
See the illustrations below for the guide to the SW1 and AUDIO1
headers pin assignments.
SW1
AUDIO1
CHSFAN
ATX1
Power (ACPI) LED
Pins 2-4
Pins 1-3
Reset Switch
Power Button
2
1
SPK1
AUDIO1
MIC-
FPOUT-
FPOUT-
2 GND
4 VCC
6 RET-R
8 Key
10 RET-L