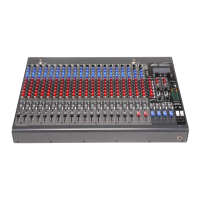
Installation
Page 9Peavey Electronics Corp
Installation
The Automix 4 is designed to be installed in a standard EIA equipment rack.
Since the depth of the unit is only 9-3/8”, you can use practically any size
rack. Using only a single EIA rack space, the Automix 4 includes integral
rack mounting ears and does not require any additional hardware for rack
mounting.......other than the rack screws!
All connections for the Automix 4 are made on the rear panel. It is recom-
mended that you provide an additional 4 inches of clearance between the
rear of the chassis and the interior rear of your equipment rack for wiring
harnesses. Since every connection to the Automix 4 is easy to disconnect,
the unit can be removed from an equipment rack easily, without having to
disturb fixed wiring harnesses.
Although the Automix 4 does not generate enough heat to warrant forced air
or convection cooling, it is recommended that you provide a single rack
space vent above, and below the unit when rack mounting. Using common
sense when installing this unit will ensure that it will provide years of trou-
ble free service. In installations where there are multiple power amplifiers, it
is further recommended that the Automix 4 be located toward the top of the
rack, while power amplifiers remain near the bottom. This is generally con-
sidered to be standard rack design in the commercial audio industry.
Following this convention will ensure adequate rack cooling and reliable
operation from the Automix 4.