21
INSTALLATION INSTRUCTIONS
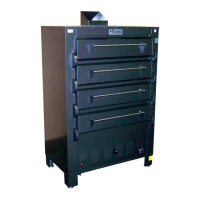
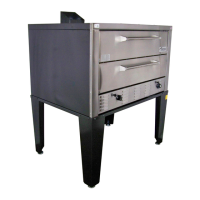
Models 2324, 2348
The installation must conform with local codes, or in the absence of local
codes, with the National Fuel Code, ANSI (Latest Addition). These models
The appliance should be connected ONLY to the type of gas for which it is
equipped. All equipment is adjusted at the factory. Check type of gas on the
serial plated on the bottom front of the oven.
1. Place the oven in desired location and level.
2. Venting: During installation, be sure the method of venting is correct,
as explained below.
DIRECT The oven is equipped with a 5” stamped hole in the top.
pipe, preferably on the oven and run the vent pipe from there.
Once installed, a correct situation is a positive draft. Incorrect
drafting is either excessive up draft or down draft. You can
period of time to see if the condition goes away. If questions
arise from there, call your local heating and ventilation
specialist.
CANOPY A canopy vent is simply the oven installed under a hood.
If a fan is being used in the hood, we recommend the use of
our special “canopy vent cap.” This piece is made to assure
that the fan will not suck all of the heat out of the oven.
NOTE: On all thread connections the pipe joint compound must be approved
for using on natural and propane gases.
and ventilation air are not obstructed. Provisions for an adequate air
supply must also be provided. Do not obstruct the front of the unit just
below the oven door, as air for combustion enters here.