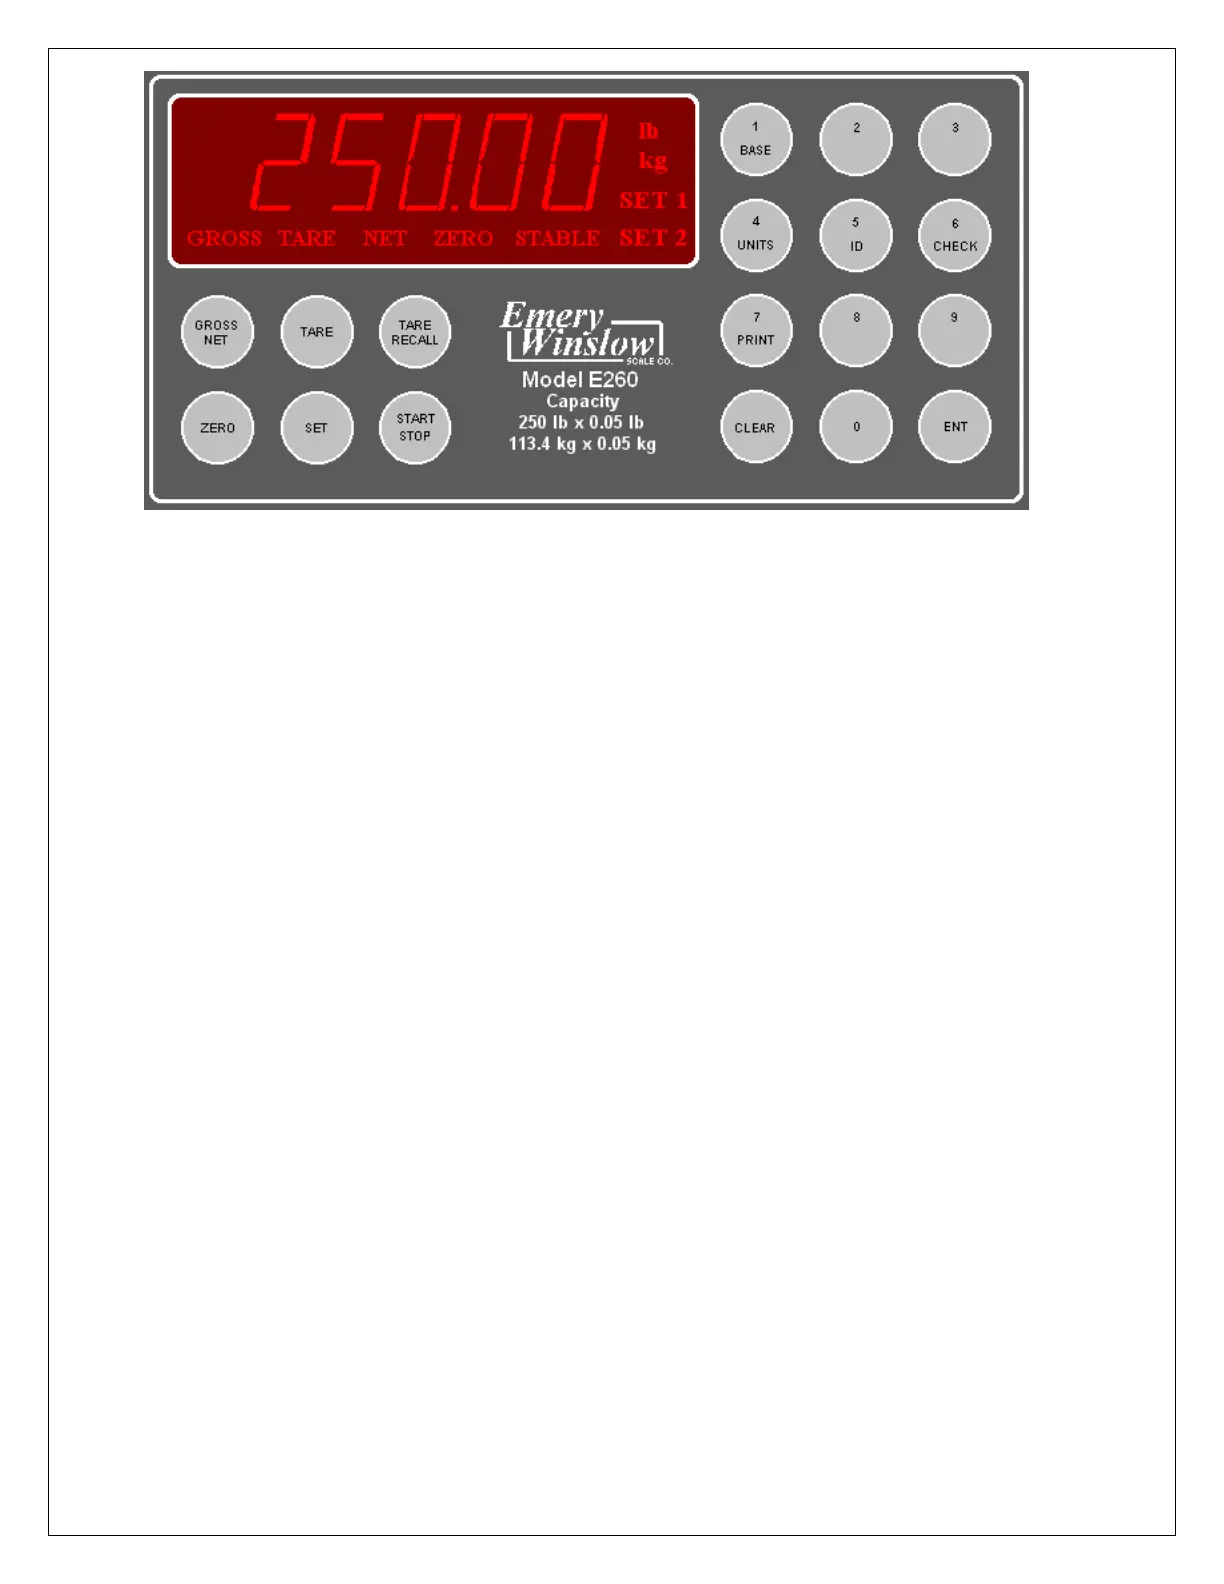
SETUP ACCESS
To access instrument configuration, calibration or to enable options, depress the “Zero” key for
five seconds.
The Audit Trail counters (“Pxxxx” and “Cxxxx”) are displayed first followed by access code
request (“AC?”). The initial factory setting is “0000” which can be entered with four steps of the
“Gross/Net” key (“AC0000”) and “Print”. If no entry is made, instrument returns to operate
mode.
The access code can be changed to any four digit combination during setup exit when display
again shows “AC?”.
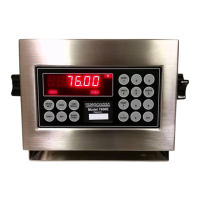
The “Check” key provides the software version “V 1.XX” followed by the display test routine.
Use the “ENT” key to advance to the keyboard test and to exit tests.
After entry, use the “Tare Recall” key to select a main menu; configuration (“SEL.CFG”),
calibration (“SEL.CAL”), or options (“SEL.OPX”) and “Start/Stop” to back step.
The “Gross/Net” key enters selected menu and is used to step through sub categories.
Individual parameter selection is made with the “Tare/Recall” key, which then steps through
the parameter choices (“Zero” key back steps within the menu).
The “ENT” key is used at any point to “back” up from categories to menus and to “save?” and
“AC?” and exit.
During the exit steps, if changes were made, the display is “save?” with alternate “no”. To save
changes, use the “Units” key to select “yes” and “ENT” to exit.
Calibration numeric entries are entered directly followed with the “ENT” key.
5
Front panel access is inhibited if conventional “sealing” is applied by
setting jumper J1-1 in the B position. The board mounted “CAL” button is
then used for access.