Step 4: Set Regen Time
Time & Day
Time & Day
Salt
SU MO TU WE TH FR SA DAYS
Capacity
Hardness
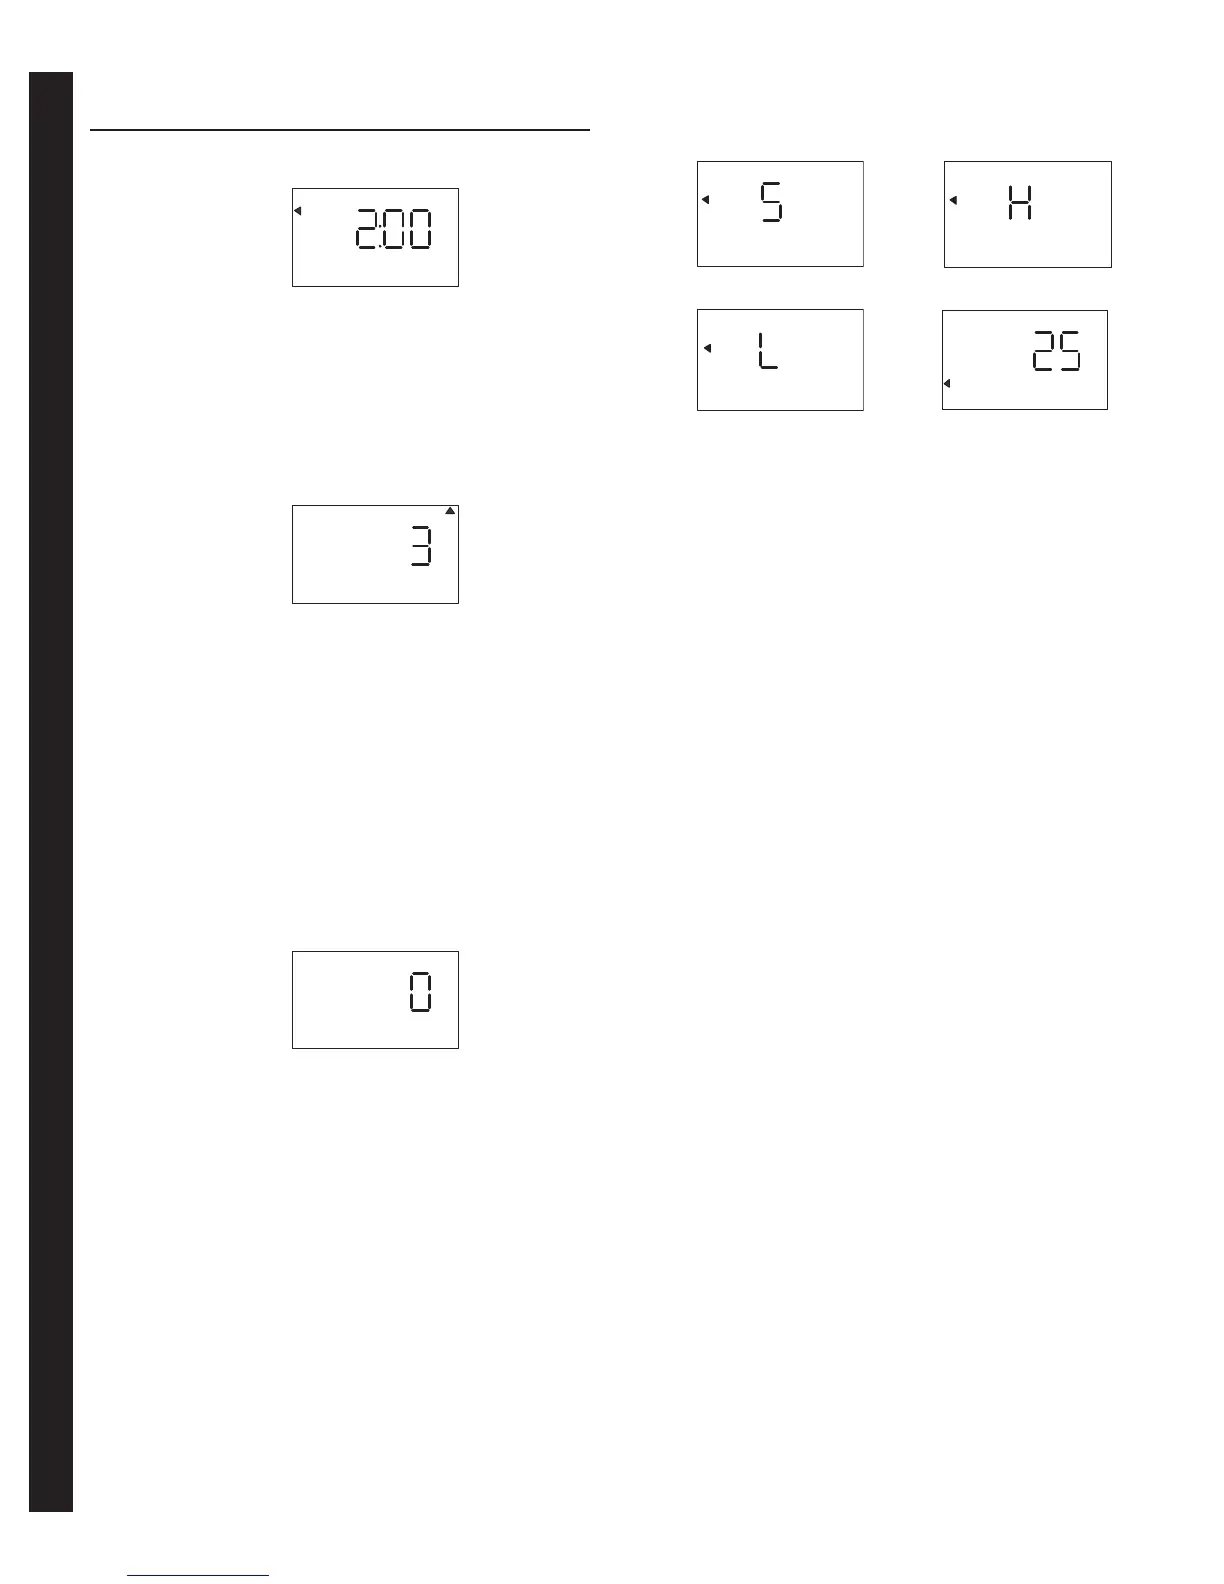
• 2:00 (AM) is the default time of regeneration. To accept
this time, press the DOWN button to move to step 5.
• To change the regen time, press SET - causing 2:00 to flash.
• Use the UP and DOWN buttons to advance to the desired
regen time.
• Press SET to accept the time and advance to the
next parameter.
Step 5: Set Days to Regenerate (740 Time-clock Control Only)
Time & Day
Time & Day
Salt
SU MO TU WE TH FR SA DAYS
Capacity
Hardness
• If using 760 control - proceed to step 5a.
• Set number of days between time-clock regeneration
(regen frequency).
• Default time is 3 days.
• Days can be adjusted from 1/2 (.5) to 99 days.
• To change, press SET to make the "3" flash.
• Use the UP and DOWN buttons to change to the number
of days desired.
• Press SET to accept the regen frequency, and advance to
the next cycle.
To use the 7-day timer option - see full Dealer
Installation Manual.
Step 5a: Set Calendar Override (760 Demand Control Only)
Time & Day
Time & Day
Salt
SU MO TU WE TH FR SA DAYS
Capacity
Hardness
• If using 740 control - proceed to step 7.
• Set number of days for calendar override on
demand control.
• "0" days is the default for calendar override.
• Days can be adjusted from 1/2 (.5) to 99 days.
• To change, press SET to make the "0" flash.
• Use the UP or DOWN buttons to change to the number of
days desired.
• Press SET to accept the regen frequency, and advance to
the next cycle.
LOGIX™ SERIES INSTALLER
QUICKSTART SHEET CONTINUED
Step 6: Amount of Regenerant used per Regeneration
Time & Day
Time & Day
Salt Amount
SU MO TU WE TH FR SA DAYS
Capacity
Hardness
Time & Day
Time & Day
Salt Amount
SU MO TU WE TH FR SA DAYS
Capacity
Hardness
Standard Setting High Capacity Setting
Time & Day
Time & Day
Salt Amount
SU MO TU WE TH FR SA DAYS
Capacity
Hardness
KG
Time & Day
Time & Day
Salt
SU MO TU WE TH FR SA DAYS
Capacity
Hardness
Low Setting (High Efficiency)
• Set desired regenerant amount.
• Default setting is "S" standard salting.
• 3 salt settings are available on 740 and 760 controls:
S – Standard Salt – 9 lbs/cubic foot of resin (120 grams/
liter of resin)
H – High Salt – 15 lbs/cubic foot of resin (200 grams/liter
of resin)
L – Low Salt – 3 lbs/cubic foot of resin (40 grams/liter
of resin)
• Low Salt is the "Highly Efficient Mode".
• To change salt setting, press the SET button and use the
UP and DOWN buttons to change to the desired setting.
• Press SET to accept the setting and advance to the
next parameter.
See Dealer Installation Manual for more complete information
on :salt settings for different system sizes, capacities and
expected efficiencies.
Step 7: Estimated Capacity
• System capacity is displayed in total kilograins or kilograms
of hardness removed before a regeneration is necessary.
• Value is derived from the system’s resin volume input,
and salt amount input.
• The capacity displayed is a suggested value - as
recommended by resin manufacturers.
• Capacity is only displayed for information purposes on
740 control - it does not (and cannot) need to be changed.
• To change capacity on 760 control, press SET to make the
default capacity flash. Use the UP and DOWN buttons to
increment to the desired capacity.
• Press SET to accept the setting and advance to the
next parameter.
If using 740 control, programming is complete. The control will
return you to the normal operation mode.
Step 8: Enter Hardness (760 Demand Control Only)
• Enter inlet water hardness at installation site.
• Default hardness setting is 25 grains (25 ppm for metric).
• To change hardness, press SET to make the setting flash.
Use the UP and DOWN buttons to scroll to the
correct hardness.
• Press SET to accept the entered hardness value.
• The control will return you to the normal operation mode
Initial system programming is now complete. The control will
return to normal operation mode, if a button is not pushed for
30 seconds.
4 •AUTOTROL
®
740/760 Control 255 & Performa Series Valves (268, 268FA) Service Manual
QUICK START

 Loading...