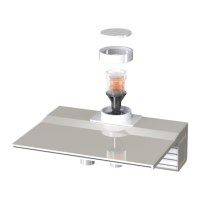
MagicFalls with LightCascade Technology LED Light Installation and User’s Guide MagicFalls with LightCascade Technology LED Light Installation and User’s Guide
13
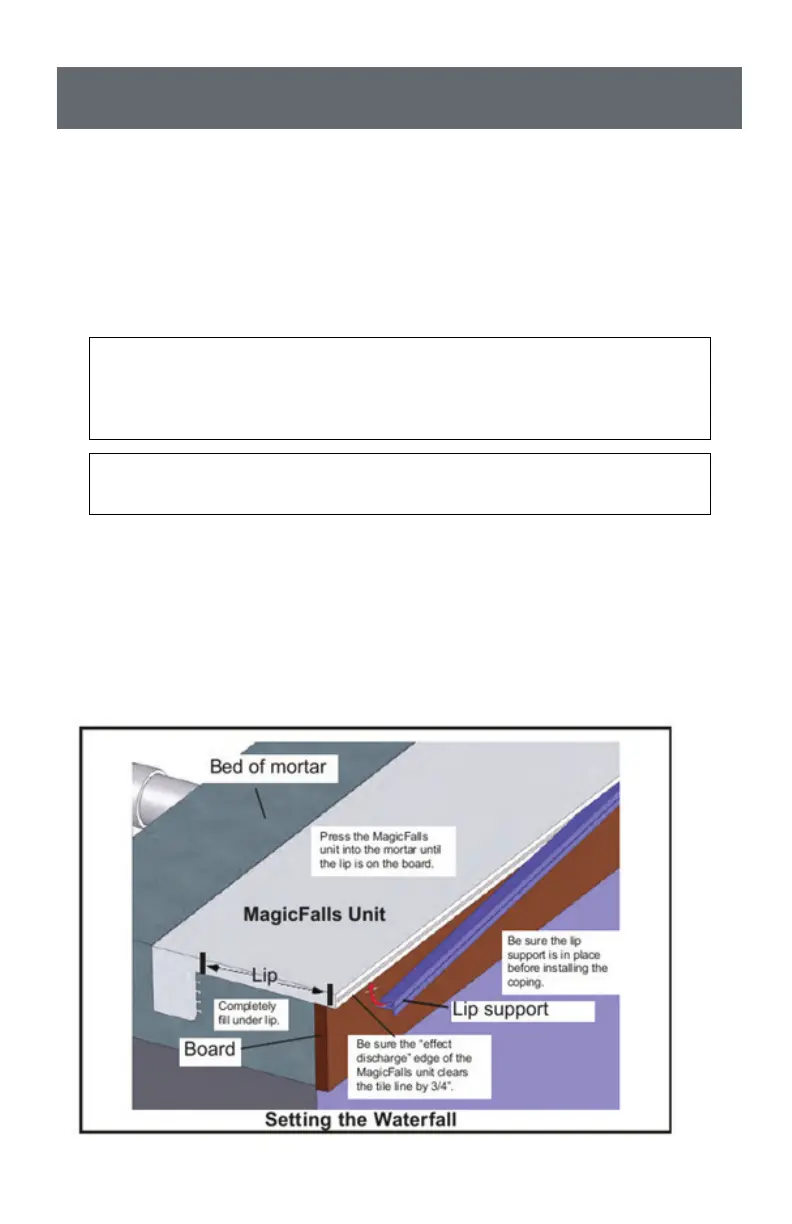
2. Setting the Waterfall, see Figure 2.
Create a bed of mortar in the notch in the bond beam and press the waterfall
unit into the mortar until the bottom of the lip is flush with the board (Figure 2).
Be sure the lip support is pressed into the slot to prevent debris from getting
into the waterfall. When the supply pipe from the filter is clear of all debris,
solvent weld the water supply pipe and electrical conduit to the waterfall.
Note: The water connections on the waterfall ARE ABS MATERIAL AND THE
LIGHT PORTS ARE PVC. Use a pool industry standard brand of PVC cement
for the PVC connections and ABS transition Glue (green) for the PVC to ABS
connections.
Note: CLEAN THE SUPPLY PIPE: Waterfalls are sensitive to debris. Flush the
supply pipe cpmpletely before attaching it to the waterfall.
Critical considerations, see Figure 2.
1. The area under the lip must be completely supported by mortar. If not,
the coping will warp the waterfall and affect the light output and water
flow.
2. The leading edge of the waterfall edge (the edge from which the water
spills) needs to clear the face of the tile line by at least 3/4”.
INSTALLING THE MAGICFALLS
®
WITH LIGHTCASCADE
TECHNOLOGY™ (CONTINUED)
Figure 2. Setting the Waterfall.