911-1038 REV. D 1
SHURFLO
®
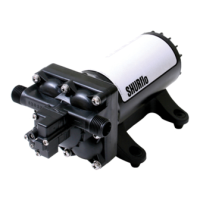
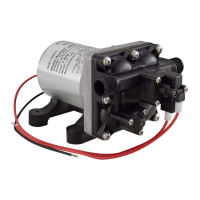
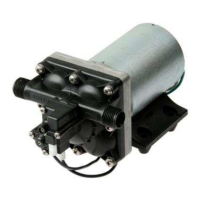
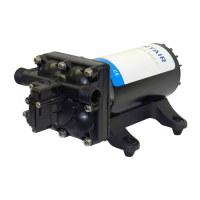
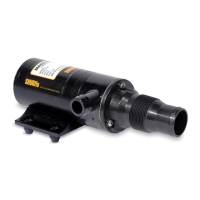
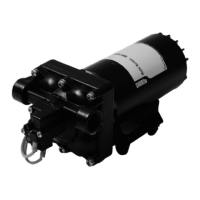
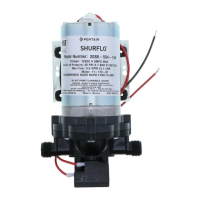
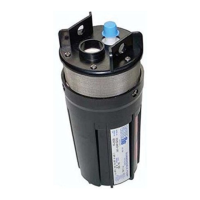
RV FRESH WATER PUMP - TRAIL KING II
INSTALLATION & OPERATION MANUAL FOR USE ON RV / CARAVANS
MODEL SERIES 4029 & 4009
SHURFLO water pumps meets all essential health and safety standards and are in conformance with European standards for
Electromagnetic Compatibility (EMC). Specific declarations of conformity are available on request.
MOUNTING
❚ Mount the pump on a solid surface to
prevent vibration and noise.
❚ Mount the pump within 1.8 Meters [6
feet] of the water storage tank for best
performance and pump life. Although the
pump can pull further, the further it pulls
the harder it runs increasing vibration and
noise, and reducing output and pump life.
❚ Mount the pump in a space of at least 1
cubic foot for adequate ventilation to pre-
vent the electric motor overheating.
PLUMBING
❚ Installation of a strainer prior to the
pump inlet is required to prevent debris
from entering the pump. If a strainer is not
installed prior to the pump then the war-
ranty is not valid.
❚ For noise and vibration reduction use at
least 0.5M [18 in.] of 13mm [ ½”] I.D. flex-
ible high-pressure hose connected to both
inlet– and outlet- ports. These hose should
be anchored where it meets the hard
plumbing to reduce plumbing vibration.
The pump ports and strainer should not be
connected to rigid plastic pipe.
❚ Installation of a check valve between the
pump and the water heater (if applicable)
will prevent damages to the pump and
the city water entry due to high pressure
spikes from the water heater.
ELECTRICAL
❚ The pump works best on an individual
filtered circuit, protected by the fuse or
breaker specified on the pump label.
❚ A 15-Amp switch is recommended and
should be attached to the positive lead.
❚ Proper wire sizing is required for good
pump operation. If the wire is too small,
low voltage will affect the pump perfor-
mance and can create hazard.
❚ SHUT OFF POWER TO THE PUMP WHEN
LEAVING THE RV/CARAVAN UNATTENDED.
INSTALLATION GUIDELINE
The goal of installation is quiet pump op-
eration, achieving desired water flow, low
back pressure and easy maintenance. This
can be accomplished by following these
guidelines:
❚ Pump should be located in an area that
is dry & provides adequate ventilation.
❚ Mount on a solid surface in an acces-
sible location for strainer cleaning and
pump maintenance.
❚ Use flexible high-pressure hose on the
pump inlet and outlet [such as SHURFLO
Kit 94-591-01].
❚ The pump inlet– and outlet– ports and
strainer should not be connected to rigid
plastic pipe; otherwise the normal pump
action will transmit cavitation through
rigid plumbing causing noise and possible
loosening or cracking components.
❚ The pump must be installed with an
adequate 50-mesh strainer [such as
SHURFLO 255 series strainers].
❚ Plumbing must have a minimum Inner
Diameter of 13mm [1/2”]. Smaller ID
plumbing will cause cavitation, high back-
pressure, low flow and noise.
DETAILS
❚ 1/2” Male threaded models are intended
to be used with SHURFLO swivel barb
fittings which seal with an internal taper
when hand tightened. CAUTION: Sealers
and Teflon tape may act as a lubricant
causing cracked housings or stripped
threads due to over tightening. Sealer may
enter the pump inhibiting valve action,
causing no prime or shut-off. A failure
due to foreign debris is not covered under
warranty.
❚ Reduce restrictions on the pump inlet
and outlet. This includes any shut-off
valves, winterizing valves and elbows with
smaller inner diameters.
❚ There is no requirement to use an ac-
cumulator tank with 4009 Series by-pass
pumps.
❚ The pump is designed for intermittent
duty only. Do not use these pumps for
running a Reverse-Osmosis [RO] filtra-
tion system. High pressure and continu-
ous duty usage will shorten the life of the
pump and is not covered under warranty.
❚ Wire Size is 16 GA the MINIMUM, 12 GA
is recommended (please See Wire Chart in
Electrical Section (back page figure-1) for
wire sizing.
❚ Pump may be mounted in any orienta-
tion.
❚ Position the pump for easy access
for cleaning strainer, maintenance and
service.
❚ Pump is not intended to be inundated
and must be protected from humidity,
moisture, dust, dirt. A failure due to these
conditions is not cover under warranty.
❚ The minimum power circuit requirement
is 10 Amps.
❚ Reduce restrictions on the inlet and
outlet. This includes small inner diameter
shut-off valves, winterizing valves and
elbows.