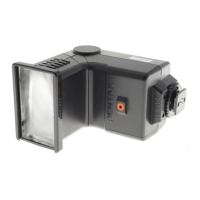
29
Press the [S] select button so that [Aperture
value] on the LCD panel blinks. Turn the
adjustment dial to set the desired aperture
value. Then press the [S] button so that [ISO]
blinks on the LCD panel. Turn the adjustment
dial to set the [ISO]. Next, press the select
button once so that the blinking stops. This
completes the setting.
• If you change the ISO film speed, the
aperture value also varies accordingly.
Set the aperture value after you change
the ISO film speed.
Set the lens aperture to the same [Fno.]
aperture you set with the flash unit.
Set the flash zoom position to match the lens
focal length.
Set this manually even with an autofocus lens.
• Set manual regardless of the type of lens
being used.
Check that the flash is ready, then take the
picture.
• When the camera’s exposure mode is
Programmed AE or Shutter-Priority AE, the
aperture value set on the flash will be
automatically be set on the camera.
• When the photograph is properly taken, the
auto flash confirmation display will appear.
[The flash display panel [A] will blink for 2
seconds.]
• The possible photography distance range will
be displayed on the LCD panel operational
distance display bar graph.
• If the power is turned temporarily OFF, the
flash will be set to P-TTL or TTL auto. Return
the setting to Auto flash.
• The sync mode will be fixed in Leading-
curtain-sync. Under the following conditions
use Auto flash even for Auto focus cameras.
* When the camera’s exposure mode is metered
manual mode.
* When the camera’s exposure meter switch is
set to OFF.
* With LX camera, set the shutter dial to "X" or
lower. If you set the camera to "AUTOMATIC",
the flash would fire for every shutter speed,
causing in some cases synchronization
failure.
28
The built-in flash metering sensor sets the flash
output automatically.
• Use with cameras that are not P-TTL or TTL
Auto flash compatible.
■ Procedure
Turn on the power switch.
Press the flash mode button so that auto flash
[A] is displayed on the LCD panel.
AUTO FLASH