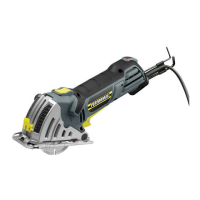
CUTTING (without the edge guide)
NOTE: Feed the blade into the workpiece at a
slow steady pace. Do not force the tool so the
motor slows down. The blade will cut faster and
cleaner when turning at full speed.
WARNING: Never try to cut a curve. This
tool is designed only for straight line cuts.
Attempting to cut curves will damage the
blade, make rough cuts and possible break
the blade. Serious injury may result.
When the cut is completed, release the ON/OFF
trigger switch and wait for the blade to come to
a complete stop before removing the tool from
the workpiece.
WARNING: Make sure the blade guard
returns to its normal position covering the
blade before taking your hands off the tool.
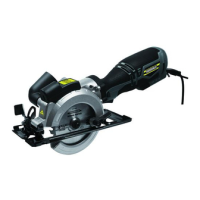
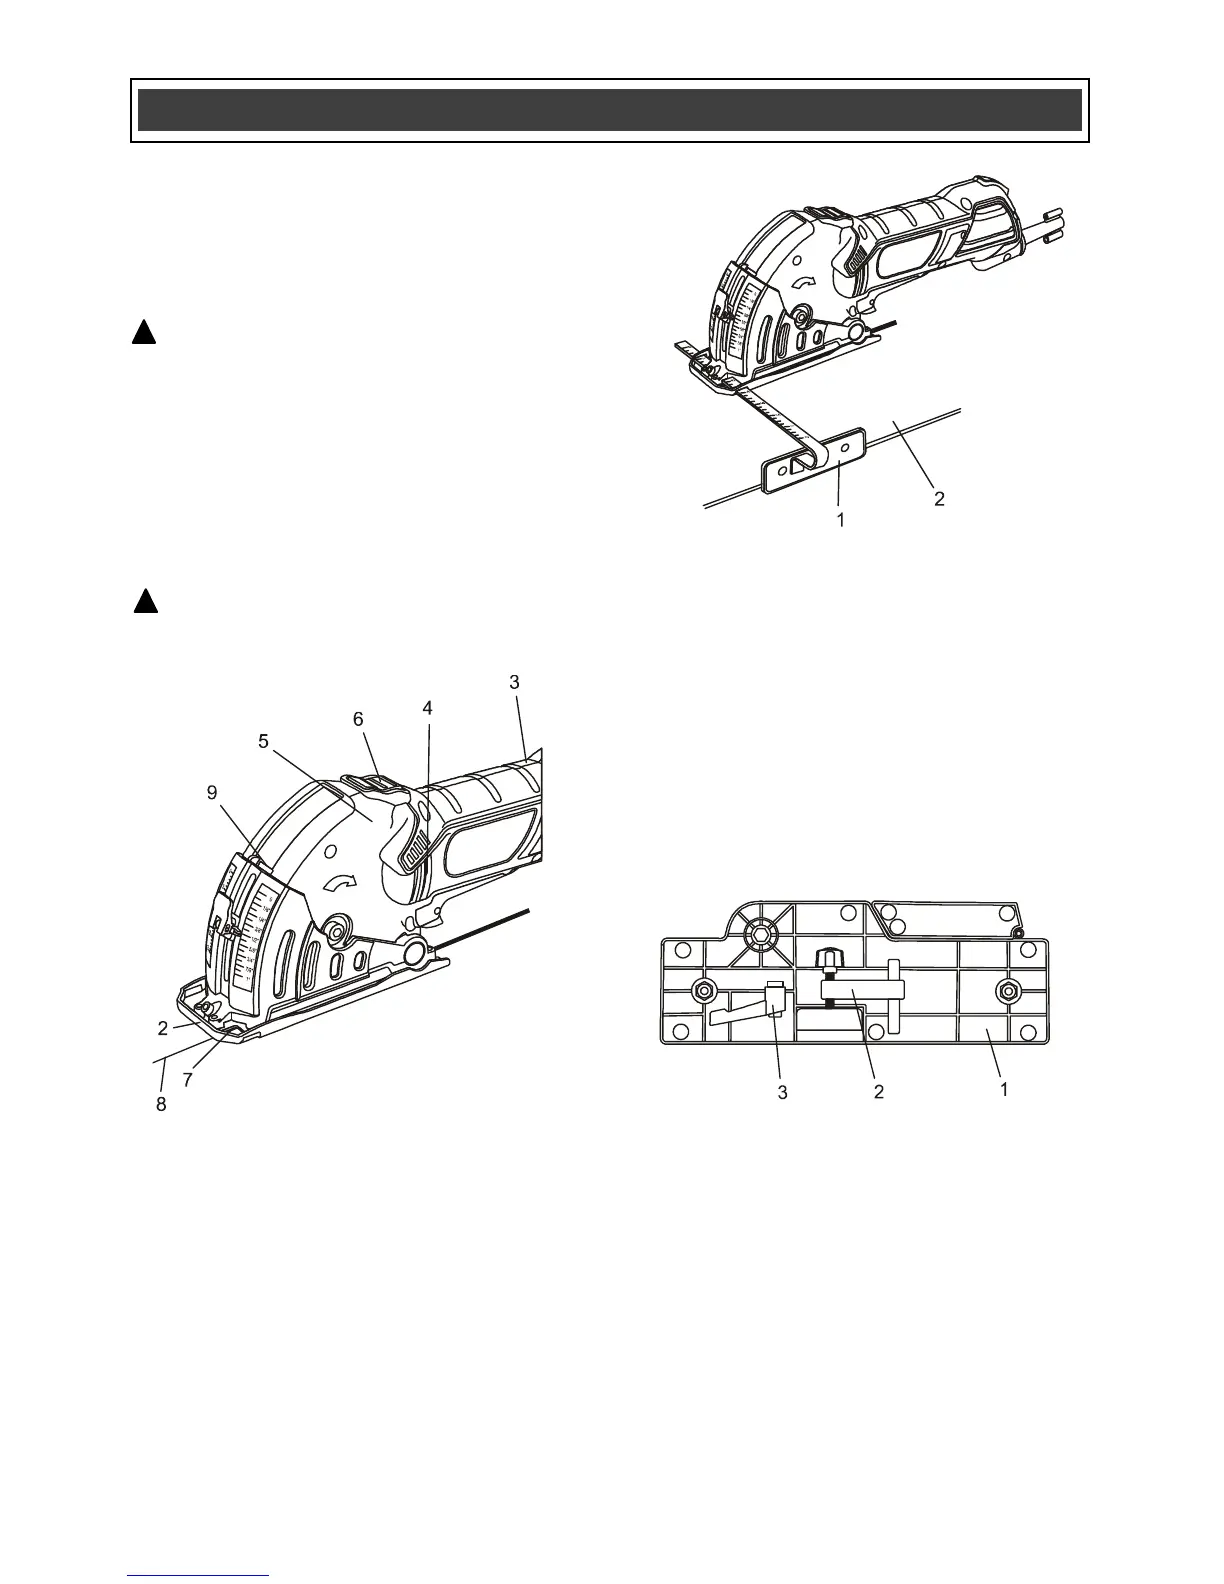
CUTTING (with the edge guide)
To cut using the edge guide, follow the same
basic principles as noted in Paragraphs 1
through 8 above. Instead of following a cutting
line, you will simply set the edge guide at the
appropriate width and hold the guide shoe (1)
against the edge of the workpiece (2) to guide
the blade in a straight line (Fig. 9).
ASSEMBLING THE CUTTING & MITER GUIDE
The cutting & miter guide helps you make
accurate cross cuts and miter cuts with ease.
1. Turn the cutting & miter guide (1) up side
down and remove the hold-down clamp
assembly (2) and the miter clamping lever
(3) (Fig. 10).
NOTE: Both accessories are held in place
by friction-fit clamps.
2. Turn the cutting & miter guide upright and
set it on a suitable workbench or table.
3. Remove the shipping wing nut (4) and
thread the miter adjusting lever (3) onto the
threaded bolt.
NOTE: Leave the flat washer (5) on the
threaded bolt.
!
 Loading...