E
Emma BarnettJul 31, 2025
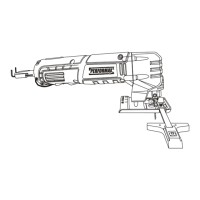
What to do if my Performax 240-3669 Saw blade binds, jams, burns wood, saw vibrates or shakes, or laser line projection is hard to see?
- JJason EdwardsJul 31, 2025
If your Performax Saw blade binds, jams, or burns wood, and the saw vibrates or shakes, or the laser line projection is hard to see, several factors could be at play. It might be due to improper operation (refer to the OPERATION section), a dull, warped, or damaged blade, or an improper blade. Ensure the arbor bolt is tightened. If the light in the work area is too bright, move the saw to an area with proper lighting. If there's sawdust on the laser lens, clean it with a soft, dry brush.