Page 27
OPERATION
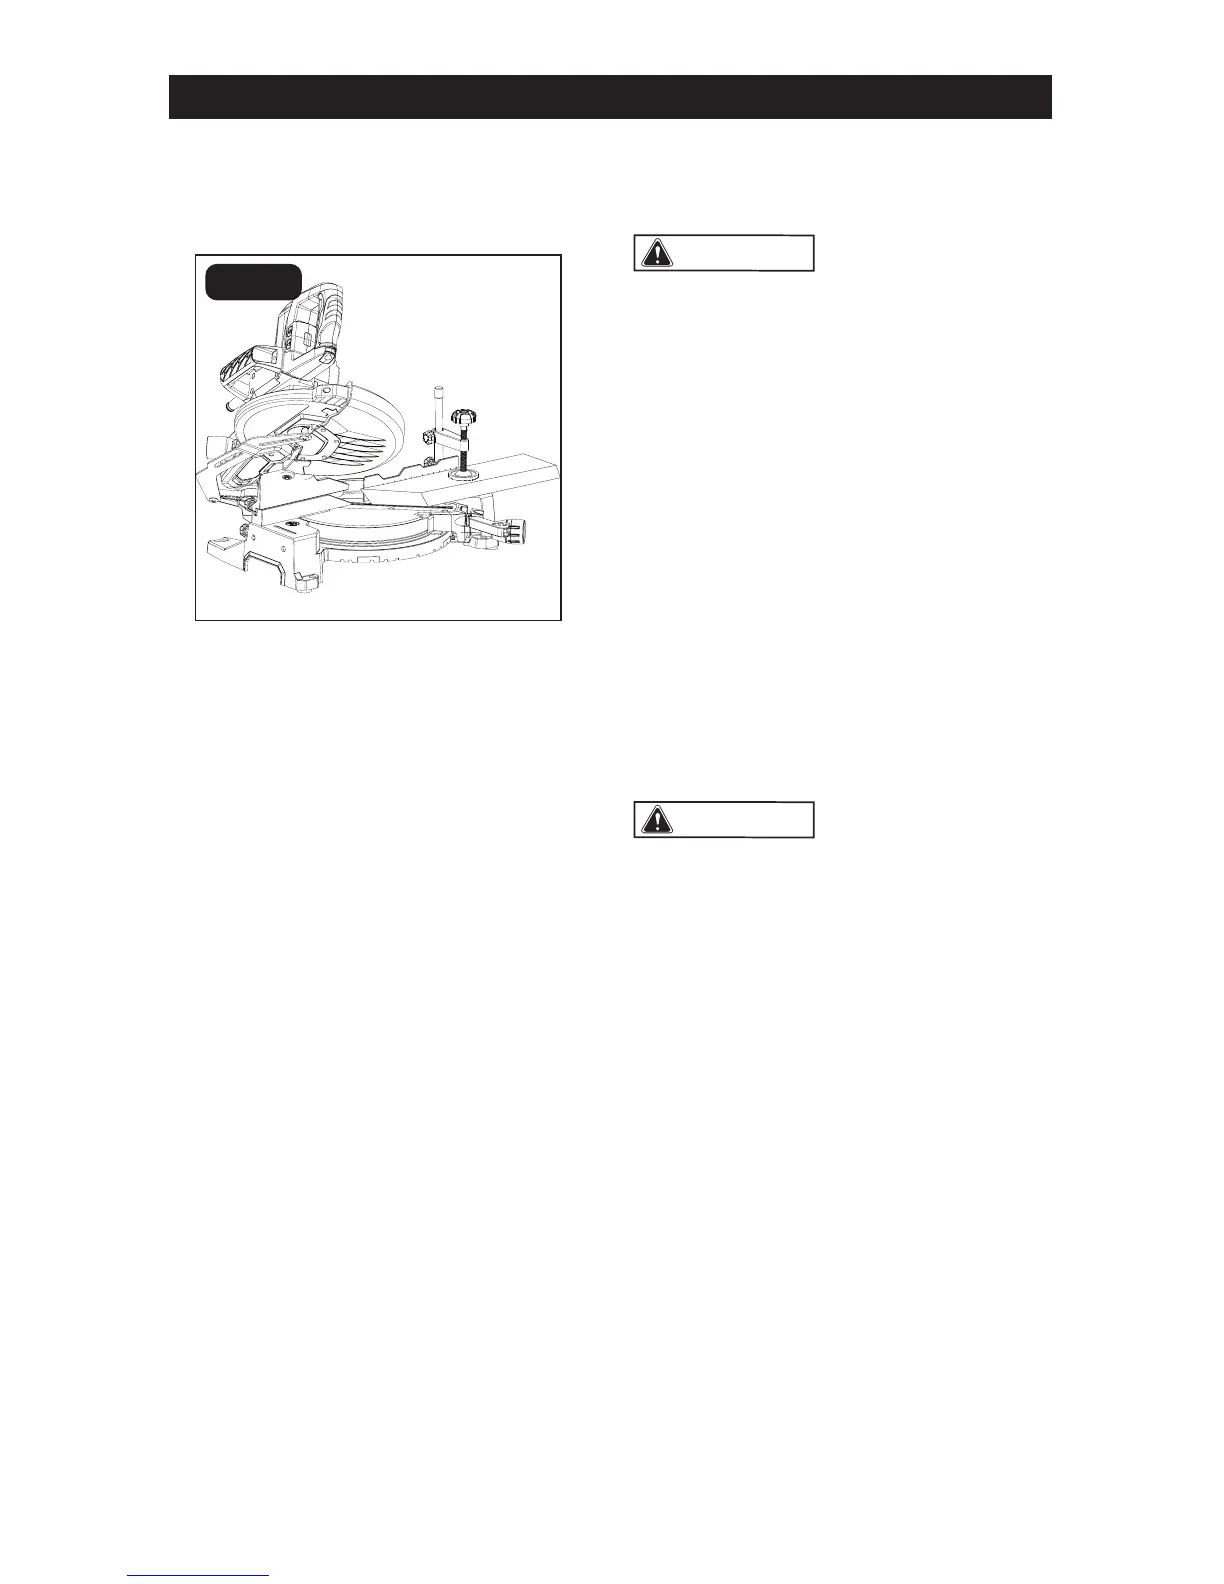
COMPOUND MITER CUTTING
(FIG. 25)
A compound miter cut is a cut made using a
miter angle and a bevel angle for the same
cut. This type of cut is used for decorative
moldings, picture frames, and other ne
joinery.
To make a compound miter cut, the miter
table must be rotated to the correct
miter angle and the saw arm must be tilted
to the correct bevel angle.
Always take special care when making
compound miter cuts due to the
interaction of the two angle settings.
Adjustments of miter and bevel settings are
interdependent. Whenever the miter setting
is adjusted, the effect of the bevel setting
also changes. Whenever the bevel setting is
adjusted, the effect of the miter setting
is changed.
It may take several settings to obtain
the desired cut. The rst angle setting
should be checked after setting the
second angle, because adjusting the
second angle affects the rst.
Once the two correct settings for a
particular cut have been obtained, always
make a test cut in scrap material before
making a nish cut in good material.
FIG. 25
Compound Miter Cut with the Miter Saw
1. Unplug the saw.
Failure to unplug the
saw could result in accidental start-up,
which may cause serious injury.
2. Use a pencil to mark the cut line on
the workpiece.
3. Push the locking pin in to lock the
saw arm in the down position.
4. Loosen the miter locking knob by
turning it counter-clockwise and depress
the detent locking lever; move the saw
to the desired angle using either the
miter stops or the miter scale.
5. Quickly locate 0°, 15°, 22.5°, 31.6° and
45°, left or right by the stops or clicks
at these angle settings. Tighten the
miter locking knob by turning it
clockwise (Fig. 23c).
6. Pull the locking pin out to release the
saw arm.
To avoid serious
personal injury, always securely tighten
the miter locking knob before making a
cut. Failure to do so could result in
movement of the control arm or the miter
table while making a cut.
7. To set the bevel angle, lift the bevel
locking lever and tilt the saw arm to the
desired bevel angle, as shown on the
bevel scale. Bevel angles can be set
from 0° to 48° left.
8. Once the saw arm has been set at the
desired angle, tighten the bevel locking
lever securely.
9. Place the workpiece at on the miter
table, with one edge securely against
the fence. If the board is warped, place
the convex side against the fence. If
the concave edge of the board is against
the fence, the board could collapse on
the blade at the end of the cut and jam
the blade (refer to Fig. 26-27).
WARNING:
WARNING:
Compound cut, 45° Bevel, 45° Miter
 Loading...