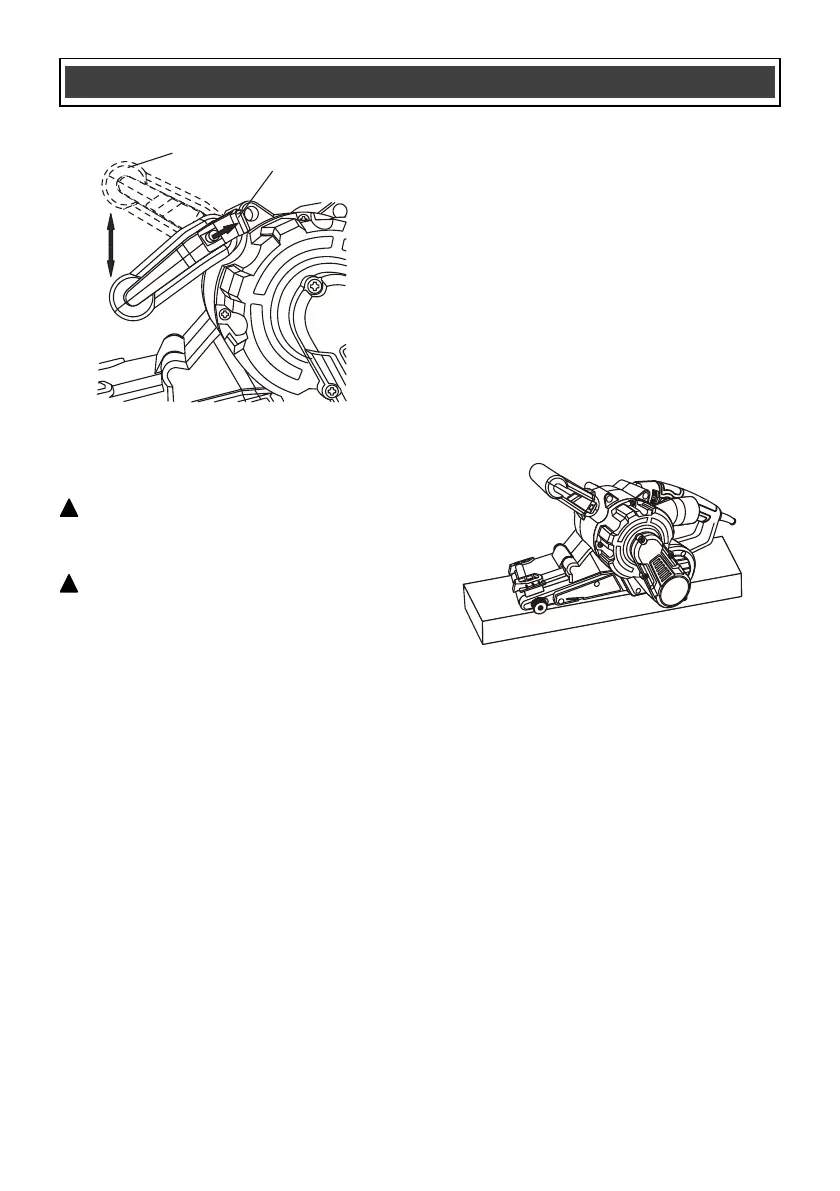
ADJUSTING THE FRONT HANDLE – cont’d
GENERAL PURPOSE SANDING
WARNING: Never use the belt sander as a
wet sander. The tool will be damaged and
possibly become a fire hazard.
WARNING: Never use the belt sander to
sand any metal containing magnesium.
Magnesium could become a fire hazard.
1. Squeeze the trigger switch and check to
make sure the sanding belt is tracking in the
center of the sanding belt rollers. Adjust if
necessary (Fig. 6).
2. Carefully lower the tool until the sanding belt
contacts the workpiece (Fig. 8).
NOTE: For general sanding, always place the
sander on the workpiece so the sanding belt is
running parallel to the wood grain. Sanding
across the grain will produce a much rougher
surface.
3. While applying only light pressure on the
sander, move it across the workpiece surface
to be sanded.
NOTES:
a) It is important to keep the sander moving at
all times while the sanding belt is in contact
with the workpiece. Allowing the tool to
become stationary will create a groove or
detent in the workpiece.
b) Only apply light pressure to the sander while
it is working. Applying too much pressure will
slow the belt down and produce a rougher
surface. It will also overheat and damage the
motor.
4. When sanding is completed, lift the sander
away from the workpiece and turn the switch
OFF.
NOTE: Always allow the sanding belt to come to
a complete stop before setting the tool down.
SANDING ROUGH WOOD SURFACES OR
REMOVING PAINT
1. Sand rough wood surfaces or remove paint
by sanding across the grain at 45° in both
directions (Fig. 9).
NOTES:
a) Sanding at 45° will result in faster removal of
surface material.
b) Move the sander in a linear motion only.
Moving the sander in an orbital motion may
cause the belt to track improperly on the
sanding belt rollers.
2. Finish sanding parallel to the wood grain.
 Loading...