6
www.petsafe.net
ENFINO
SV
DA
If you are installing into a wall or door ≥ 54 mm thick, you will screw into the
wall on the interior and also the exterior sides (screws not included).
Start screws, but do not tighten at this time. Place foam strip between interior
frame and your wall or door for additional insulation. Cut off any excess.
Helpful Tip: Use a screwdriver to tuck the foam strip under as you work
around the frame.
Use a screwdriver to evenly tighten screws through-out frame while keeping
tunnel in position.
Helpful Tip: Look through flap opening to check if tunnel is in position as you
tighten the screws.
NOTICE: Use a manual screwdriver to tighten screws. Do not
overtighten. Overtightening can strip the screws or warp the
pet door frame.
Use wire cutters to trim screws flush with exterior frame.
OPTIONAL: Apply silicone adhesive around the exterior frame (frame with
one flap) and inside pet door threshold where tunnel meets the frame for
improved weather resistance.
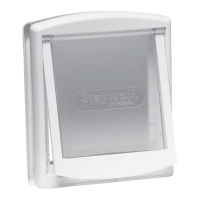
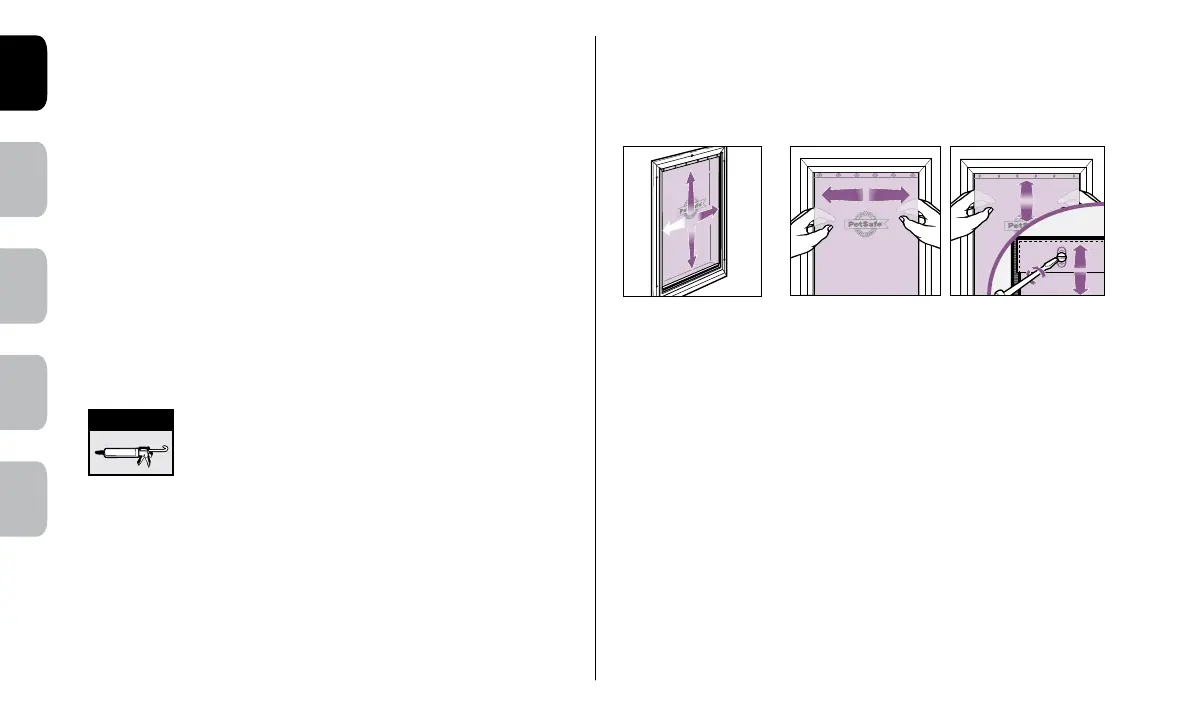
Fitting and adjusting the flexible flap
During extreme changes in weather, vinyl flaps can shrink during cold months
and expand in warmer months. Easily replace or adjust to ensure a snug fit
during seasonal changes.
Your PetSafe
™
pet door is now ready
to use.
Optional
FIG. 10
The flexible flap is
adjustable to fit into
frame correctly.
FIG. 11
Horizontal
adjustment
Move flap left or right
to adjust position.
Tighten screws
when correct.
FIG. 12
Vertical
adjustment
Move flap up or down
to adjust position.
Tighten screws
when correct.
 Loading...