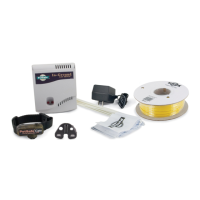
Do you have a question about the Petsafe Classic In-Ground Fence and is the answer not in the manual?
Plan and install the fence system, considering weather and help.
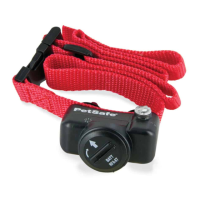
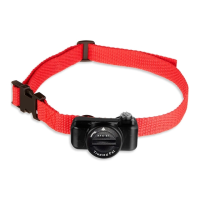
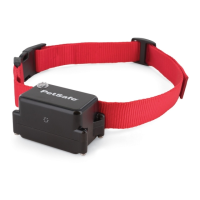
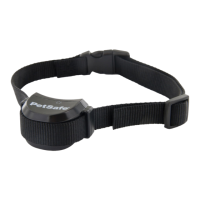
Ensure proper fit for effectiveness and pet safety, avoiding irritation.
Train dog to understand and respect boundaries, consider age and behaviour.
Discourages pets from lingering in warning zone by delivering static stimulation.
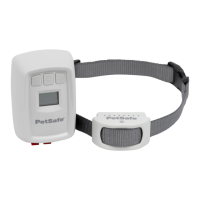
Automatically increases static stimulation when pet goes too far into boundary.
Limits static stimulation duration to protect pets from prolonged or freezing effects.
Call utility company to mark lines to avoid interference with buried boundary wire.
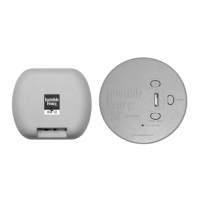
Connect charging cable to collar and USB port; status light indicates charging status.
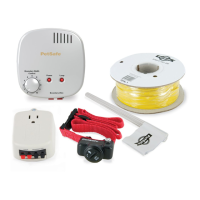
Plan fence layout and estimate boundary wire length needed based on area.
Create a single containment area for entire property or exclusion zones around features.
Section off property areas with parallel wire sections, keeping them 1.5m apart.
Most common layout, allows pet to roam entire property, protects gardens and pools.
Incorporates existing fence, reduces installation time by not burying all wire.
Creates a boundary in a specific section using a U-turn path, keeping wires separated.
Creates a boundary along the front property line using a U-turn path.
Place wire in expansion joint or groove, cover with waterproofing compound.
Place boundary wire in PVC pipe or water hose before burying.
Methods for chain link and wooden fences using weaving or staples.
Using double loops or gates with existing fence structures for boundary creation.
| Type | In-Ground Fence |
|---|---|
| Collar Type | Receiver Collar |
| Adjustable Levels | Yes |
| Battery Type | RFA-67 battery |
| Compatibility | Compatible with all Petsafe In-Ground Fence systems |
| Wire Length | 500 feet |
| Pet Weight | 8 pounds and up |
| Neck Size | 6-28 inches |
| Wire Gauge | 20 gauge |
| Waterproof Receiver | Yes |
| Tone Only Mode | Yes |
| Suitable for Dog Weight | 8 pounds and up |
| Adjustable Correction Levels | 4 adjustable levels plus tone-only mode |