Do you have a question about the Petsafe SmartDoor Connected Pet Door and is the answer not in the manual?
Lists necessary tools and materials for installing the pet door in a metal door.
Measure pet's shoulder height and mark the door for correct placement.
Align cutting template with marked lines to prepare for opening cut.
Drill pilot holes and cut the opening in the door using a jigsaw.
Install the pet door assembly into the opening using spacers and adapters.
Finalize metal door installation by inserting blanking plugs.
Lists necessary tools and materials for installing the pet door in a wall.
Determine the required number of tunnel extensions based on wall thickness.
Choose wall location, find studs, and mark vertical/horizontal lines.
Cut template and tape to wall, aligning with marked lines.
Drill pilot holes in wall and cut opening using a jigsaw.
Attach installation adaptor and tunnel extensions to the interior frame.
Insert interior frame assembly into wall opening and mark screw holes.
Attach spire clips to adaptor, then attach exterior frame.
Secure exterior frame and install blanking plugs to finish wall installation.
Lists professionals and items needed for glass installation.
Arrange for a professional to cut a glass panel with a pre-cut opening.
Place foam spacer and insert interior frame assembly into glass opening.
Finish glass installation by inserting blanking plugs into frame and adaptor.
| Connectivity | Wi-Fi |
|---|---|
| Compatibility | iOS, Android |
| Material | Plastic |
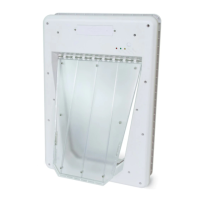
| Door Type | Flap Door |
| Locking Mechanism | Electronic lock |
| Product Type | Smart Pet Door |
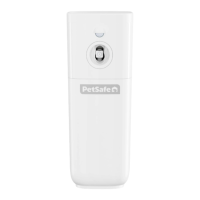
| Power Source | Battery |
| Features | Smartphone Control |
| Weather Resistance | Weatherproof |
| Installation | DIY or professional installation |