Do you have a question about the Pfister Cantara LF-048-CR and is the answer not in the manual?
Contact information and online resources for installation assistance, product specifications, and how-to videos.
Read all instructions before installing. Wear safety goggles. Follow codes. Consult a professional if uncertain.
Essential tools needed for installing the faucet, such as an adjustable wrench and safety goggles.
A tool for adjusting nuts and bolts, necessary for faucet installation.
Protective eyewear to be worn during installation to prevent eye injuries.
Optional tools that can assist during the installation process, like a flashlight or cleaning cloth.
A portable light source useful for illuminating dark installation areas.
A piece of fabric used for cleaning surfaces or wiping away excess water.
Identifies the components provided with the faucet, including the Aerator Tool.
A specialized tool for installing or removing the faucet aerator.
Crucial first step to shut off the water supply before starting installation to prevent leaks.
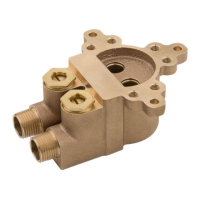
Instructions for taking apart the faucet body and its associated parts before mounting.
Procedure for positioning and securing the faucet assembly onto the sink surface.
Ensuring the faucet is correctly aligned and centered on the sink before final tightening.
Manually tightening the nuts that secure the faucet to the sink, ensuring a snug fit.
Note that supply lines are not included; consult manufacturer instructions for proper installation.
Attaching the hot and cold water supply lines to the faucet connections using an adjustable wrench.
Taking apart the drain assembly, saving components, and avoiding plumber's putty.
Partially threading the drain body into the sink's drain opening.
Connecting the drain assembly to the sink and hand-tightening the securing nut.
Instructions on how to push to activate the drain's pop-up mechanism.
Removing the faucet aerator before turning on the water to prevent sediment buildup.
Opening the hot and cold water supply valves to allow water flow.
Inspecting all connections above and below the sink for any signs of water leakage.
Opening the faucet handles to allow hot and cold water to run for at least 15 seconds each.
Reattaching the faucet aerator after flushing the water lines.
| Brand | Pfister |
|---|---|
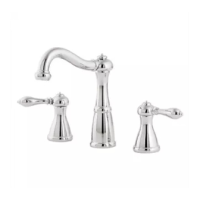
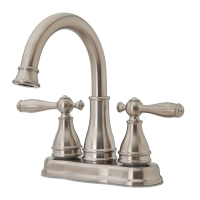
| Model | Cantara LF-048-CR |
| Category | Plumbing Product |
| Language | English |