3-1
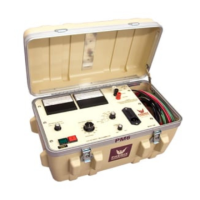
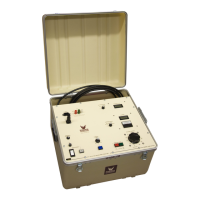
INSTALLATION AND OPERATION INSTRUCTIONS
INSTALLATION
Install the tester as follows:
1. Turn the main “Power” switch off (out position, non-illuminated).
2. Turn the “High Voltage” power switch off (out position, non-illuminated).
3. Connect the “AC Line” cord to a 115 Volt source.
4. Make necessary grounding connections.
5. Set all switches and controls present on your tester as listed below for initial start-up:
“Raise Voltage” 0 (zero)
“Ammeter/Megohm” Range X1/5000
“Ground Jumper” Jumped to Return or Guard as required by test
“KV Meter” 6 kV
“Current Trip” Mid-range
6. Connect the test leads to the specimen to be tested. See Test Lead Connections section for
information on how to connect the test leads.
OPERATION
1. Turn the unit on by pressing the “Power” switch. The switch will illuminate and remain
recessed.
2. Energize the High Voltage power supply by pressing the “High Voltage” power switch. The
switch will illuminate and remain recessed.
NOTE: If the “Raise Voltage” control has not been set to “zero”, the overcurrent alarm will
sound. To silence this alarm insure that the raise voltage control is in its full counter-
clockwise position.
3. Rotate the “Raise Voltage” control clockwise until the desired test voltage is observed on the
“Kilovolt” meter. Maintain output voltage at the desired level for the required amount of time.
If the test was initiated on the “6” scale and a more accurate voltage reading is required (3 kV
or below), select “3” on the “KV Meter” range switch.
NOTE: If an overcurrent condition is encountered before required test voltage is reached and
it is desirable to achieve a higher test voltage, adjust the “Min-Max” to a more clockwise
position.