Circuit Diagram
PHILIPS Confidential – Do Not Copy 105S5
4.6 If x , y out of range , adjust R,G,B CUT OFF again but still fix strong gun at 0% and adjust G2 until meet spec
x, y and Y (Low light). (Must confirm the value by close OSD and use the probe measure again. If out off spec
must adjust until in spec.
4.7 High light adjusting : Apply a white block pattern and adjust brightness to 50%. This step shall not adjust G2. !!!
4.8 Adjust R,G,B-DRIVE level until meet spec x , y and Y ( High Light ). (See Note. 3 ) (Must confirm the value
by check while OSD disappear. If out off spec must adjust until in Spec)
4.9 If 9300 color temperature adjusting finish, move highlight (cursor) to “ S9 “ (SAVE 9300) function , then press
“ and “ 2 “ respectively for saving the white balance data of 9300 into EEPROM (IC302)
4.10 After finish adjust 9300 , then adjust ABL by apply full white pattern. Set brightness to 50%, contrast 100% then
adjust ABL in OSD to meet Y (ABL) spec ( See Note. 3)
5. Start adjust 6500K
5.1 Apply white pattern for Low Light adjusting. Adjust brightness to 100% and contrast to 100%.
5.2 Don’t adjust G2. Only adjust R,G,B_CUT OFF on OSD to meet spec x , y and Y (Low Light of 6500 K , see
Note3 ) ( Method to adjust x , y , Y same as 9300 adjust , but different on spec)
5.3 Adjust brightness to 50%. Apply a white block pattern and adjust R,G,B-DRIVE to meet spec x, y ,Y (High
Light of 6500K).
5.4 If 6500 color temperature adjusting finish, then move highlight (cursor) to “ S6 “ (SAVE 6500) function , then
press and 2 respectively for saving the white balance data of 6500 into EEPROM (IC302)
Note.1 1. If turn off monitor after enter Factory mode, during adjust not finish yet. Monitor will not save data and
exit Factory mode. So must repeat step 4th for enter Factory mode again.
2. Before adjust white balance and size alignment should burn in Monitor for 30 min at least.
6. Manual size alignment adjusting
6.1 Use function key to adjust H-size to meet 270 +/- 3mm, V-size 202 +/- 3mm, H-Position
and Ver position to picture is center with the edge of front bezel. Next use function keys to adjust “ Parallel”,
“Pincusion” , “Trapezoid” , “Pin balance” for making display edge to straight vertical and no line distortion.
6.2 Apply next timing then repeat step 5.5 until complete every timing as shown in page II-9.
6.3 After adjust size follow spec finish all timing as shown in page 7. Move highlight (cursor) to “ SI “ (STORE
IMAGE) function and press key “ “ for enter in the “ SI ” function, press key “ 2 “ for confirm store image
data into EEPROM (IC302)
6.4 Press “ - “ key , Power ON again . Still press “ – “ around 5 seconds after power On. for canceling the Burn in
mode.
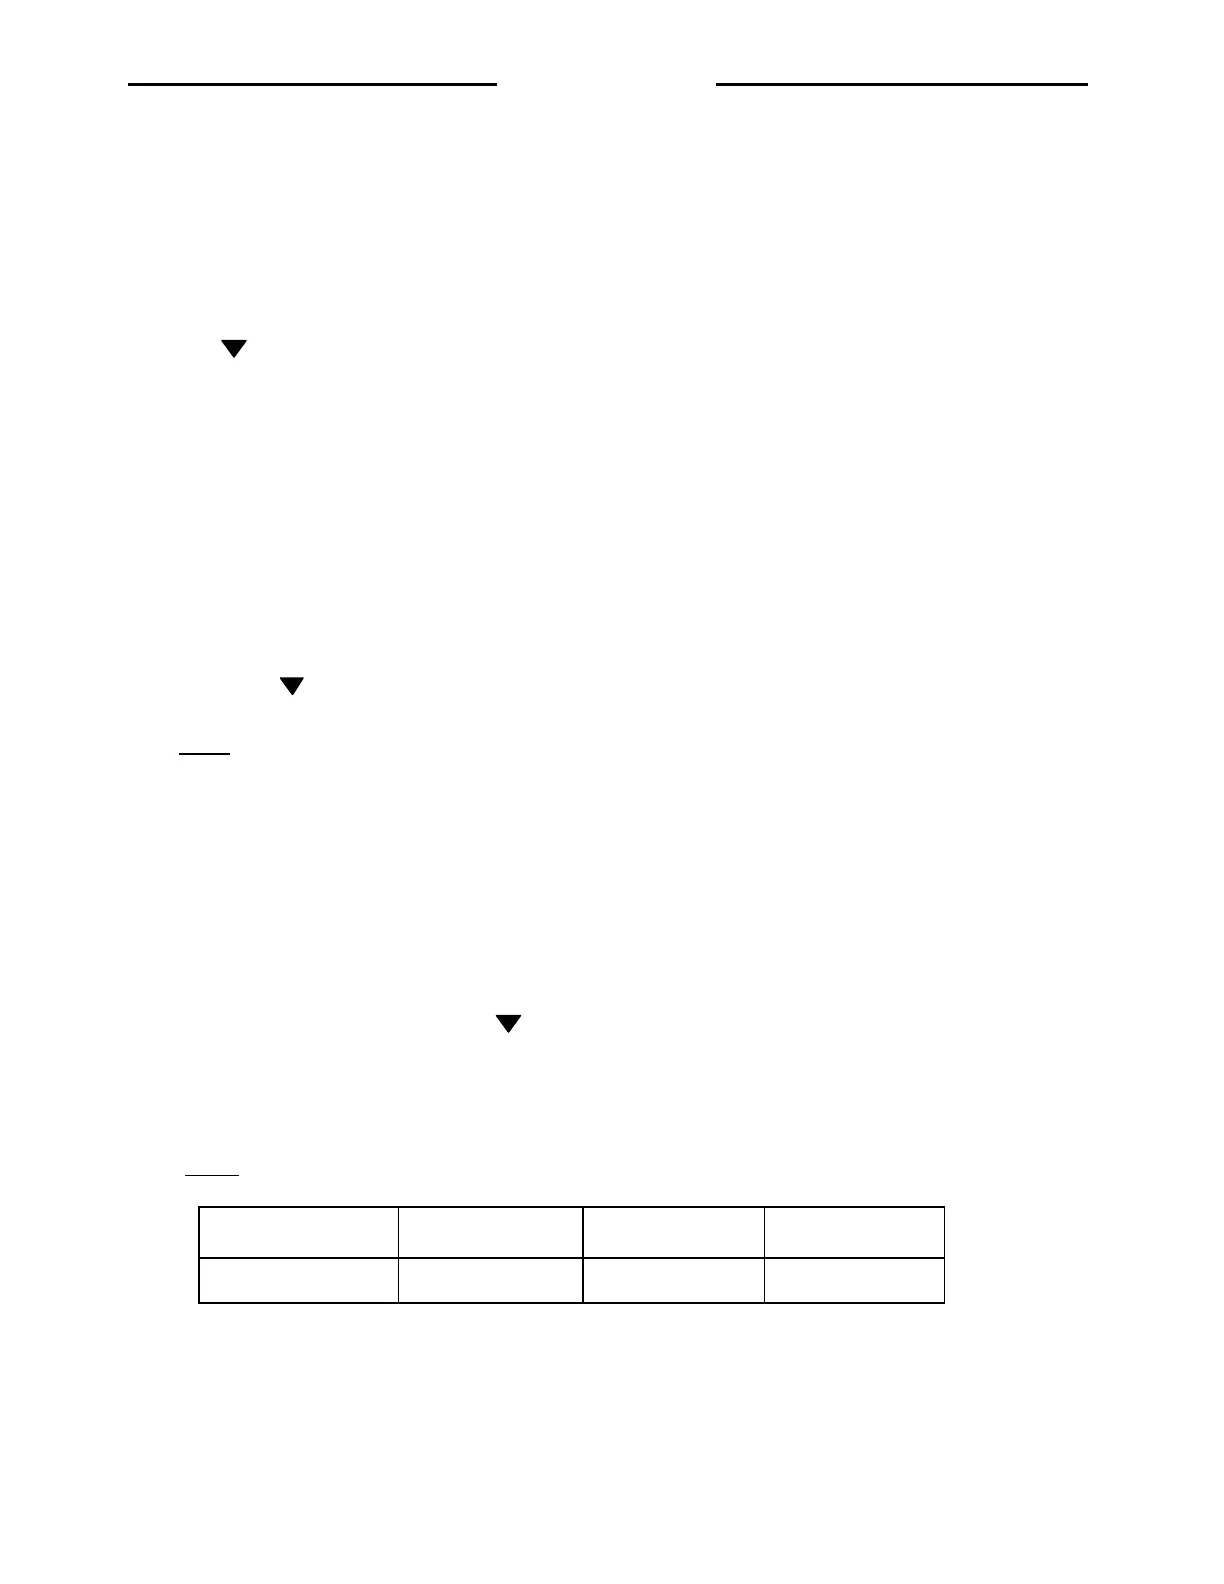
Note. 2 Timing spec.
Model
White balance signal Raster center
Number of preset
timing
105S5 800*600 / 85Hz 800*600 / 85Hz (See page II-9)
http://jdwxzlw.com/?fromuser=华盛维修