4. The SSB can now be shifted from side connector cover, then lifted and taken out of the I/O bracket.
3.2.5 Power Supply Unit (PSU)
Caution: it is mandatory to remount all different screws at their original position during re-assembly. Failure to do so may result in damaging the
PSU.
1. Gently unplug all connectors from the PSU.
2. Remove all fixation screws from the PSU.
3. The PSU can be taken out of the set now.
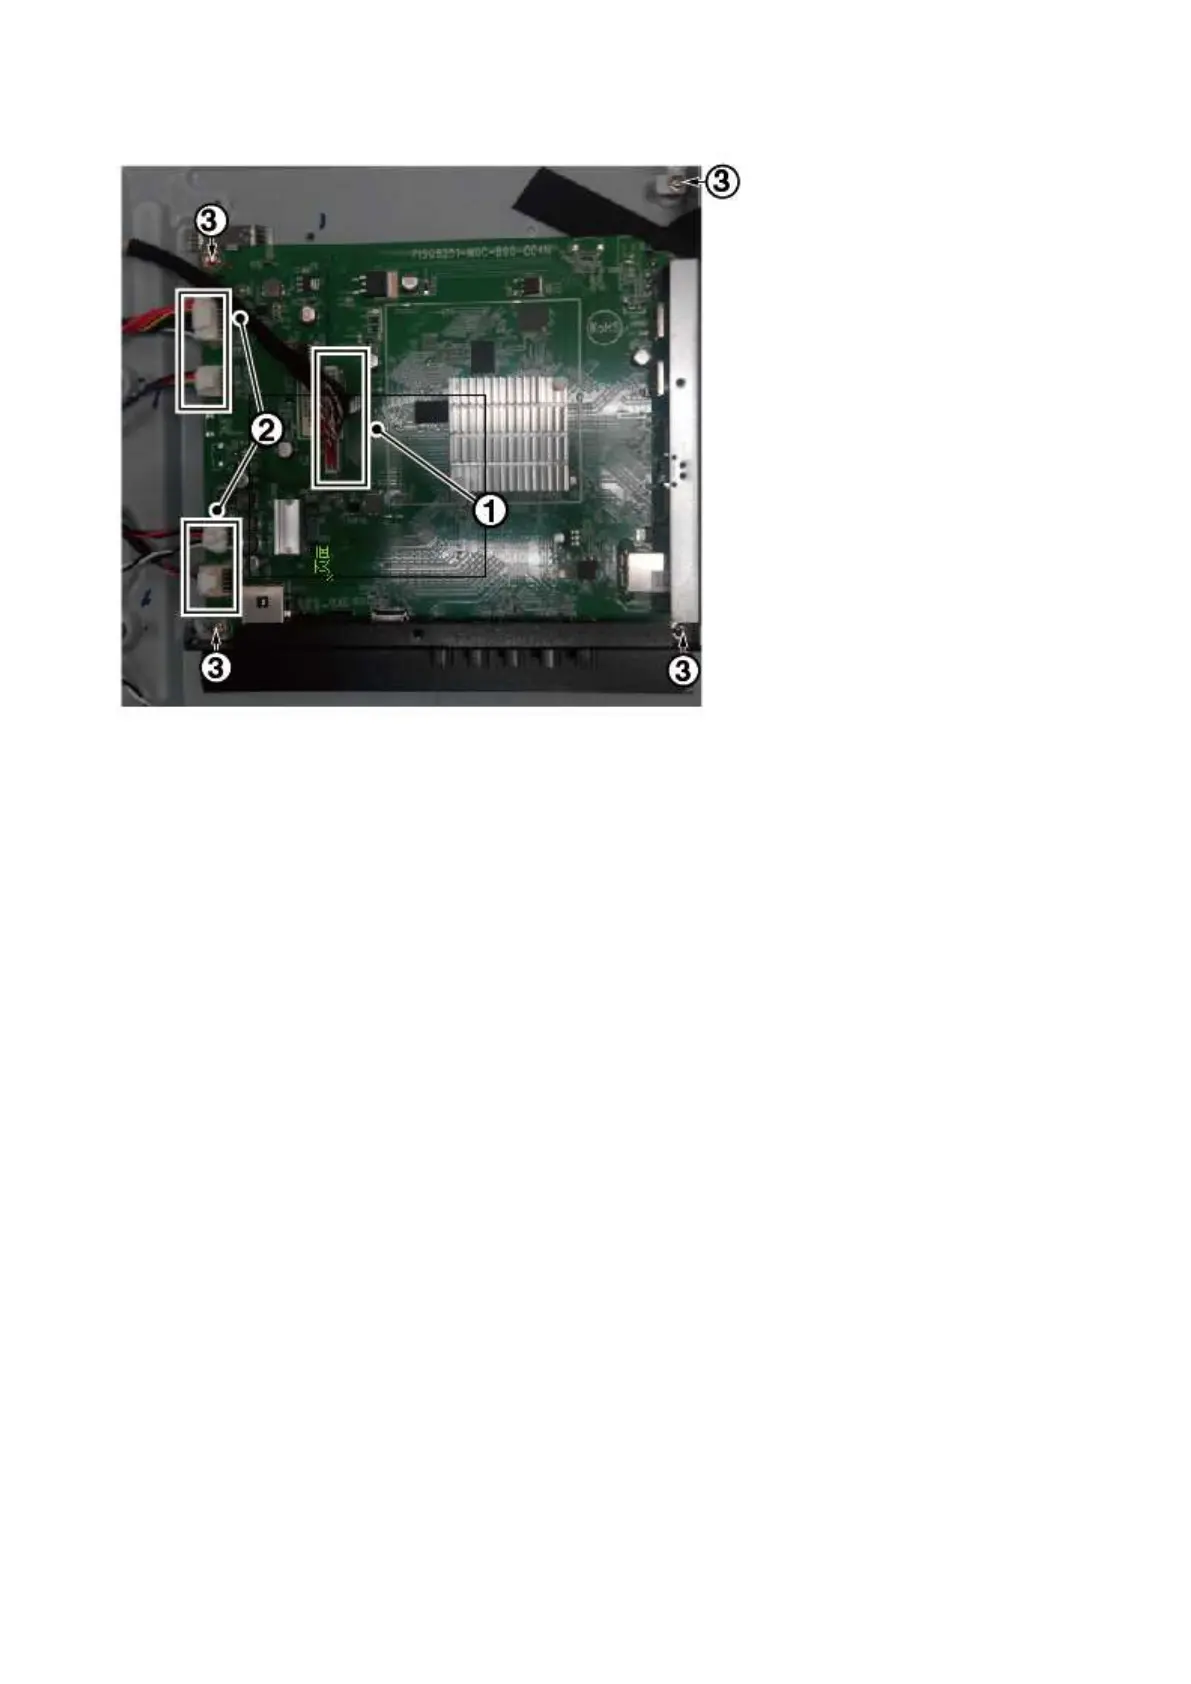
3.2.6 IR board Control Unit
1. Unplug the connector from the SSB.
Caution: be careful, as these are very fragile connectors!
2. Remove all the fixation screws [1], [2] and connector [3] from the IR board control unit.
3. Remove the IR lens [4], IR board [5] from the DECO_REAR_COVER.
When defective, replace the whole unit.
3.2.7 Speakers
1. Gently release the tapes that secure the speaker cables.
2. Unplug the speaker connector from the SSB.
3. Take the speakers out.
When defective, replace the both units.
3.2.8 WIFI module
1. Unplug the connector from the SSB..
2. Remove fixation screw that secure the WIFI module,
When defective, replace the whole unit.