5EN
3 Get started
Always follow the instructions in this chapter in
sequence.
Power supply
Either AC power or battery can be used as
power supply of this product.
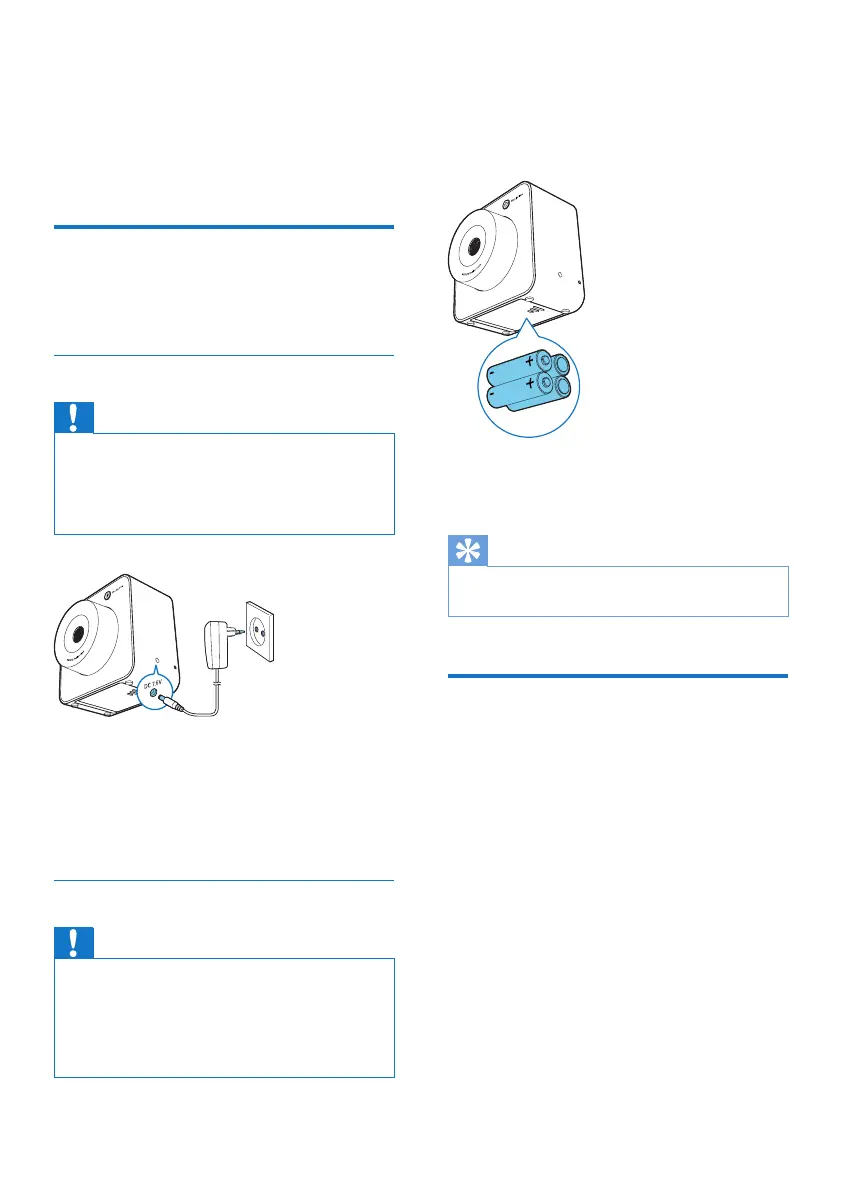
Option A: AC power
Caution
• Risk of product damage! Make sure that the power
voltage corresponds to the voltage printed on the back
or underside of the clock radio.
• Risk of electric shock! When you unplug the AC plug,
always pull the plug from the socket. Never pull the cord.
1 Connect one end of the AC adaptor to
the DC 7.5V socket on the back of the
clock radio.
2 Connect the other end of the AC adaptor
to the wall outlet.
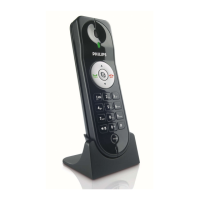
Option B: Battery power
Caution
• Risk of explosion! Keep batteries away from heat,
sunshineorre.Neverdiscardbatteriesinre.
• Danger of explosion if batteries are incorrectly replaced.
Replace only with the same or equivalent type.
• The batteries contain chemical substances, so they
should be disposed of properly.
1 Open the battery compartment on the
bottom of the clock radio.
2 Insert 4 x 1.5V R6/UM3/AA batteries (not
supplied) with correct polarity (+/-) as
indicated.
3 Close the battery compartment.
» The clock radio is ready to operate.
Tip
• When the battery level is low, the low battery indicator
is displayed.
Set time
1 Press SET TIME to activate time setting
mode.
2 Press + PRESET/ HR - or + TUNING/
MIN - to set 12/24 hour format.
3 Press SET TIMEtoconrm.
» The hour and minute digits blink.
4 Press + PRESET/ HR - to set hour.
5 Press + TUNING/ MIN - to set minute.
6 Press SET TIMEtoconrm.
» The set time is displayed.