9 EN
Prepare the remote control
Caution
• Risk of explosion! Keep batteries away from heat,
sunshineorre.Neverdiscardbatteriesinre.
• Risk of decreased battery life! Never mix different
brands or types of batteries.
• Risk of product damage! When the remote control is
not used for long periods, remove the batteries.
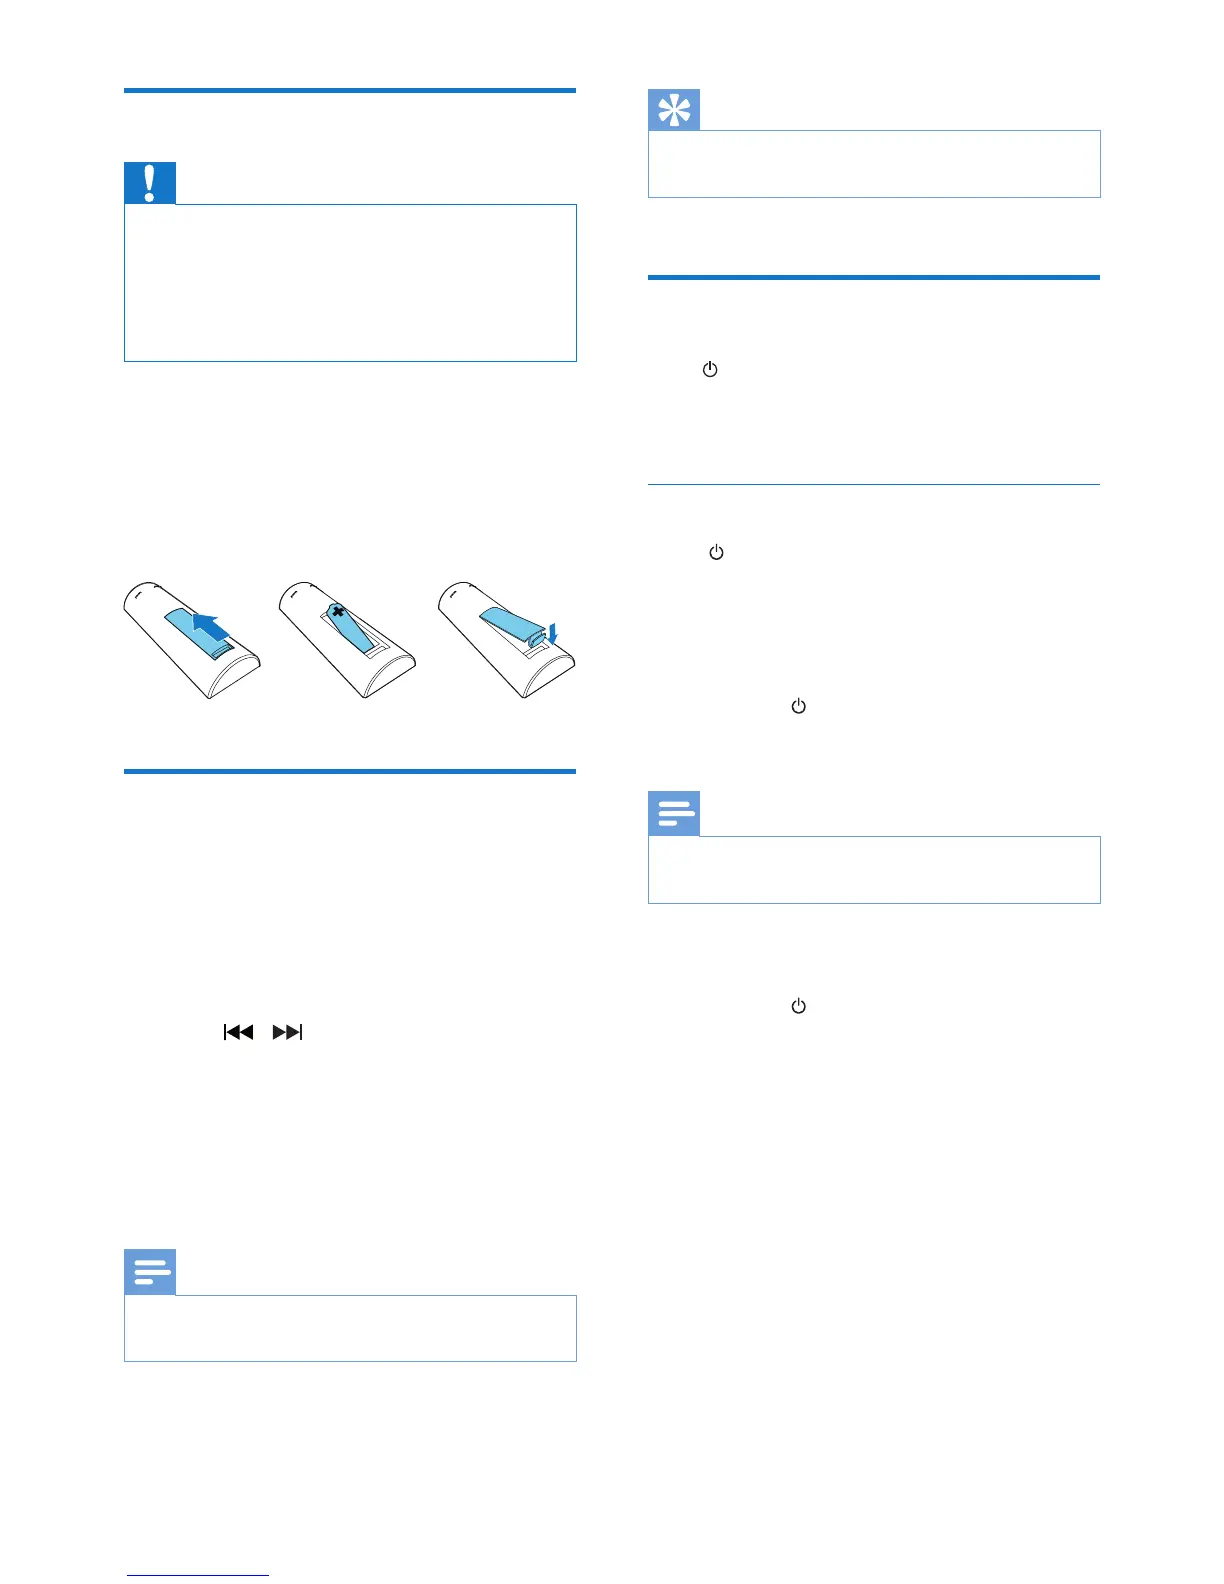
To insert the remote control battery:
1 Open the battery compartment.
2 Insert the supplied AAA battery with
correct polarity (+/-) as indicated.
3 Close the battery compartment.
Set clock
1 In standby mode, press and hold CLOCK
on the remote control for more than two
seconds.
» [24H] or [12H] hour format is
displayed.
2 Press / to select [24H] or [12H]
hour format.
3 press CLOCKtoconrm.
» The hour digits are displayed and begin
to blink.
4 Repeat steps 2-3 to set hour and minute.
Note
• If no button is pressed in 90 seconds, the system exits
clock setting mode automatically.
Tip
• You can view clock information in power-on mode by
pressing CLOCK.
Turn on
Press .
» The unit switches to the last selected
source.
Switch to standby mode
Press again to switch the unit to standby
mode.
» The clock (if set) is displayed on the
panel.
Switch to ECO standby mode:
Press and hold for more than two seconds.
» The display panel is dimmed.
Note
• The unit switches to Eco Power Standby mode after 15
minutes in standby mode.
Switch between standby mode and ECO
standby mode:
Press and hold for more than two seconds.