STANDBY y .........................switches to Standby
BRIGHTNESS.......................sets the brightness of the display
TRACK INCR(ement) ............selects automatic or manual increase
of track numbers during recording
CD TEXT ................................activates CD text mode
Number/alphabet keys 0 - 9
..........................................- selects a track by number
- selects character for text input
TEXT EDIT.............................opens Text Edit mode and stores
entered text
SPACE....................................inserts space duting text input
PROGRAM ............................opens/closes program memory
NO ........................................- deletes tracks from a program
..........................................- deletes complete program
..........................................- deletes text in Text Edit mode
YES.........................................- selects settings in Text Edit and
Track Edit mode
..........................................- stores Text settings
..........................................- plays selected tracks
..........................................- programs track numbers
2 ..........................................starts CD(RW) play
O ..........................................previous track (Play and Program
mode)
P ..........................................next track (Play and Program mode)
9 ..........................................stops CD(RW)
5 ..........................................- searches backward
- cursor control in Prog. review mode
6 ..........................................- searches forward
- cursor control in Prog. review mode
; ..........................................interrupts CD(RW) play
SHUFFLE................................plays CDs, CD(RW) or program in
random order
REPEAT..................................repeat play
CD 1, 2, 3................................selects discs in CD changer
CDR ........................................selects CD recorder
Note:
Only Audio CDs will be accepted in the CD recorder deck If a non-
audio disc is inserted, the display shows
WRONG DISC.
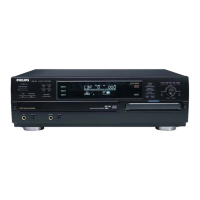
1 Press OPEN/CLOSE to open the disc tray.
➜ OPEN CDR lights up.
2 Insert a CD, CDR or CDRW in the appropriate recess in the tray,
label side up.
3 Press OPEN/CLOSE to close the tray (see also “Playing“).
➜ READING lights up and the display will show the type of
disc inserted.
•If a CDR(W) is finalised it will show
CD
on the display.
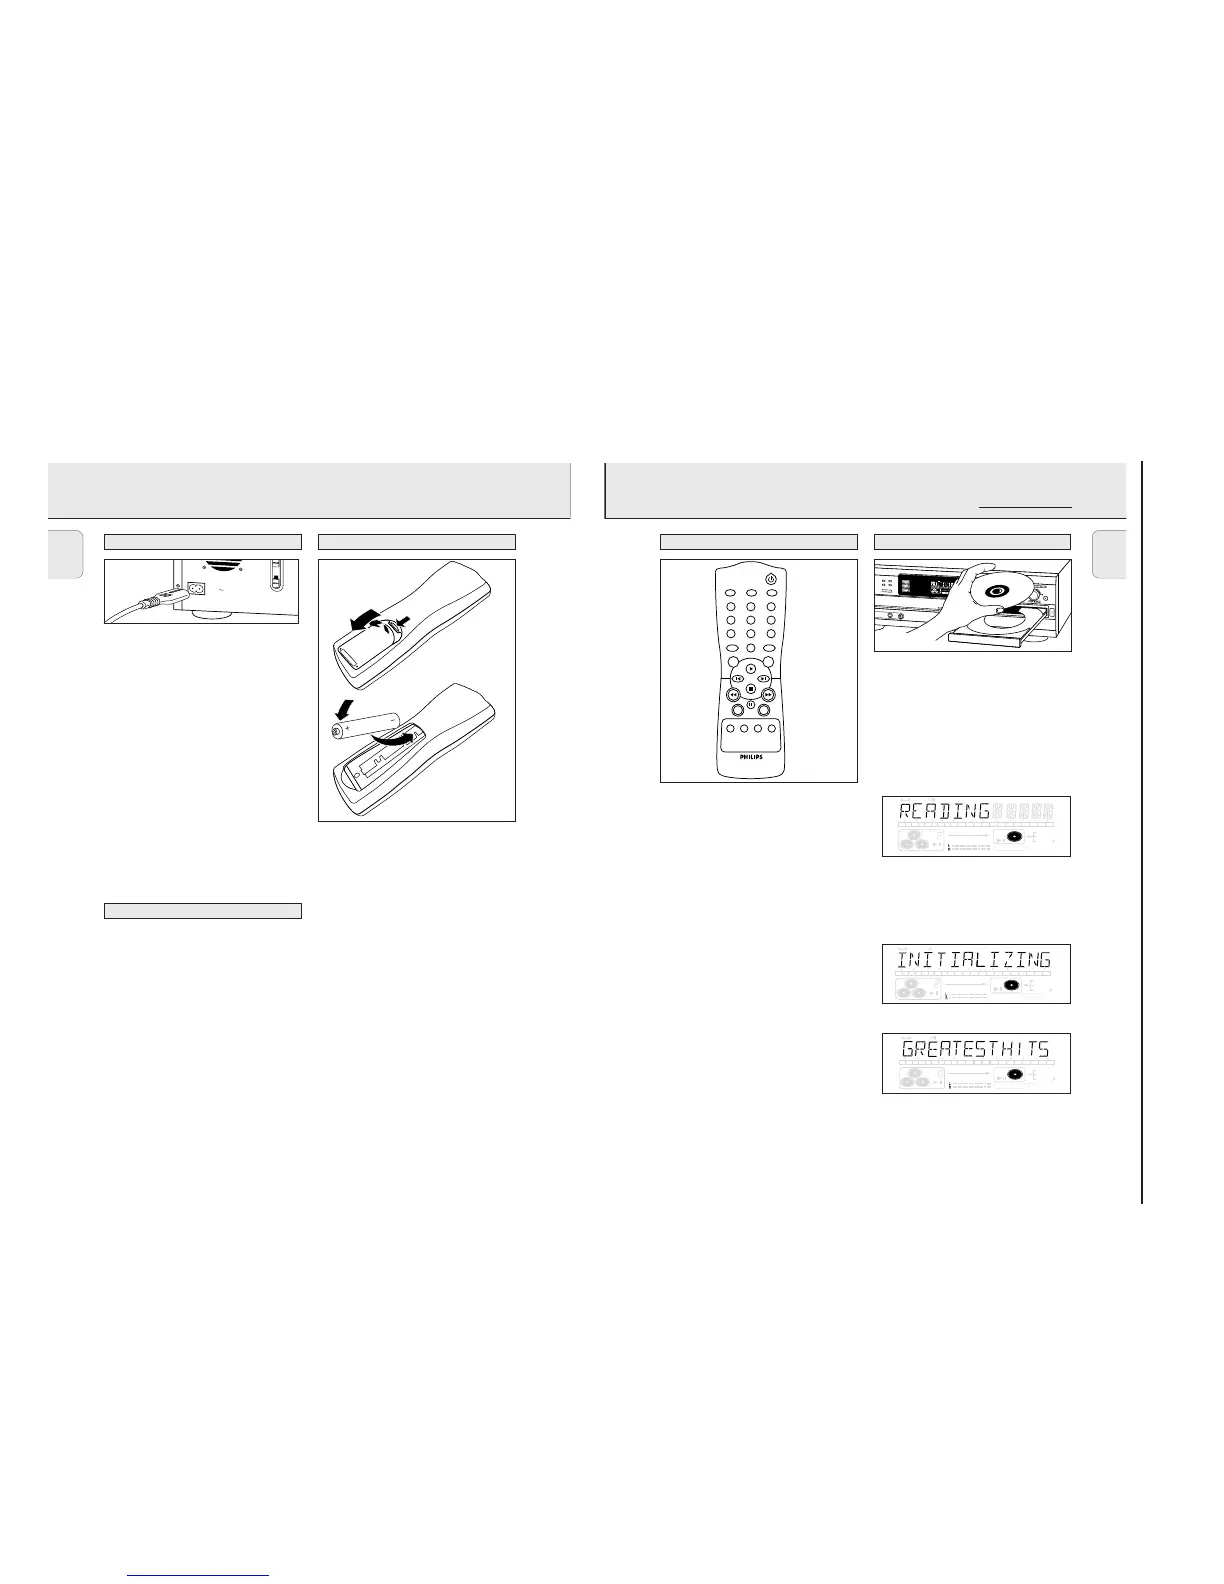
•If you insert a blank or partly-recorded CDR or unfinalised
CDRW, the CD recorder will calibrate the disc for optimum
recording. During this process the display will first show
READING; INITIALIZING and then the number of audio
tracks. Calibration can take up to 25 seconds.
•If CD-text is available the TITLE/ARTIST will scroll by.
IMPORTANT !
For recording it is important that the blank disc is completely
free from dust particles or scratches (see CD(RW) handling).
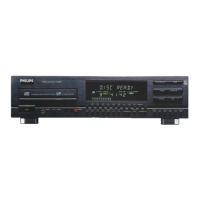
The type plate is located on the rear of the set.
1 Check whether the mains voltage as shown on the type
plate corresponds to your local mains voltage. If it does not,
consult your dealer or service organisation.
2 Make sure all connections have been made before
switching on the mains supply.
3 Connect the mains cable supplied to AC MAINS ~ and to
the wall socket. This switches on the mains supply.
4 Press ON/OFF to switch on the set.
➜ PHILIPS CD RECORDER will be displayed.
• Press ON/OFF again to switch off the set.
• Press y on the remote control to switch the set to Standby
mode.
When the set is switched to standby, it is still consuming
some power. To disconnect the set from the mains completely,
remove the mains plug from the wall socket.
For users in the U.K.: please follow the instructions on
page 3.
– Place the set on a solid, vibration free surface.
– Make sure there is sufficient space around the set to
prevent overheating.
– Do not place the set near a source of heat or in direct
sunlight.
– Do not use the set under extremely damp conditions.
– If the set is placed in a cabinet, make sure that a 2.5 cm
space remains free on all sides of the CD recorder for
proper ventilation.
– Place the set on a solid, vibration free surface.
– Active mobile phones near to the set may cause
malfunctions.
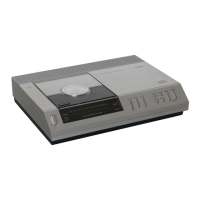
1 Open the battery compartment cover.
2 Insert 2 batteries (AA, R06 or UM-3; as supplied) as shown.
3 Replace the cover.
Note: We recommend you use 2 batteries of the same type
and condition.
Batteries contain chemical substances, so they should
be disposed of properly.
 Loading...