» After boot-up, the indicator starts to
blink in green slowly.
Switch on or to standby mode
The unit switches on automatically after power
connection.
• To switch the unit to standby mode, press
on the front of the main unit.
• To switch the unit on from the standby
mode, press
again.
Prepare the remote control
Caution
•
Risk of explosion! Keep batteries away from heat,
sunshine or re. Never discard batteries in re.
• Perchlorate Material - special handling may apply. See
www.dtsc.ca.gov/hazardouswaste/perchlorate.
For rst-time use:
1 Remove the protective tab to activate the
remote control battery.
To replace the remote control battery:
1 Open the battery compartment.
2 Insert one CR2025 battery with correct
polarity (+/-) as indicated.
3 Prepare
Always follow the instructions in this chapter in
sequence.
Connect
Connect power
Caution
•
Risk of product damage! Ensure that the power supply
voltage corresponds to the voltage printed on the
bottom of the unit.
• Risk of electric shock! When you unplug the AC
adaptor, always pull the plug from the socket. Never
pull the cord.
• Before connecting the AC adaptor, ensure you have
completed all other connections.
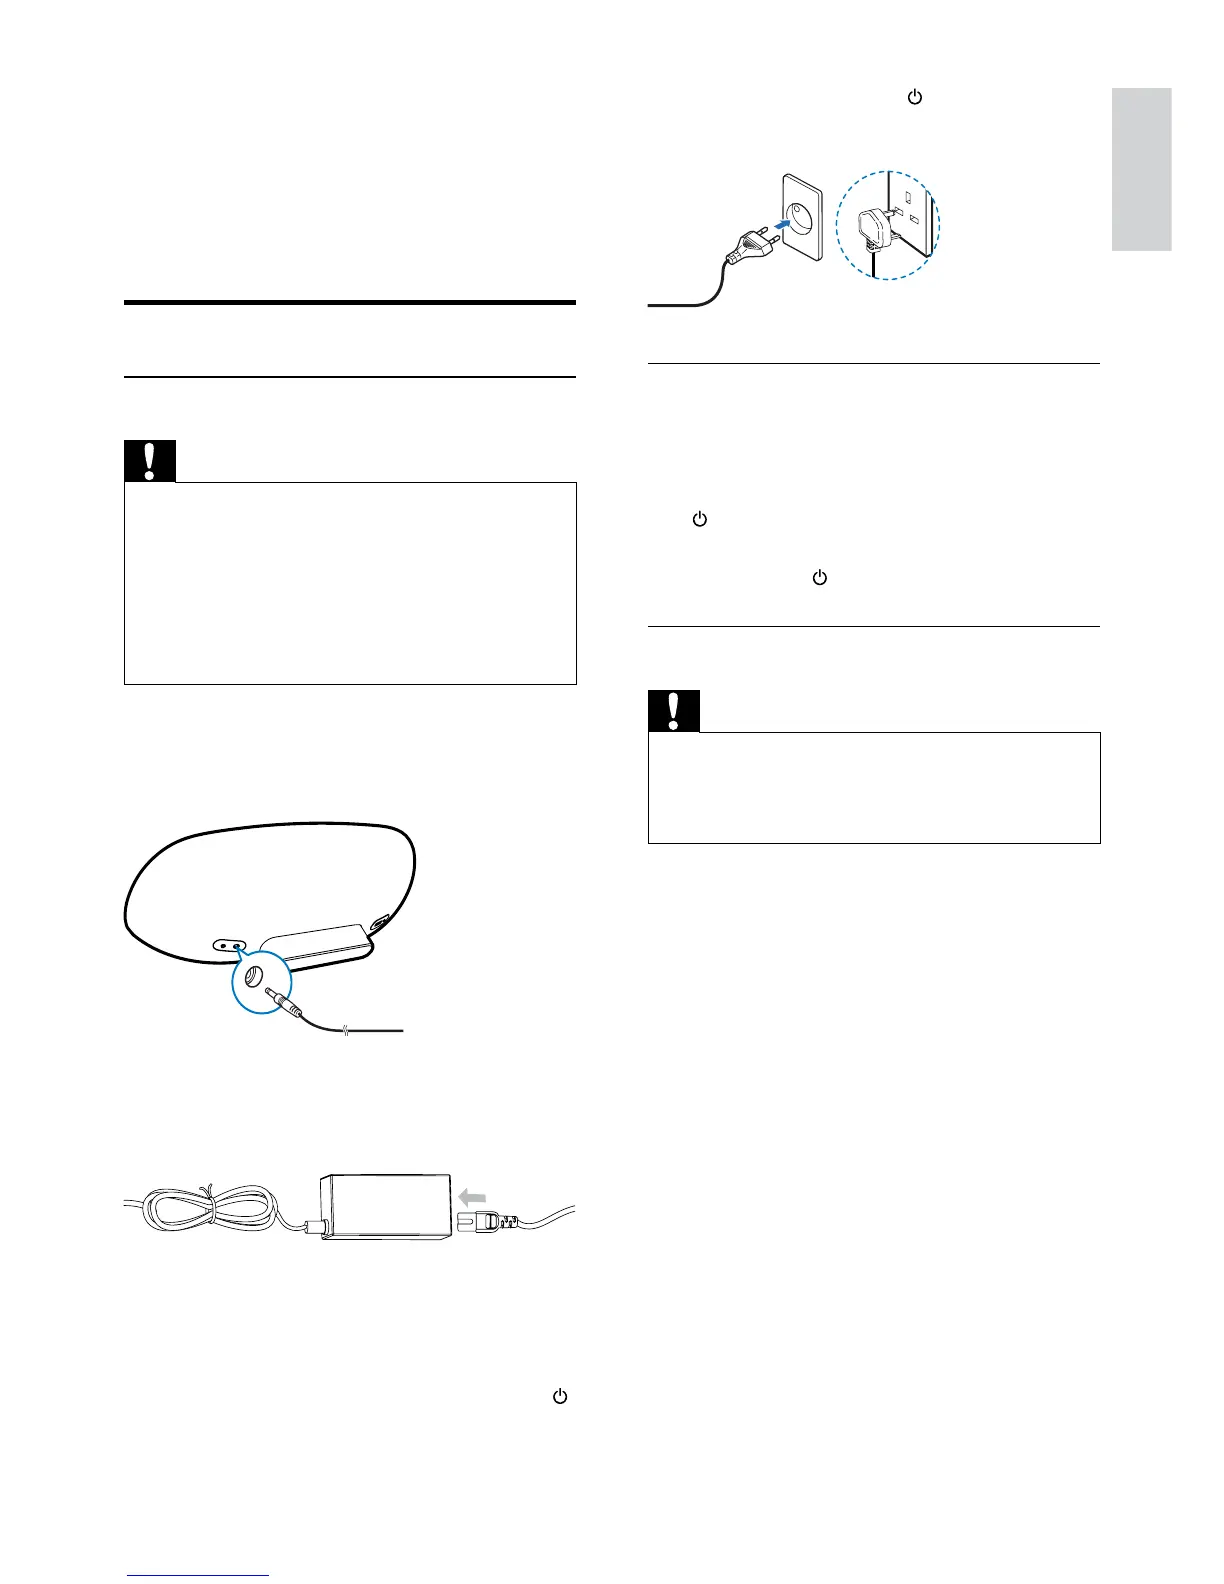
1 Insert the plug from the AC adaptor to
the DC IN socket on the back of the main
unit.
2 Connect one end of the AC power cord
to the AC adaptor.
3 Connect the other end of the AC power
cord to the wall outlet.
» It takes about 35 seconds for the main
unit to boot up. During boot-up, the
indicator on the front of the main unit
blinks in green quickly.
EN