12
Note
If you are not going to use the remote control for a
long time, remove the batteries.
Do not use old and new or different types of
batteries in combination.
Batteries contain chemical substances, so they should
be disposed of properly.
Auto install radio stations
When you connect power and no radio
stations are stored, the Mini Hi-Fi automatically
begins to store radio stations.
1 Connect the Mini Hi-Fi to the power
supply.
[AUTO INSTALL - PRESS PLAY] (auto »
install - press the PLAY button) is
displayed.
2 Press on the main unit to start
installation.
[AUTO] (auto) is displayed.»
The Mini Hi-Fi automatically stores »
UDGLRVWDWLRQVZLWKVXIÀFLHQWVLJQDO
strength.
When all the available radio stations »
DUHVWRUHGWKHÀUVWSUHVHWUDGLRVWDWLRQ
is broadcast automatically.
Set clock
1
In the standby mode, press CLOCK to
activate the clock setting mode.
The 12 hour or 24 hour format is »
displayed.
2 Press ALBUM +/- / repeatedly to
select 12 hour or 24 hour format.
3 Press CLOCKWRFRQÀUP
The clock digits are displayed and »
begin to blink.
4 Press ALBUM +/- / to set the hour.
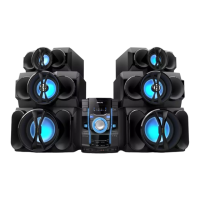
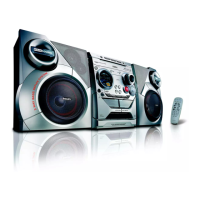
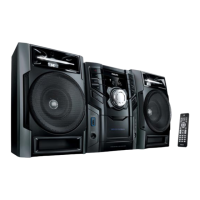
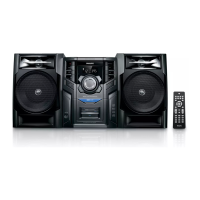
4 Get started
Caution
Use the controls only as stated in this user manual.
Always follow the instructions in this chapter in
sequence.
If you contact Philips, you will be asked for the
model and serial number of your Mini Hi-Fi.
The model number and serial number are on
the back of your Mini Hi-Fi. Write the numbers
here:
Model No. __________________________
Serial No. ___________________________
Prepare the remote control
Caution
Risk of explosion! Keep batteries away from heat,
VXQVKLQHRUÀUH1HYHUGLVFDUGEDWWHULHVLQÀUH
To replace the remote control battery:
1 Open the battery compartment.
2 Insert 2 AAA batteries with correct
polarity (+/-) as indicated.
3 Close the battery compartment.
3
1
2
EN

 Loading...