Installing the Intenza+ water lter
We advise you to install the Intenza+ water lter as this prevents scale
build-up in your machine. You can buy the Intenza+ water lter separately.
For more details, see chapter ‘Guarantee and support’, section ‘Ordering
maintenance products’.
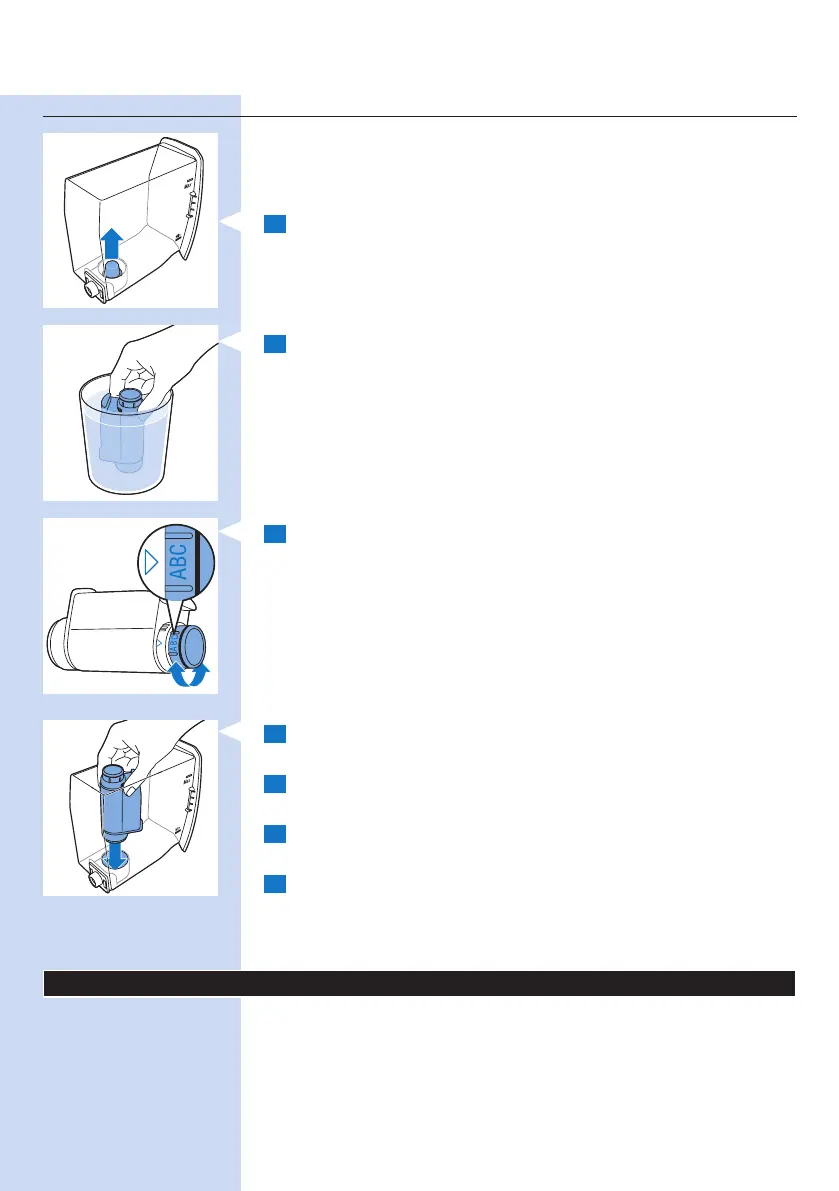
1 Remove the small white lter from the water tank and store it in a
dry place.
Note: Please keep the small white lter for future use. You will need it for the
descaling process.
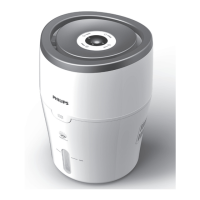
2 Remove the lter from its packaging and immerse it in cold water
with the opening pointing upwards. Press the sides of the lter gently
to let out the air bubbles.
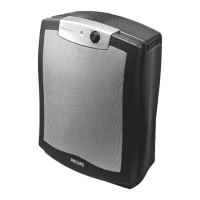
3 Turn the knob of the lter to the setting that corresponds to the
water hardness of the area you live in.
A Soft water
B Hard water (default)
C Very hard water
Note: You can test the water hardness with a water hardness test strip.
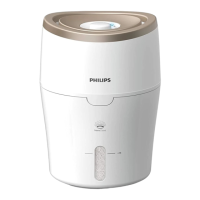
4 Place the lter in the empty water tank. Press it down until it cannot
move any further.
5 Fill the water tank with fresh water up to the MAX indication and
slide it into the machine.
6 Let the machine brew a few coffees (see chapter ‘Using the machine’,
section ‘Brewing coffee’).
7 Rell the water tank with fresh water up to the MAX indication and
slide it back into the machine.
, The on/off button lights up continuously.
The machine is ready for use.
Using the machine
To guarantee perfect coffee, the machine regularly rinses its inner circuit
with water. This automatic rinsing cycle takes place 15 minutes after the
appliance switches to standby mode or switches off. During the automatic
rinsing cycle, some of the water ows through the inner circuit directly into
the drip tray. Empty the drip tray regularly.
ENGLISH12