7
3 Getting started
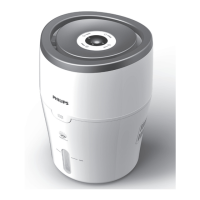
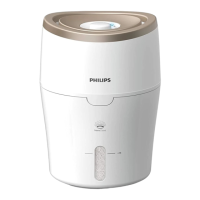
Prepare the humidier
1 Place the humidier on a at, stable
surface, about 4 inches (10cm) away
from an inside wall. Make sure the
surface is not sensitive to moisture.
2 Hold by both sides of the upper unit
to lift it up (g. c).
3 Remove the packaging material of
the new humidication lter (g d).
4 Assemble the new humidication
lter around the lter support
(g e).
5 Put the lter and the lter support
back into the water tank (g f).
6 Fill the reservoir with approximately
67 . oz/2000ml cold tap water
until water reaches the maximum
water level indication (g. g).
7 Place the upper unit back onto the
reservoir (g. h).
Note
• DO NOT overll the reservoir.
• Always empty the reservoir before
relling with clean, cold tap water. Rinse
the reservoir, wipe clean and dry with a
clean cloth or paper towel. For complete
cleaning instructions, see section ‘Clean
your humidier’.
Controls overview(g. b)
G
Power
button
Turn on or turn o
the humidier.
H
Timer
button
Set the timer for the
humidier (1H, 4H,
and 8H).
I
Fan speed
button
Adjust the fan speed
(
(low),
and
(normal)).
J
Humidity
button
Set the relative
humidity level
( 40, 50 or 60).
K
Water
level
indication
The indicator blinks
when there is not
enough water in the
reservoir.