3
During normal operation, AC power is applied and the self-testing emergency ballast charges the battery. Connecting the
(red and white) battery connector wires enables the emergency circuit, and supplies power to the control/monitor circuit
and charging indicator light. The self-testing emergency ballast continually monitors the battery voltage, comparing it to a
preset limit. Should the unit detect an unusual voltage condition, the indicator light will flash and the internal audible alarm
will sound.
When AC power fails, the self-testing emergency ballast automatically switches to emergency mode, keeping one lamp
illuminated at a reduced lumen output for a minimum of 90 minutes. When AC power is restored, the self-testing emergency
ballast returns to charging mode and delays AC ballast operation for approximately 3 seconds to prevent false-tripping of
AC ballast (end of lamp life) shutdown circuits.
OPERATION
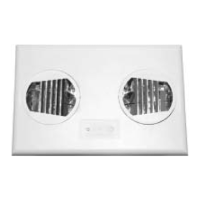
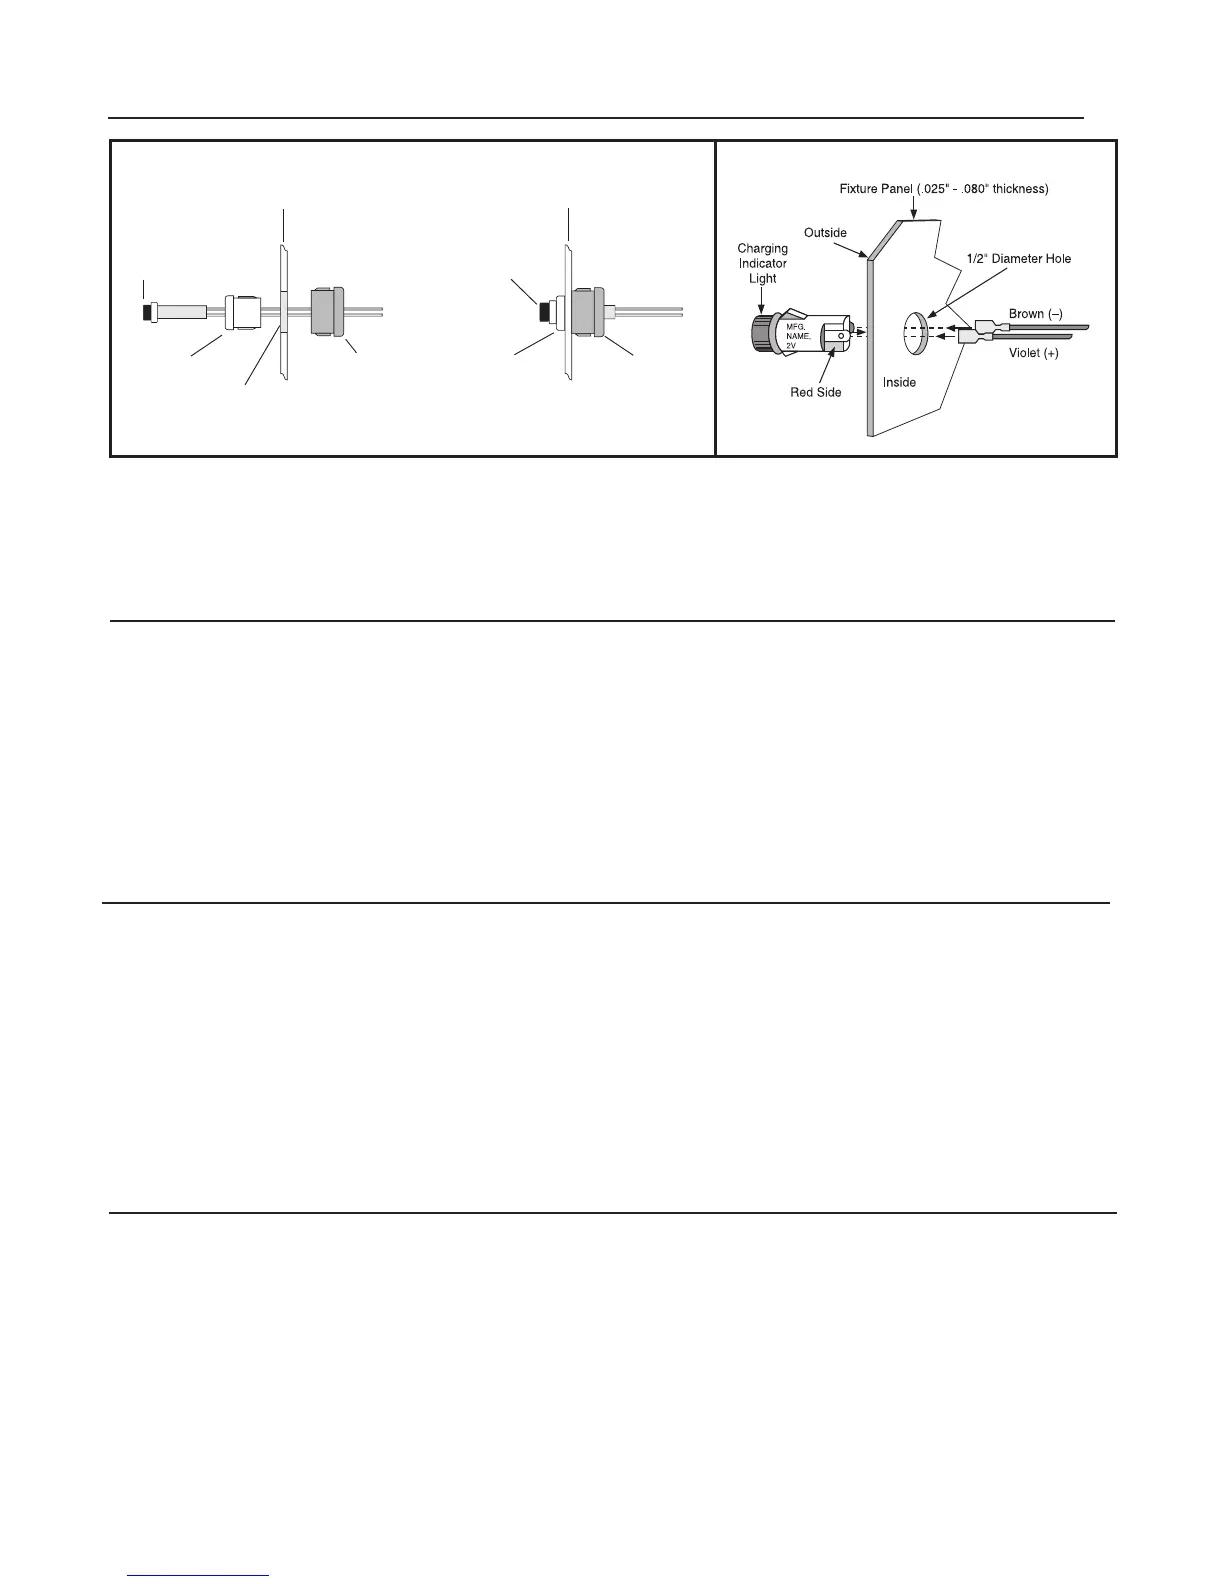
CHARGING INDICATOR LIGHT INSTALLATION
SELF-TESTING OPERATION
This unit contains a control/monitor circuit that automatically performs a 30-second discharge test every 30 days, and a
full 90-minute discharge test once a year. During routine testing, the self-testing emergency ballast simulates an AC power
failure causing the unit to automatically switch to emergency mode. The unit will monitor the operation of the lamps,
battery voltage, discharge current, and emergency duration. If the emergency system functions properly, then the unit will
return to normal mode. Should the unit detect any problems, the indicator light will flash continually and the audible alarm
will sound 4 times every 30 seconds until the condition has been corrected or the unit passes the next test.
To reset a failure indication, push and hold the test switch for a minimum of 15 seconds. If the condition has not been
corrected by the next scheduled test, the unit will once again detect the failure and signal the failure indicator.
To cancel a test, turn the wall switch ON (or OFF if switch is already on), wait 5 seconds, then turn it OFF (ON).
Charging
Indicator
Light
1/2" White
Bushing
Violet (+)
Brown (–)
Violet (+)
Brown (–)
1/2" White
Bushing
5/8" Black
Bushing
5/8" Black
Bushing
1/2" Punch
Fixture
Fixture
Charging
Indicator
Light
NOTE: After installing the charging indicator light and test switch, mark each with the appropriate
label. If a detached charging indicator light is used, connect by matching wire colors and install as
shown above.
ILLUSTRATION 3B
STEP 2STEP 1
ILLUSTRATION 3A
MAINTENANCE
This self-testing emergency ballast automatically performs required routine testing. Results are reported to
maintenance personnel via the indicator light and audible alarm.
Note: If optional audible alarm is disabled, maintenance personnel should periodically check the indicator light. If the
indicator light is flashing, go through all steps of Troubleshooting Guide.