4
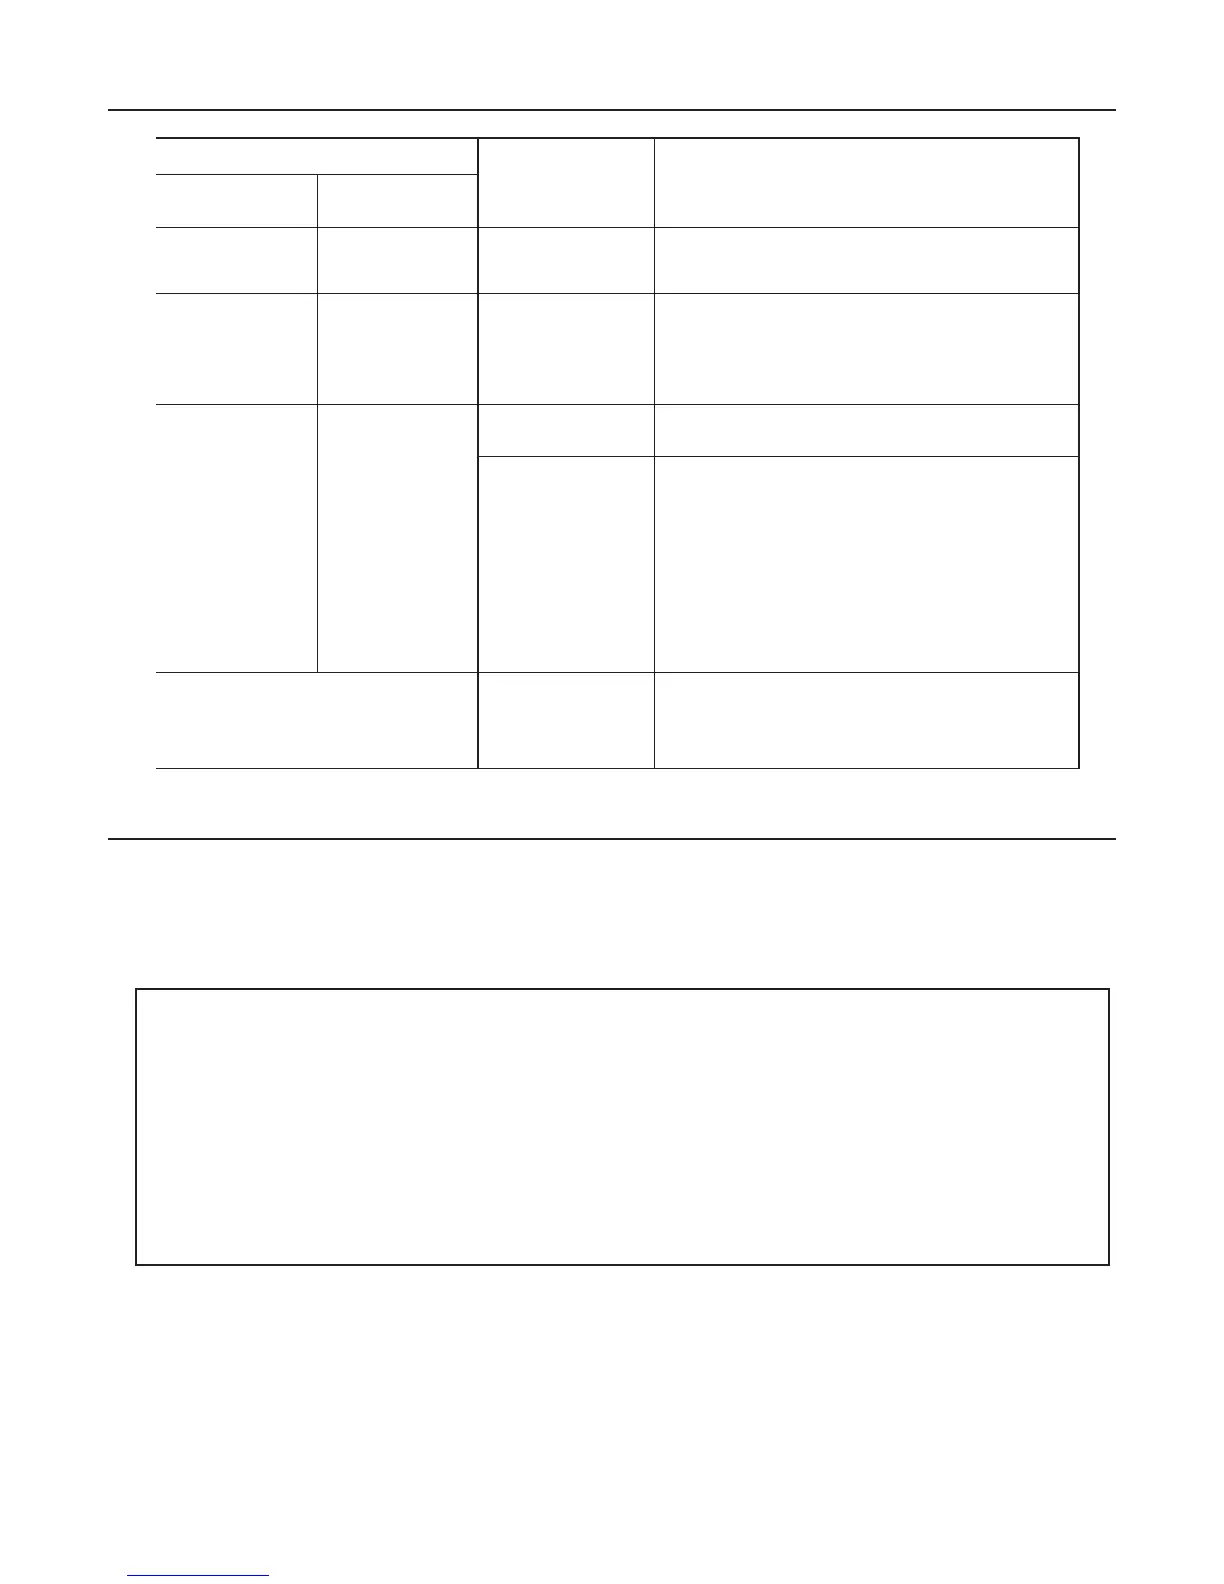
TROUBLESHOOTING GUIDE
STATUS INDICATORS
PROBLEM CONNECTOR
INDICATOR
LIGHT
AUDIBLE
ALARM
Light on
steady, not
flashing
No beeping None Unit is Operating Correctly.
Flashing 1/2
Second
Intervals
Beeping
1/2
Second
Intervals
Line voltage;
incorrect
installation
1. Check line voltage. (Must be between 110
and 277 VAC)
2. Allow unit to charge for 24 hours. Perform manual
test. If flashing/beeping continue, emergency bal-
last should be replaced.
Flashing
1/2
Second
Intervals
Beeping
4 times
every 30
seconds
Battery voltage
is outside limits.
Let battery charge.
Failed scheduled
self-test
1. Check to make sure lamps are operational, speci-
fied for this self-testing emergency ballast, and in
place.
2. Check that fixture wiring is in accordance with
proper wiring diagram.
3. Allow unit to charge for 24 hours. Perform manual
test. If flashing/beeping continue, emergency bal-
last should be replaced.
Any other erroneous status
indications
(e.g. LED indicator light off with
AC power applied)
Corrupted chip
memory
Open inverter connector (red and white
wires) and push manual test switch for 15
seconds minimum, then reconnect inverter
connector.
Failure Status will be reset when the unit passes:
• The next automatic test, or
• A manual test exceeding 15 seconds, or
• An actual power failure exceeding 15 seconds.
NOTE: It is normal for the indicator light to remain off for a few minutes
on initial start-up or after a very long power outage (discharge), as the
battery voltage rises to normal range. Refer to the Troubleshooting
Guide if this condition persists.
NOTE: The inverter connector (red and white wires) must be connected
for the AC ballast to operate normally.