3 - 2
CONNECTION AND CONTROLS
Step 3: Connecting TV
IMPORTANT!
–You only need to make one video
connection from the following options,
depending on the capabilities of your TV.
– Connect the DVD system directly to
the TV.
Using AV OUT jack
AUDIO
IN
S-VIDEO
IN
VIDEO IN
TV IN
AUDIO
IN
S-VIDEO
IN
VIDEO IN
TV IN
CONNECT TO SUB WOOFER
R
L
SPEAKERS 6
Ω
Y/Pb/Pr OUT
A/V OUT
1 Connect the end of the supplied AV cord with
only one connector to the AV OUT jack of the
DVD system.
2 For the other end, connect the video output
connector (yellow) to the video input jack (or
labeled as A/ V In, CVBS, Composite or
Baseband) on the TV. To hear the sound of this
DVD system through your TV, connect the audio
connectors (white/ red) to the audio input jacks
on the TV.
Using Y Pb Pr OUT jack
IMPORTANT!
– The progressive scan video quality is
only possible when using Y Pb Pr, and a
progressive scan TV is required.
R
CONNECT TO SUB WOOFER
R
L
SPEAKERS 6
Ω
Y/Pb/Pr OUT
A/V OUT
1 Use component video cables (red/blue/green) to
connect the COMPOENT VIDEO
OUTPUT (
Pr/Cr Pb/Cb Y
) jack to the
corresponding Component video input jacks (or
labeled as Y Pb/Cb Pr/Cr or YUV) on the TV.
2
If you are using a Progressive Scan TV (TV must
indicate Progressive Scan or ProScan capability),
to activate TV Progressive Scan, please refer to
your TV user manual. For DVD system
Progressive Scan function, see "Preparations-
Setting up Progressive Scan feature".
Note:
– If your TV does not support Progressive Scan, you
will not be able to view the picture.
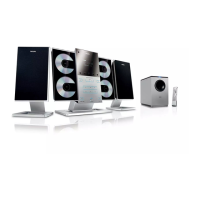
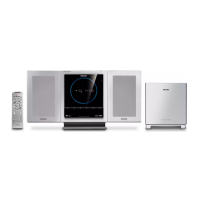
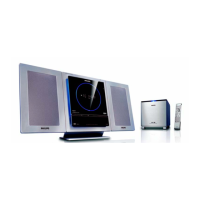
Step 4: Placing the set and
speakers
With the supplied detachable stands and wall
mounting kit, you can either place the main set
and speakers on desktop or mount them onto
wall. Desktop installation is taken for example
here. For how to mount the system onto wall,
please refer to
Appendix
and the attached Wall
Mounting Instructions
.
1 Align the side marked
PRESS
4
of the larger-
size stand with the slots at the bottom of the
main set.
2 Push the stand down into the slots until you hear
a click.
3 Attach the two smaller-size stands to the
speakers in the same way.
4 Place the main set and speakers upright on the
desktop with the support of the stands.
Note:
–To remove the stand from the main set or either
speaker, while pressing down PRESS4, pull the
stand out from the slots.
Step 5: Connecting the power
cord
After everything is connected properly,
plug in the AC power cord on the rear of
the subwoofer to the power outlet.
Never make or change any connection with the
power switched on.
Optional: Connecting additional
equipment
Listening to the playback of a non-USB
device
A
UDIO OUT
L
R
VCR
(for example)
CONNECT TO SUB WOOFER
R
L
SPEAKERS 6
Ω
Y/Pb/Pr OUT
A/V OUT
● Connect the system's AU
X IN (R/L) jacks to
the AUDIO OUT jacks on the other audio/
visual device (such as a VCR, Laser Disc player or
cassette desk) (cable not supplied).
● Before starting operation, press SOURCE on
the front panel to select AUX or press AUX on
the remote control in order to activate the input
source.