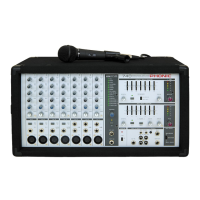
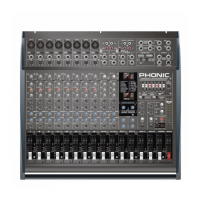
Do you have a question about the Phonic POWERPOD 1860 DELUXE and is the answer not in the manual?
Steps to initially set up and connect the mixer before powering on.
Guide to configuring individual input channels and setting audio levels.
Details on connecting microphones and line-level instruments to input channels.
Overview of connection points for tape, stereo returns, power amp inputs, and main outputs.
Details on gain, EQ, filters, and channel faders for individual input channels.
Screen showing available digital effects and their names.
Control for scrolling through and selecting digital effects.
Adjusts the main parameter of the currently selected digital effect.
Adjusts the audio level sent from the effect processor to auxiliary buses.
Sets tap delay time and indicates when the effect is active.
Adjusts frequency response with a 10-band graphic equalizer.
Mutes all channels for performance breaks while allowing other inputs.
Activates +48V phantom power for condenser microphones.
Adjusts audio level for stereo return inputs to auxiliary and main buses.
Controls the level of the Tape In input sent to the main mix.
Adjusts the level of the Zone 2 feed sent to the Zone 2 output.
Example setup for connecting instruments for live sound reinforcement.
| Type | Powered Mixer |
|---|---|
| Channels | 18 |
| EQ | 3-band |
| EQ (Stereo Channels) | 3-band |
| Effects | Yes |
| Outputs | Main L/R, Monitor |
| Power Output | 600W @ 4 ohms (300W per side) |
| EQ (Mono Channels) | 3-Band |
| Effects Type | Digital |
| Frequency Response | 20 Hz to 20 kHz |