4
En
INSTRUCTION MANUAL
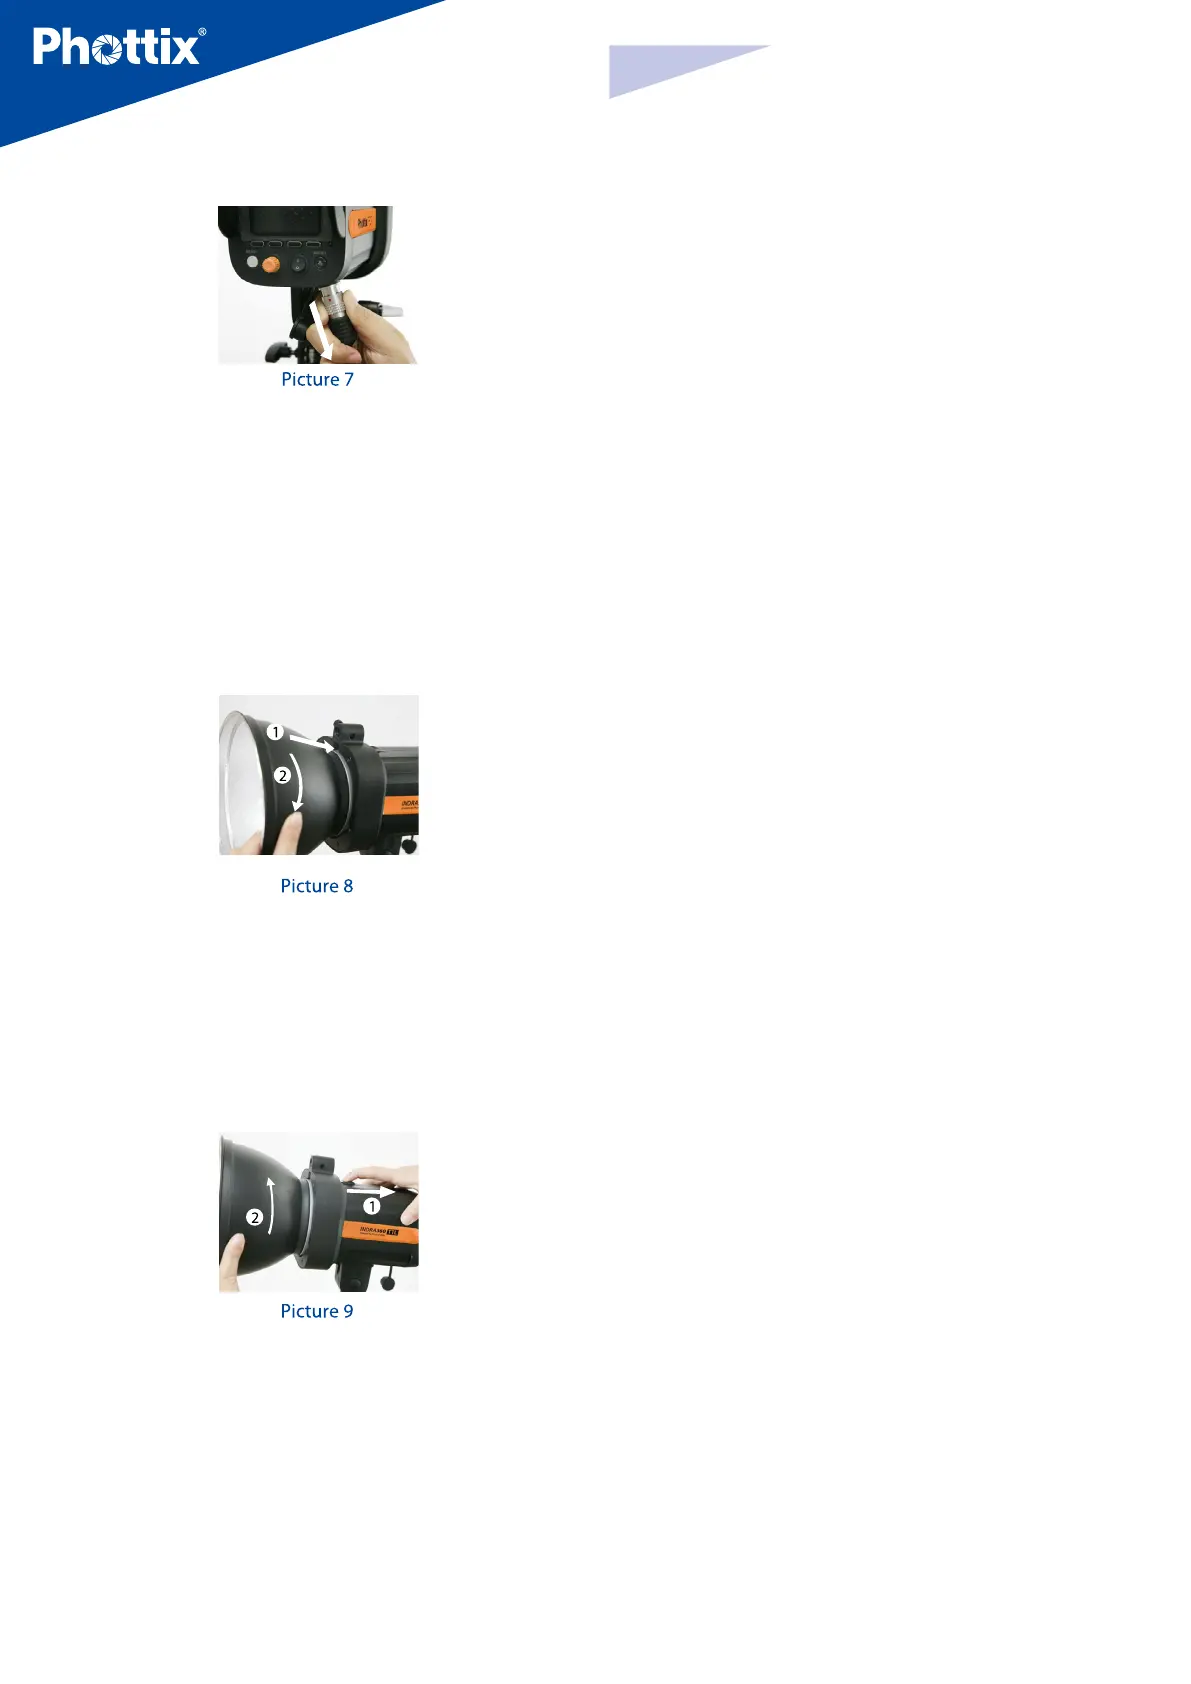
3. Unplug the ash power cable from the Phottix Indra Studio Light (picture 7).
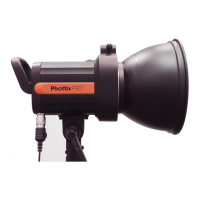
Attaching and removing the Reector
To attach the reector
1. Hold the Indra360 with one hand.
2. Align the reector with the mounting slot using your other hand.
3. Insert and rotate the reector clockwise following the direction of the arrow
in the diagram until the lock engages with a click. This ensures the reector is
locked. (See picture 8)
4. If using an umbrella, make sure the umbrella pass-through hole in the
reector is aligned with the umbrella holder on the Indra studio light.
To remove the reector
1. Push the quick-release locking latch with one hand.
2. Rotate the reector anti-clockwise in the same direction as the arrow in the
diagram and remove it from the Indra360 with the other hand. (See picture 9)
Note: Please be aware to keep the reector parallel to the mount of the studio
light while removing the reector to prevent it touches the glass dome and
incur damage.
Using the Umbrella Holder
The Phottix Indra360 TTL has an umbrella holder on the top of the light,
making it easy to mount umbrellas and umbrella-style softboxes. Using the
umbrella mount is simple: Insert the umbrella shaft into the umbrella holder
on the Phottix Indra Studio Light. Turn the screw on the umbrella holder to
tighten against the umbrella shaft.
Using the Softbox Mount
The Phottix Indra360 TTL features a Bowen’s-compatible locking ring for
softboxes, and other light modifying accessories. Using the Softbox Mount is
the same as mounting and removing the Phottix Indra Reector (above).
To attach: Align the softbox speed ring with the mounting slot on the Indra360.
Insert and rotate the softbox mount clockwise following the direction of the
arrow in the diagram until the lock engages with a click. (See picture7)
To remove: Push the quick-release locking latch backwards, and rotate the
softbox mount anti-clockwise to remove it from the Indra360. (See picture 8)
Sync and USB Ports
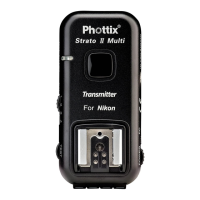
1. A Phottix ash trigger (Phottix Odin TTL, Strato II Multi and Strato TTL) or
camera can be connected to the Indra’s 3.5mm sync port using a compatible
cable. The device will then be able to trigger the Indra360 TTL Studio Light.
2. The USB port is used for rmware upgrades. Firmware announcements and
instructions will be made available on Phottix websites.
Please note:
Only the manual mode is supported when a ash trigger is connected via the
sync port.
Transmission Channels
The Phottix Indra360 TTL Studio Light Wireless system has four channels; 1, 2,
3, and 4. The same channel needs to be set on the Indra360 TTL Studio Light
when in wireless receiving mode as on the triggering device or ashes used to
trigger the Indra.
Quick Flash Function
The Quick Flash function allows the studio light to re when it is not fully
cha-rged, i.e. the status LED is still ashing green. Quick Flash recycle times are
faster; this helps for snap photography at short distances.
Quick Flash can be used for continuous drive modes, Quick Flash for continuous
shot function can be enabled or disabled in the Menu (See the Menu section
below).
Please note:
The Quick Flash Function makes ash ring a priority. Under-exposure could
result if the subject is located too far from the camera.
Flash Exposure Bracketing – FEB
Flash Exposure Bracketing (FEB) can be used to automatically change the ash
power over a series of photos. The camera will record a series of images with
dierent exposures. FEB is useful in run-and-gun situations as well as when
shooting scenes with dierent lighting conditions to help ensure a properly
exposed photo. FEB can also be used for HDR photography.
The FEB function is supported but cannot be set on the Indra360 TTL Studio
Light. The availability of this function depends on whether the trigger or camera
is equipped with an FEB function. See your camera manual for more information
on Flash Exposure Bracketing.
 Loading...