En
INSTRUCTION MANUAL
11
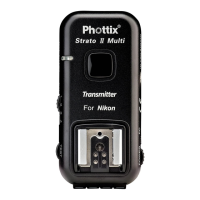
Second Curtain Sync will re the ash at the
end of an exposure, not at the beginning. This
can be combined with longer exposures for
creative eects.
1. Second Curtain Sync cannot be set on the
Odin TCU.
2. Second Curtain Sync needs to be set on the
camera – consult your camera manual for
specic menu settings.
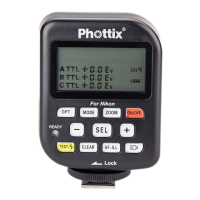
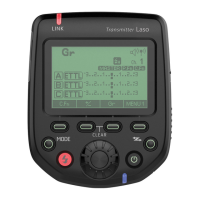
Second Curtain Sync (Rear Curtain
Sync)
1, The Clear Button will erase any settings
currently in the TCU.
2, Press and hold the Clear button for 2
seconds to remove TTL/M/O, Ratio, Zoom
and EV settings currently in the TCU.
3. The Clear button will not change or reset the
transmission channel (1, 2, 3 or 4) set on the
TCU.
Using the Clear Button
The test button will re all ashes connected
to Phottix Odin receivers that are on the same
channel as the TCU.
1. Press the Test button.
2. Flashes will re in sequence: Group A,
followed by Group B and C.
Using the Test Button
speed up to 1/8000 sec., are support by the
Phottix Odin when used with cameras and
ashes oering this function.
Note: When using HSS the power of a ash is
greatly reduced.