12
The ash’ s assist lamp will illuminate to aid in
focusing when the camera shutter button is
half-pressed.
AF Assist Illuminator Functions cannot be set
on the Odin TCU. These functions need to be
set on the camera – consult your camera
manual for specic menu settings and instruc-
tions.
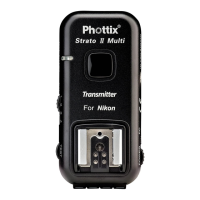
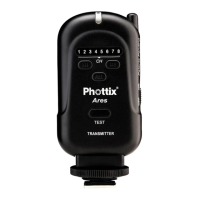
1. The Phottix Odin receiver has three group
settings.
2. Move the Group Selection Switch to A, B or C
to select a group for each receiver.
Using the AF Assist Illuminator
Function
Setting Groups on the receiver
1. The Phottix Odin receiver has 4 channels.
2. Move the Channel Selection Switch to 1, 2, 3,
or 4 to select a channel.
3. Ensure the Phottix Odin TCU and receivers
are set to the same channel.
Setting Channels on the receiver
1. Turn o the ash and the Phottix Odin
Receiver.
2. Slide the ash into the receiver’ s hot shoe
mount.
3. The ash’ s locking mechanism will click
when engaged, holding the ash in place.
4. Turn on the ash and the Phottix Odin
receiver.
Connecting a ash to the Odin
receiver hot shoe
The Phottix Odin Receiver