-13-
PKI-0041-5-E
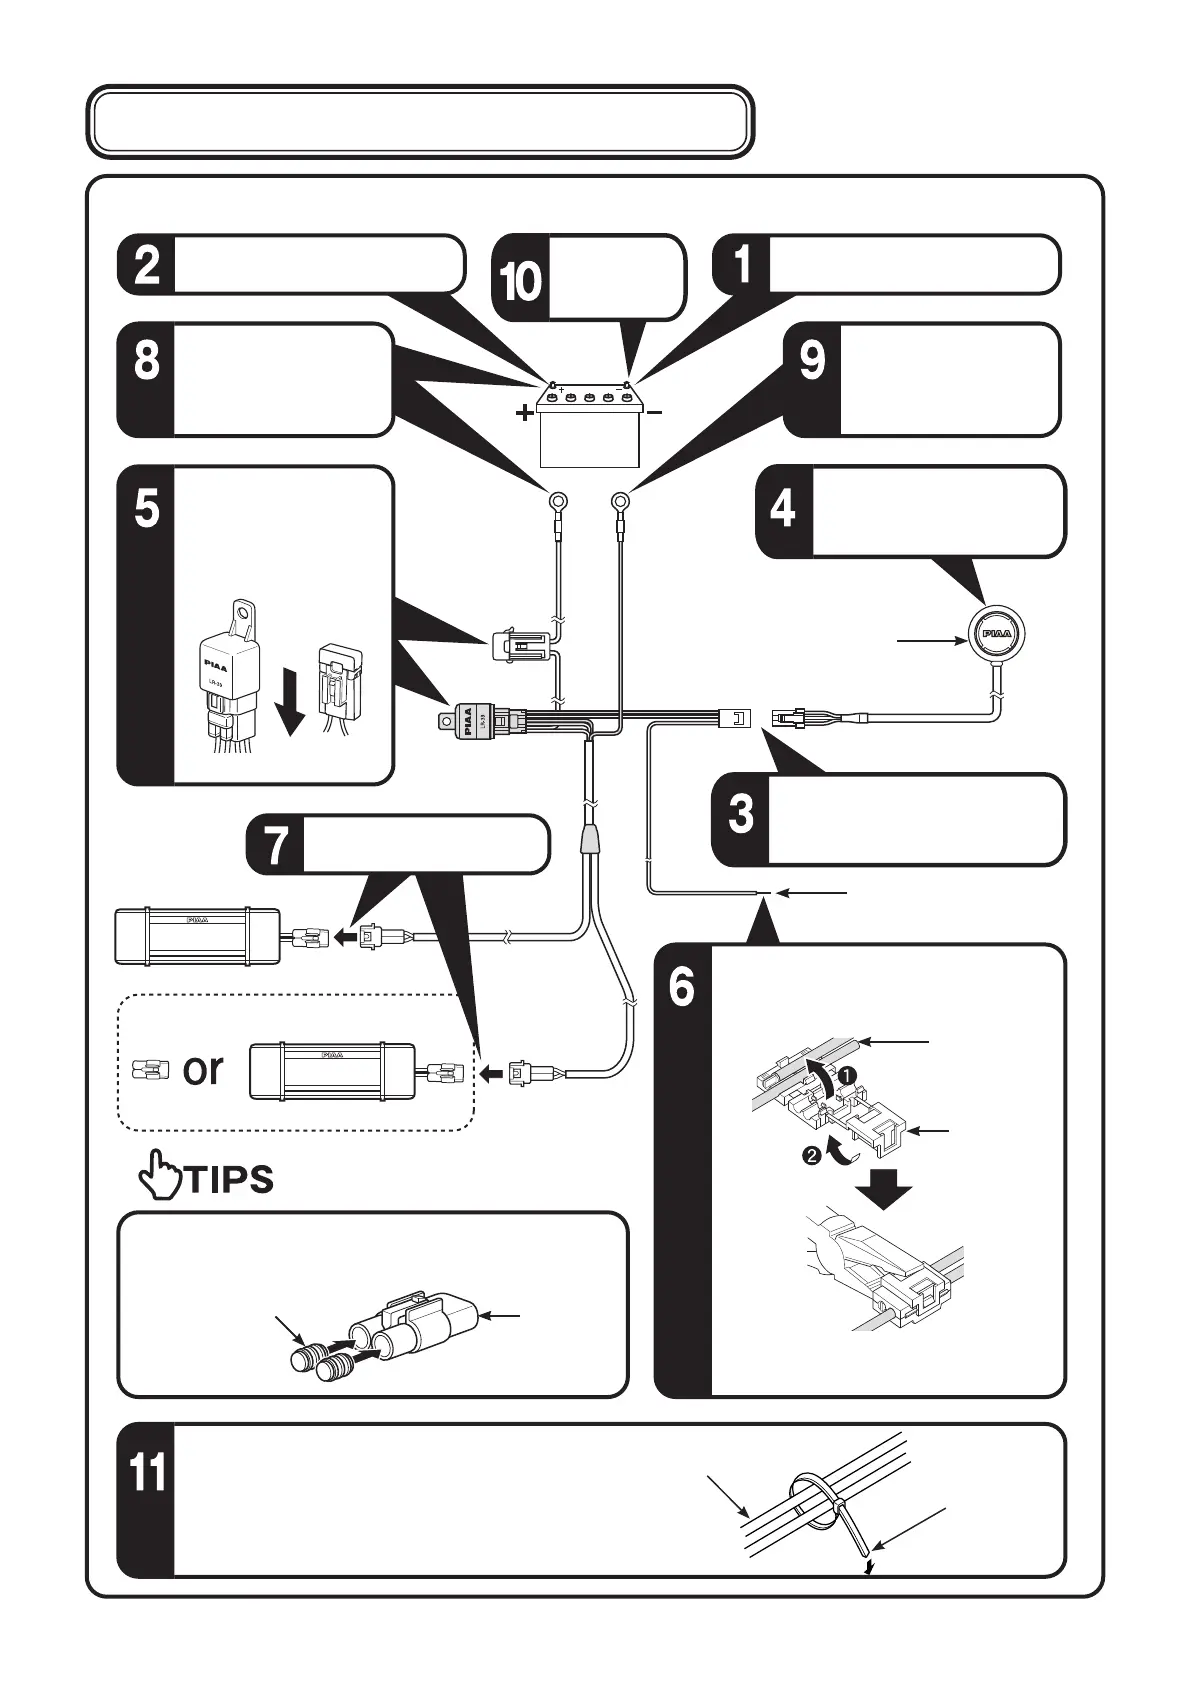
Thenumbersshowninthefigurebelowindicatethesequencethepartsshouldbeinstalled.
【7】RelayHarnessInstallationSequence
Removethe(-)terminalfromthe
battery.
Removethe(+)terminalfromthe
battery.
Bringtherelayconnectorintothe
interiorofthevehicleandconnect
totheswitch
’
sconnector.
Takethe(+)cord(white)andusingthe
one-touchconnector,tieittogethertothe
vehicle
’
s(+)cord.
Ifonly1lampwillbeinstalled,sealtheunusedconnector
withtheRubbercapandDummyconnectorincludedinkit.
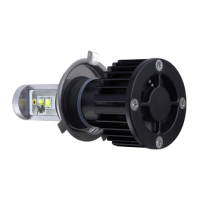
Connectthelampharness
totheconnector.
Firstgroundtheterminal
thentakethe(-)cord
(black)andconnectitto
the(-)terminal.
Takethe(+)terminal
cord(white)andattach
ittothe(+)terminaland
connecttothebattery.
Attachthe(-)
terminaltothe
battery.
Afterlamphasbeeninstalled,verifytherelay
harnessdoesnotmakecontactwiththe
engine
’
smovingpartsorsectionsthatemit
extremeheat.Usethewiretieincludedand
securetoharnessesinsideenginecompartment.
Harness
Wiretie
※ Useapairofplierstoverifytheone-touch
connectorissecure.
Switch
Relay
Battery
Cord
One-touch
connector
(+)cord(white)
(-)cord(Black)
Makesuretoproperly
securetherelayunit
usingboltsoraharness.
Theharnessmustalso
befacingdownward.
Double-sticktapeforswitch.
Placeinareathatiseasily
accessiblefromdriver
’
sseat.
Facingdown
(+)cord(white)
Rubbercap
Dummy
connector