11
En
Installation and Connections
Français
English
b hole
Main unit
b hole
Center line
b holeb hole
b hole
b hole
Center line
a hole
b hole
Bolt
Bolt
Attaching surface
Installation
bracket, etc..
12 mm to 18 mm
(
1
/
2
in. to
11
/
16
in.)
12 mm to 18 mm
(
1
/2 in. to
11
/16 in.)
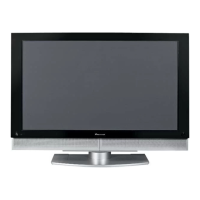
Rear view diagram (PDP-504CMX)
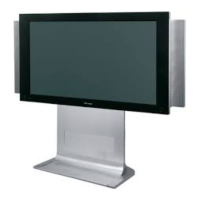
Side view diagram
a hole
a hole
Installation and Connections
Air vents (fan)
Center line
b holeb hole
Rear view diagram (PDP-434CMX)
b hole
Center line
b hole
a hole
a hole
Air vents (fan)
CAUTION
÷ Handles should not be removed or reattached by anyone other
than the professional installation technician or service
personnel.
÷ If handles must be removed due to specific installation
conditions, the mounting screws should be stored carefully
together with the handles. To ensure safety, the mounting
screws should be tightened to a minimum torque of 2N·m (20
kgf·cm) when reattaching the handles.
÷ When moving the display, it should always be carried by two
persons holding the rear handles in the manner shown.
NO!
÷ Never attempt to move the plasma display by holding only one
of the handles.
÷ When installing the plasma display, do not use the handles as
means of hanging the display; also do not use them as devices
to prevent tipping over (see illustration).

 Loading...