Do you have a question about the Pioneer vsx-512s and is the answer not in the manual?
Verify supplied accessories received with the unit.
Notes on positioning the unit for proper heat dispersal and ventilation.
Avoid bending cables to prevent humming noise from transformers.
Important precautions for correct battery installation and disposal.
Factors affecting remote control functionality and optimal usage.
Explains the concept of home theater systems and surround sound effects.
Guide on connecting DVD player and TV for surround sound setup.
Step-by-step instructions for initial system setup and configuration.
Connect audio/video components and monitor TV using color-coded plugs.
Use S-video cables for clearer picture reproduction than regular video cords.
Connect digital components using coaxial or optical audio cables.
Explains connecting Dolby Digital/DTS soundtracks using coaxial or optical digital audio connections.
Connect analog audio components like cassette decks for playback or recording.
Connect decoders or DVD players with multi-channel analog outputs for 5.1 channel playback.
Connect video components to receiver jacks, prioritizing S-video for better quality.
Connect AM loop and FM wire antennas, and use external antennas for better reception.
Instructions for connecting external FM and AM antennas to improve reception.
Guide on connecting six speakers, including subwoofer, and terminal connection details.
Tips for optimal speaker placement for best sound quality, including distance and shielding.
Instructions for connecting the power cord safely and precautions.
Handling the power cord safely to prevent electric shock or fire hazards.
Connecting control cords to operate other Pioneer components with the remote.
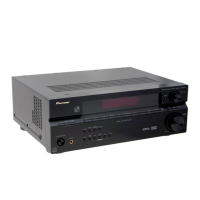
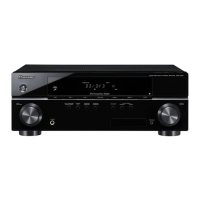
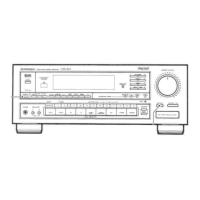
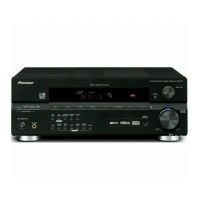
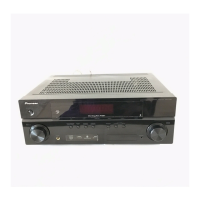
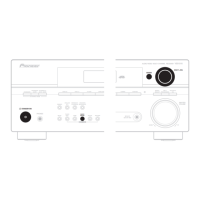
Identifies and explains the buttons and indicators on the receiver's front panel.
Explains the various indicators and segments shown on the receiver's display panel.
Detailed explanation of the remote control buttons and their functions.
Explains the three basic sound modes: Stereo/Direct, Standard, and Advanced Surround.
Describes the 4.1 channel surround sound mode, useful when Pro Logic II modes are not ideal.
Provides 5.1 channel surround sound suitable for movies, comparable to Dolby Digital.
Offers 5.1 channel surround sound for music, with a more enveloping effect than Pro Logic II Movie.
Details various advanced surround modes for multi-channel audio/visual sources.
Provides multi-channel sound for stereo sources using all speakers.
Selects between analog and digital audio input signals for the source component.
Switches between STEREO and DIRECT playback modes.
How to play back multi-channel sources and select playback modes like Standard or Pro Logic II.
Explains how to use and adjust advanced surround sound modes like Movie, Music, and Expanded.
How to use Loudness for bass/treble at low volumes and Midnight for movie sound.
Instructions for playing back audio or video from various connected components.
Selects analog multi-channel inputs for 5.1 channel playback from decoders or DVD players.
Guide to completing essential setup operations for optimal surround sound.
Configure speaker configuration, size, and number connected for optimal sound.
Choose whether to use the subwoofer and select additional bass settings.
Set the frequency point to divide sounds between speakers and subwoofer.
Adjust the peak level for the LFE channel to prevent bass distortion.
Specify the distance from front speakers to the listening position for accurate sound.
Set the center speaker distance to align sound arrival with front speakers.
Adjust surround speaker distance for synchronized sound arrival with front speakers.
Compress dynamic range for clearer low-level sounds, especially with Dolby Digital.
Isolate audio channels from dual mono sources for specific listening preferences.
Assign a component to the coaxial digital input jack for digital audio.
Assign a component to the optical digital input jack for digital audio.
Adjust individual channel volume levels for optimal surround sound balance.
Guide to automatic and manual tuning, and memorizing stations.
Change frequency one step at a time using TUNE +/- buttons.
Quickly tune to a desired frequency by pressing and holding TUNE +/- buttons.
Enter a radio station's frequency directly using the number buttons.
Switch to mono reception mode to improve FM stereo sound quality on weak signals.
Store up to 30 station frequencies for easy recall, with MPX setting saved for FM.
Assign names to saved station presets for easier identification.
Recall stored station presets easily by selecting the class and preset number.
Adjust frequency step settings for optimal tuning in different countries or regions.
Steps to prepare source and recorder for audio or video recording.
Listen to the recording in progress and switch between recorded and source signals.
Assign manufacturer preset codes to MULTI CONTROL buttons to control various components.
Reset all presets to factory default settings by clearing stored codes.
Explains how to use remote control buttons to operate TV functions and menus.
Lists remote control functions for various components like CD players, VCRs, and DVD players.
A list of manufacturer codes to assign to components for remote control operation.
Allows controlling one component while the receiver plays another, enabling simultaneous operation.
Lists common problems and their solutions for the receiver and connected components.
Technical specifications for the amplifier, tuner, video, and other sections of the receiver.