Do you have a question about the Plantronics CS510 Series and is the answer not in the manual?
Set desk phone speaking volume to '1' and listening volume to '3'.
Set the desk phone configuration switch to position "A".
Set the volume slider to the recommended setting position as shown.
Set the headset polarity switch to "P" for normal headset polarity.
Turn the headset microphone adjust control fully clockwise to the recommended setting.
Set desk phone speaking volume to '3' and listening volume to '3'.
Set the desk phone configuration switch to position "A".
Set the volume slider to the recommended setting position as shown.
Set the headset polarity switch to "P" for normal headset polarity.
Turn the headset microphone adjust control fully clockwise to the recommended setting.
Set the rotary switch on the headset base to position '1'.
Press the lower button 7 times, then the upper button 4 times.
Set the listening volume major adjust control to "3".
Set the volume slider to the recommended setting position as shown.
Set the speaking volume major adjust to "B".
Set the headset polarity switch to "P" for normal headset polarity.
Turn the headset microphone adjust control fully clockwise to the recommended setting.
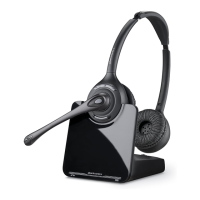
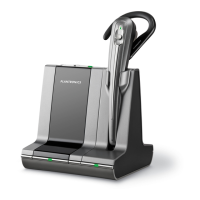
| Wireless Technology | DECT 6.0 |
|---|---|
| Microphone | Noise-canceling |
| Wearing Style | Over-the-head |
| DECT Security Certification | Yes |
| Charging Time | 3 hours |
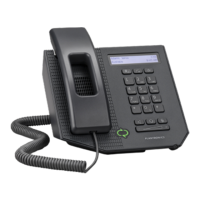
| Compatibility | Desk phone |
| Type | Wireless Headset |