1
2
3
4
9
5
6
7
8
9
x2
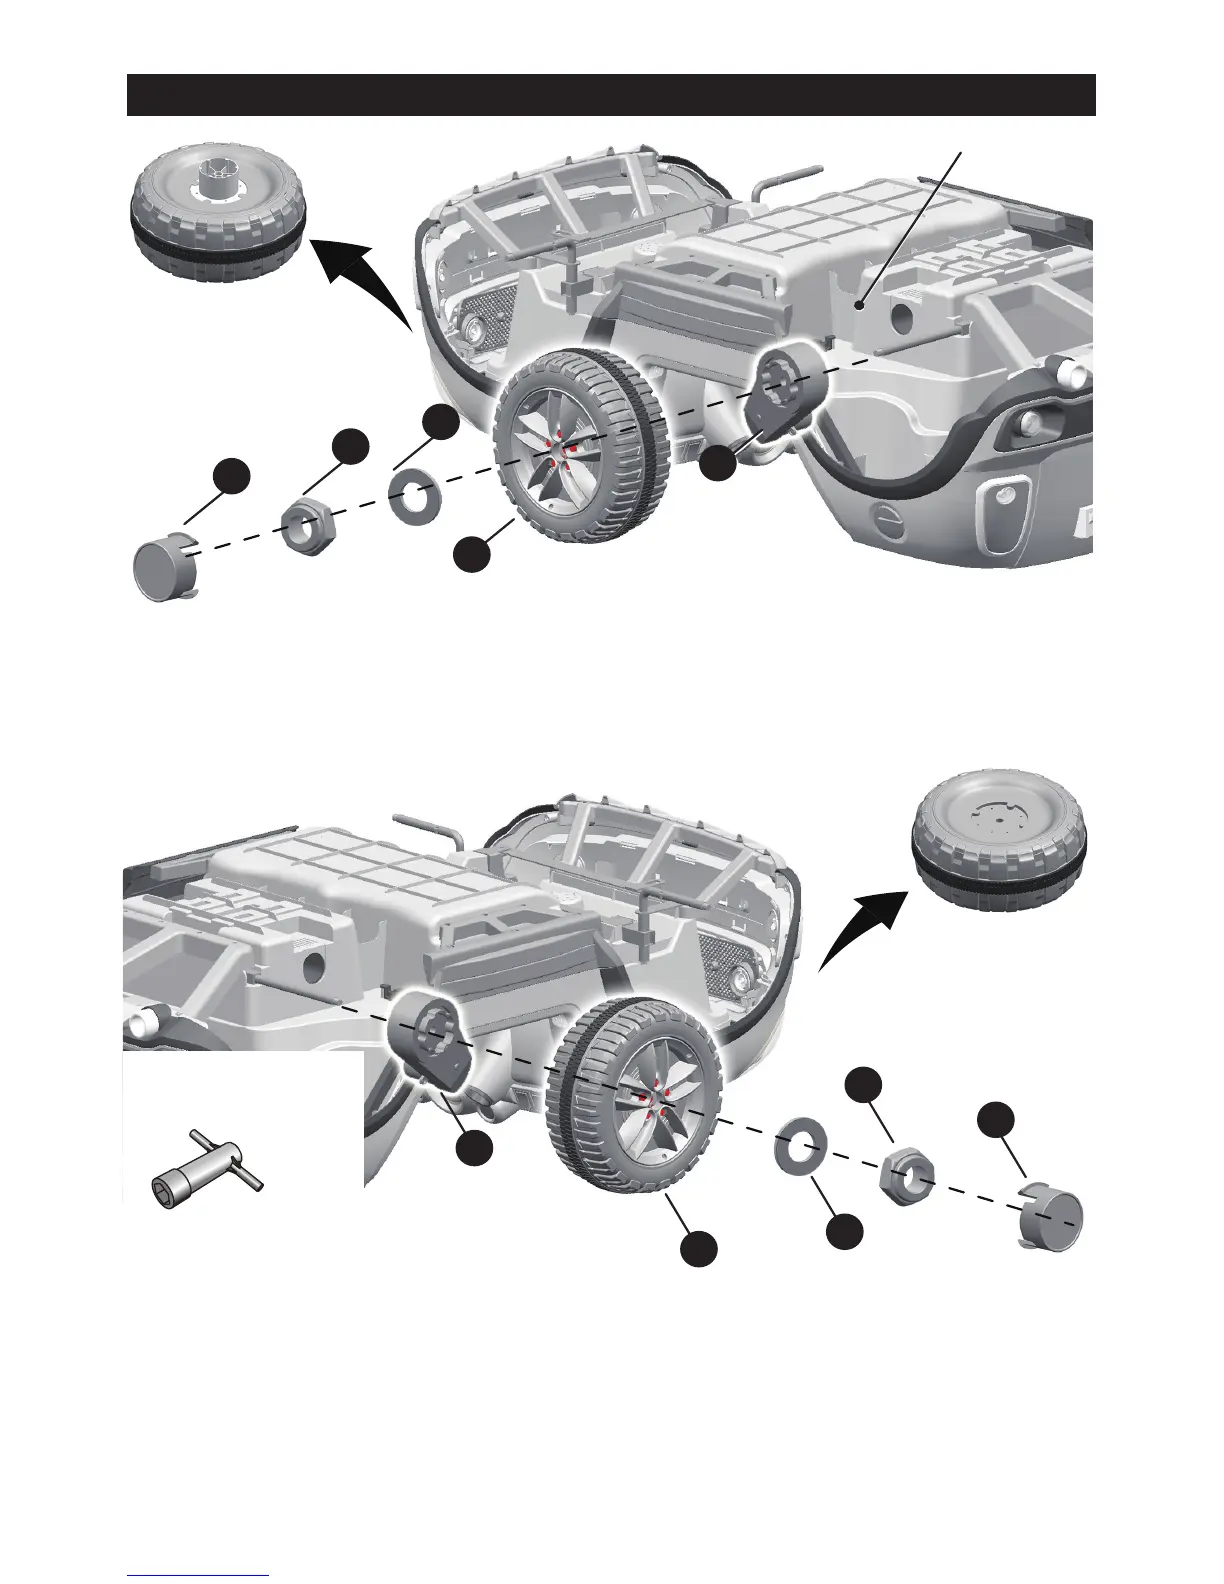
1. Slide the gear box onto the rear axle (Left Side). “R” labeled gear box should be fit to
the “R” side of vehicle body; “L” labeled gear box should be fit to “L” side of vehicle body.
2. Slide the driving wheel onto the rear axle. And keep the driving wheel match with the
gear box.
3. Slide the Ø10 Washer onto the rear axle.
4. Tight a Ø10 Locknut to the end of the rear axle with a spanner.
5. Slide the gear box onto the rear axle (Right Side).
“R” labeled gear box should be fit to the “R” side of vehicle body; “L” labeled
gear box should be fit to “L” side of vehicle body.
6. Slide the driving wheel onto the rear axle. And keep the driving wheel match with the gear box.
7. Slide the Ø10 Washer onto the rear axle.
8. Tight a Ø10 Locknut to the end of the rear axle with a spanner. HINT: An extra spanner has
been provided to hold the Ø10 locknut on the other side of the rear alxe while tightening the
locknut on the other side.
9. Fit the hubcap to the wheel cover.
Attach the Rear Wheels │ 7
Rear axle
Driving wheels are more bigger than front wheels
Tools required: Spanner