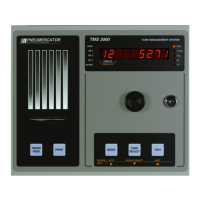
Quick Start-up Guide TMS Series
TMS Quick Start-up Guide.docx
Page 9 of 24 November 21, 2017
5) Connect to the Site by clicking Connect in the Sites menu.
6) Read the configuration from the TMS.
a. Click on the Configurations menu.
b. Click on the File menu in the Configurations window and choose Read Configuration From
Connected Device.
7) Click on the Tanks tab and select the desired Tank Channel.
8) Click on the Probe button.
9) Verify the Probe Information (Calibration Factor, Type, and Length) from the worksheet on Page
2 matches the data shown in TMSComm. If this is correct, proceed to the next step. If this is not
correct, make the appropriate changes, close the Probe window, and proceed to Step 13. Return
to Step 7 to begin the calibration process.
10) Enter the Height Float Offset (HO) information from the worksheet on Page 7 as shown in
Figure 4 for both the Product and Water floats.
11) Click the close button.
12) If there is more than one tank enabled, click on the next enabled tank tab and return to Step 8.
13) Click on the File menu and select the Write configuration to Connected Device option.
Figure 4 - TMSComm Probe Configuration Window