12.11
CHASSIS / HOOD
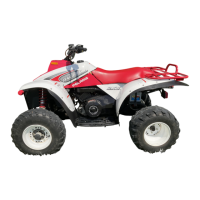
to be placed is free of any dirt, debris, or adhesive.
2. Place the decal in the area to be installed and make sure
that everything lines up properly.
3. When you're ready to install the decal, carefully peel away
the adhesive side of the decal.
4. Apply the decal and slowly work the decal down the side
of the hood using a clean squeegee to lay the decal straight
and to avoid creating air bubbles. Do NOT remove the
decal mask until the decal is fully applied. If you attempt
to use a squeegee on the decal with the chrome exposed,
the chrome will be damaged.
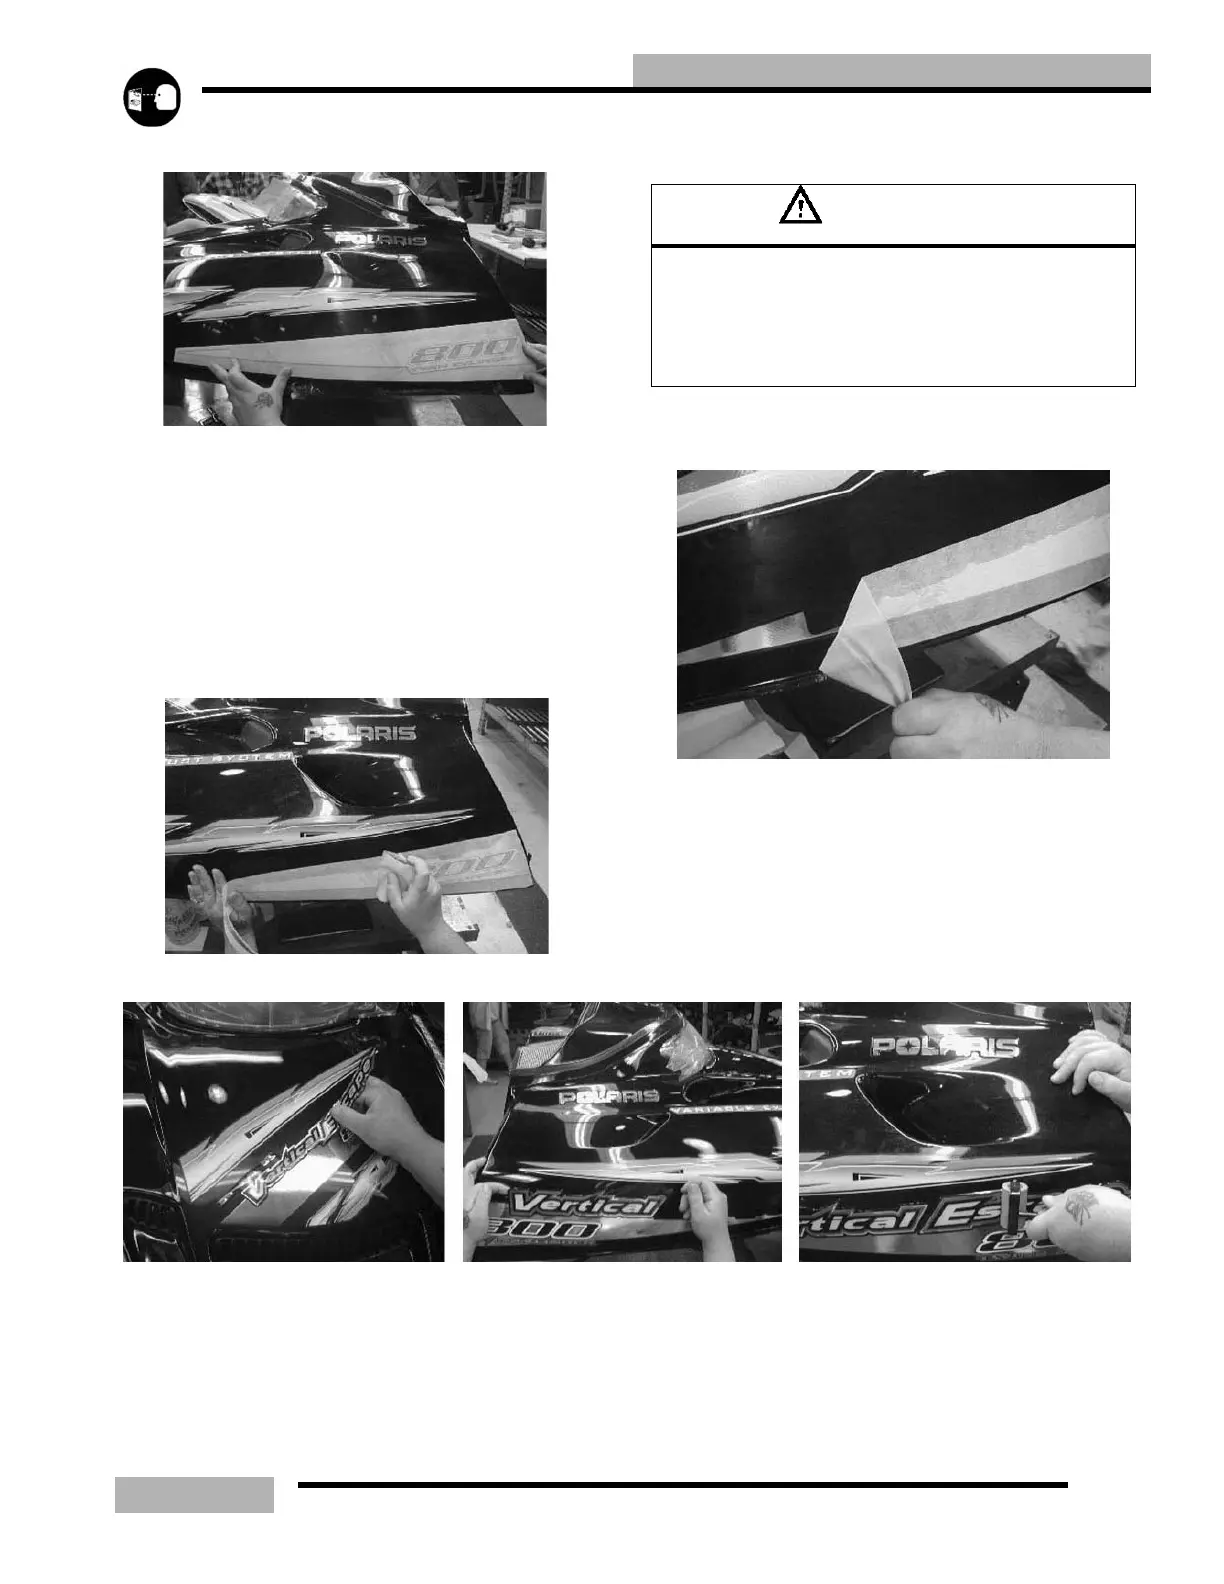
5. When finished installing the decal, carefully remove the
decal mask at a 180_ angle.
6. Peel the backing off and install the urocals in the
appropriate places. These also have strong adhesives and
once applied they cannot be removed easily. Use a wall
paper roller to adhere all surfaces of the urocal. Urocal
decals are rigid and need to be rolled to ensure good
adhesion, particularly on the edges.
CAUTION
ONCE THE ADHESIVE STICKS, IT CAN BE VERY DIFFICULT TO
PULL THE DECAL BACK OFF OF THE HOOD. USE EXTREME
CARE! IF YOU ENCOUNTER AIR BUBBLES DO NOT ATTEMPT
TO USE A STRAIGHT PIN TO POKE THE BUBBLE AND LET THE
AIR OUT. A HOLE POKED IN A CHROME DECAL WILL BE VERY
NOTICEABLE.
 Loading...