Page 15
ENG
P825
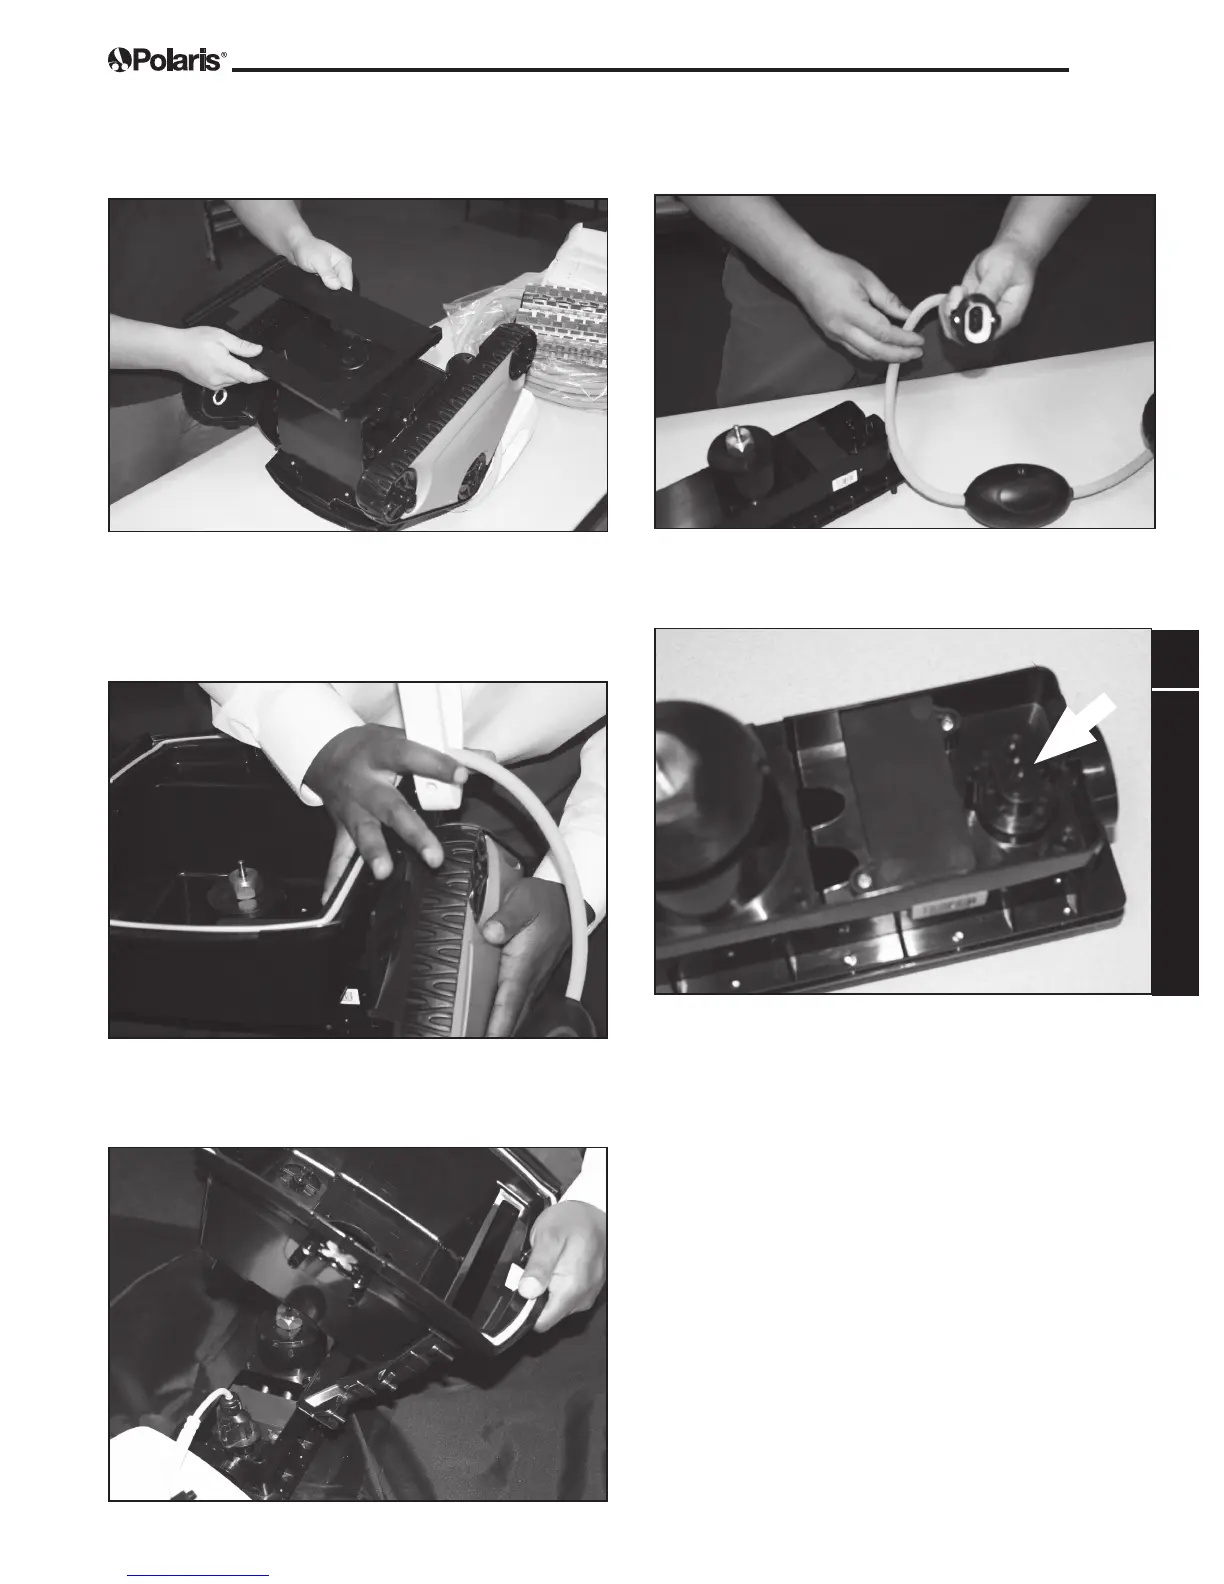
7. Turn the cleaner over, remove two (2) screws
and take off the bottom plate.
8. Turn the cleaner back over and gently pull
the gear box off the handle mount. Repeat
both sides and remove the gear box and the
handle together.
9. Remove the canister bowl to free the motor
block.
10. Remove screws and detach the Floating
Cable.
11. Connect one end of the BROWN test cable
into the motor block.
12. Connect one end of the BROWN test cable
into the motor block.
13. Connect the other end of the BROWN test
cable into the Diagnostic Box.
14. On the Diagnostic Box, press [CLEANER]
button then Start/Stop button to begin the test.
The drive gears will rotate on the drive shaft
for approximately ten (10) seconds then stop.
The Diagnostic Box displays the test status
and progress message (see Section 1.7).
15. If the cycle completes and the Diagnostic Box
displays the message: End, the Motor Block
is functional and the Floating Cable should be
replaced.
 Loading...