29
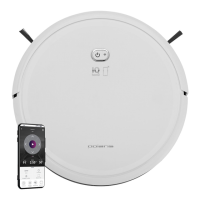
settings symbol ("asterisk") in the upper right corner, select "Rights Control" and click on the "Share"
symbol in the upper right corner.. After that, you will see the QR code of this device on the screen.
In order for the receiving party to scan this QR code, it needs to click the "New device" button on the main
screen of the application and click on the scanner icon in the upper-right corner in the window that
appears. Then you need to point the phone's camera at the QR code provided by the transmitting party and
follow the prompts of the system.
QR code can be transmitted in any convenient way: mail, instant messengers, social networks. The QR
code of the device remains unchanged until the Reset mode is activated on the device. After Reset, the old
QR code is no longer valid.
4. Monitoring the connection status: by clicking on the corresponding button in the device settings, you
can evaluate the quality of connection in all parts of the network and launch the universal assistant to get
recommendations and perform additional settings.
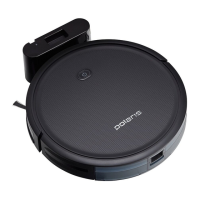
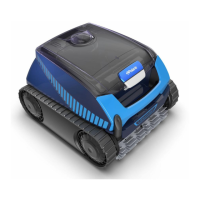
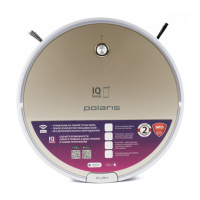
VACUUM CLEANER OPERATION WITHOUT USING REMOTE CONTROL OPTION
1. To activate the device press the Auto button on the device housing once without holding or the button
on the remote control device.
A single beep will sound, the device will enter the standby mode. At the same time, the indicator of the Auto
button of the device housing will flicker green.
2. To start cleaning from the standby mode, press the Auto button on the device housing or the button
on the remote control device, the vacuum cleaner will start cleaning the room. Pressing the button again
allows you to stop the device.
3. The Maximum cleaning mode will allow the vacuum cleaner to work with increased suction power. To
enable the mode, use the button on the remote control device.
4. Using the button on the remote control device you can set the start time of the cleaning on the
timer (see Section 5). In this case, the current time must also be set (see Section 6).
When the timer is set, the vacuum cleaner will automatically turn on and start cleaning every day at the set
time. The I/O switch on the device should be turned on, the charging base should installed and connected.
5. The device will automatically enter the sleep mode from the standby mode if you do not press the buttons
for 10 minutes. You can remove the device from the sleep mode by pressing the Auto button (Section 1).
Using the button on the remote control device you can enter the mode for setting the time the
device starts to work. The installation should be carried out by the buttons 3 of the remote control device.
Click again to save the setting. To delete the setting, set the time to 00:00.
6. By pressing the button you can enter the current time setting mode, the installation should be
carried out using the buttons 3 of the remote control device. Click again to save the setting.
7. The functions of the buttons 3 of the remote control device (up, down, left, right arrows) depending on the
selected mode:
Functions A are available when setting the operating time of the device or the current time
(see Sections 5.6).
 Loading...