GETTING STARTED
Setting the Date
1. Press and hold OK / MENU for two (2) s
econds to enter menu.
2. Repeatedly press or until DATE dis
plays.
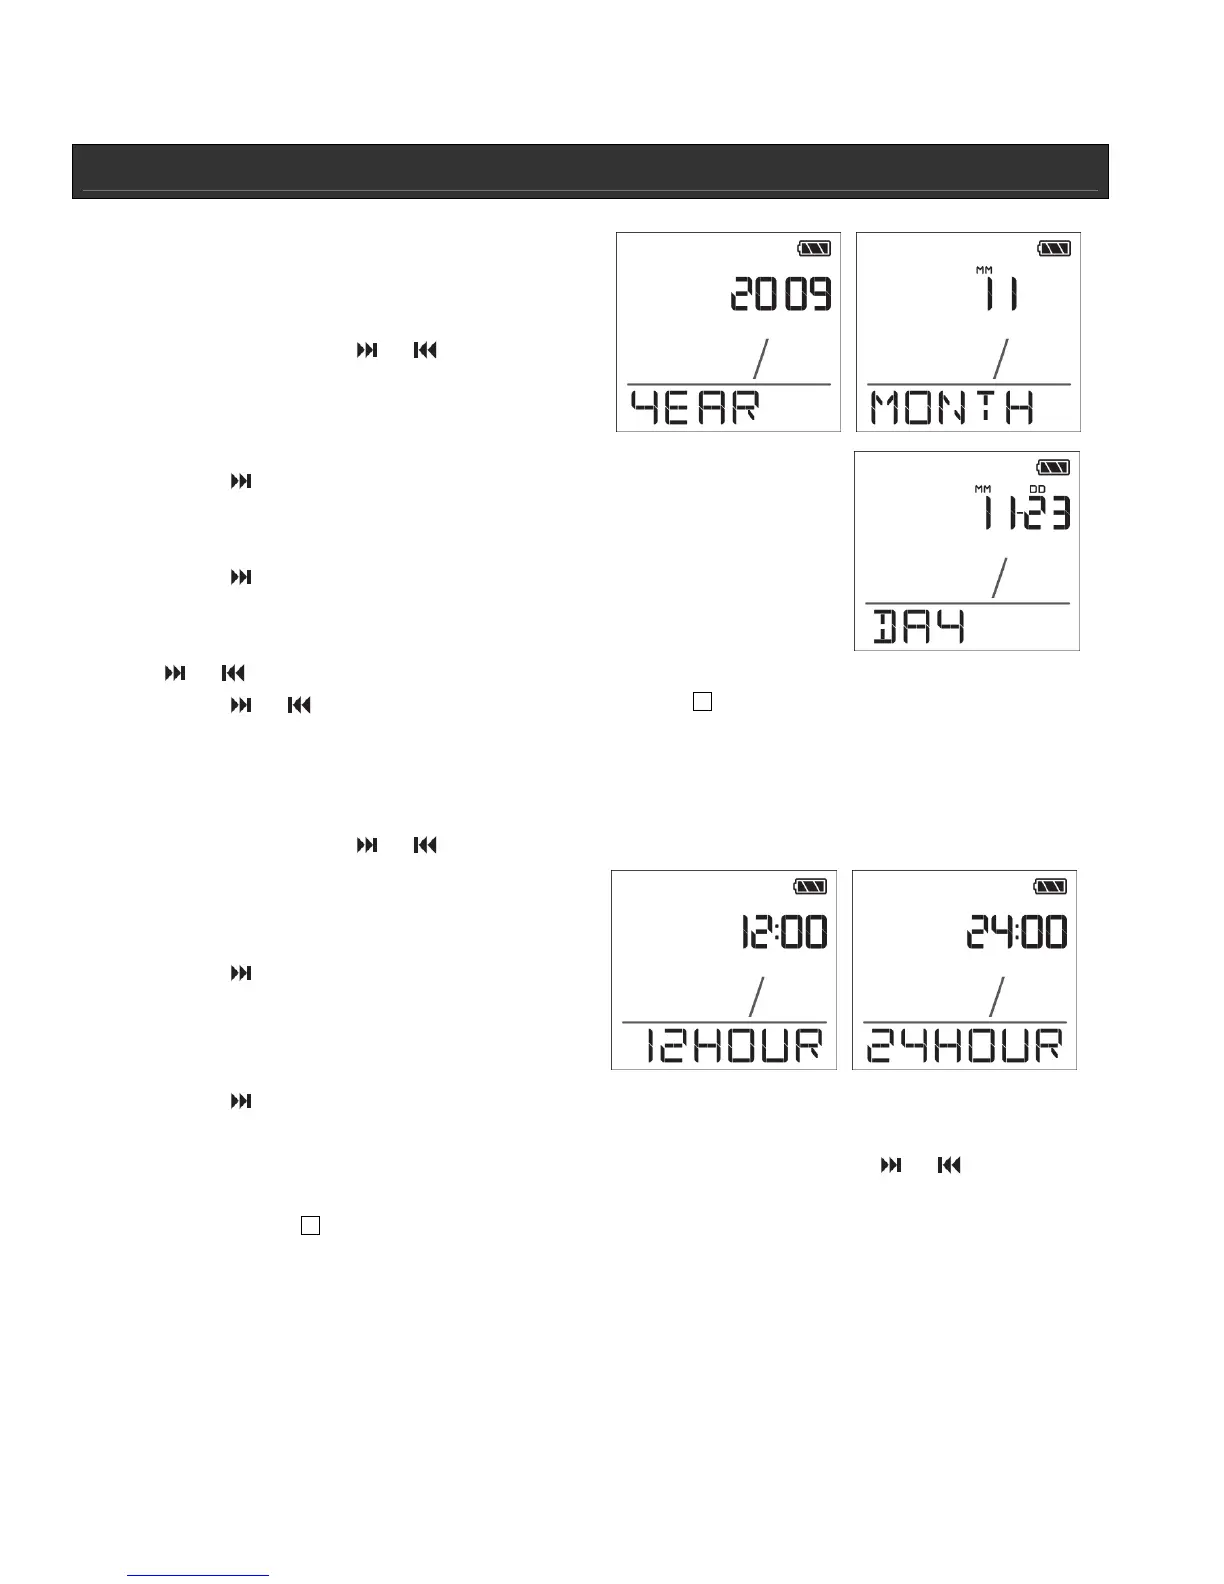
3. Press OK / MENU, Year will blink.
4. Press VOL+ or VOL- to increase or decrease to current year.
5. Press once and MONTH will display. Month will blink.
6. Press VOL+ or VOL- to increase or decrease to current month.
7. Press once and DAY will display. Day will blink.
8. Press VOL+ or VOL- to increase or decrease to current day.
9. Press OK / MENU to confirm and go to next menu. (Pressing
or before confirmation will restart the date setting again from Year).
10. Press or to go to next menu or press STOP to exit menu.
Setting the Time
1. Press and hold OK / MENU for two (2) seconds to enter menu.
2. Repeatedly press or until TIME displays on LCD, press OK / MENU, “24HOUR” or
“12 HOUR” will flash on the screen.
3. Press VOL+ or VOL- button to toggle
between 12 HOUR and 24 HOUR.
4. Press once and TIME will display.
Hour will blink.
5. Press VOL+ or VOL- button to increase
or decrease to current hour.
6. Press once and TIME will display. Minute will blink.
7. Press VOL+ or VOL- button to increase or decrease to current minute.
8. Press OK / MENU to confirm and return to main screen. (Pressing
or before
confirmation will restart the time setting again from 12/24 Hour setting).
9. Press STOP to exit menu.
Note: In menu setting, if no button is pressed for 10 seconds, the unit returns to main screen.

 Loading...